Valiant Restoration

About the Survey

Whether you already own a vessel or you’ve found …..

The Valiant 40 Restoration Project

In 1984 I was doing some work on a boat that my wife and I ultimately chartered for our honeymoon. We left Beverly and sailed up the coast of Maine and enjoyed three weeks of blissful cruising. The vessel was a Robert Perry deigned Valiant Esprit 37. I had been interested in these successful Perry designs since the mid-seventies and in particular, the 40′ version. The Valiant 40 has a reputation for sea kindly swiftness and they have proven their merit by winning multiple ocean races and safely transporting cruising sailors throughout the world’s oceans.

Suffice to say, by the end of the honeymoon, I was drinking the Valiant Kool Aid.

See more photos below the content

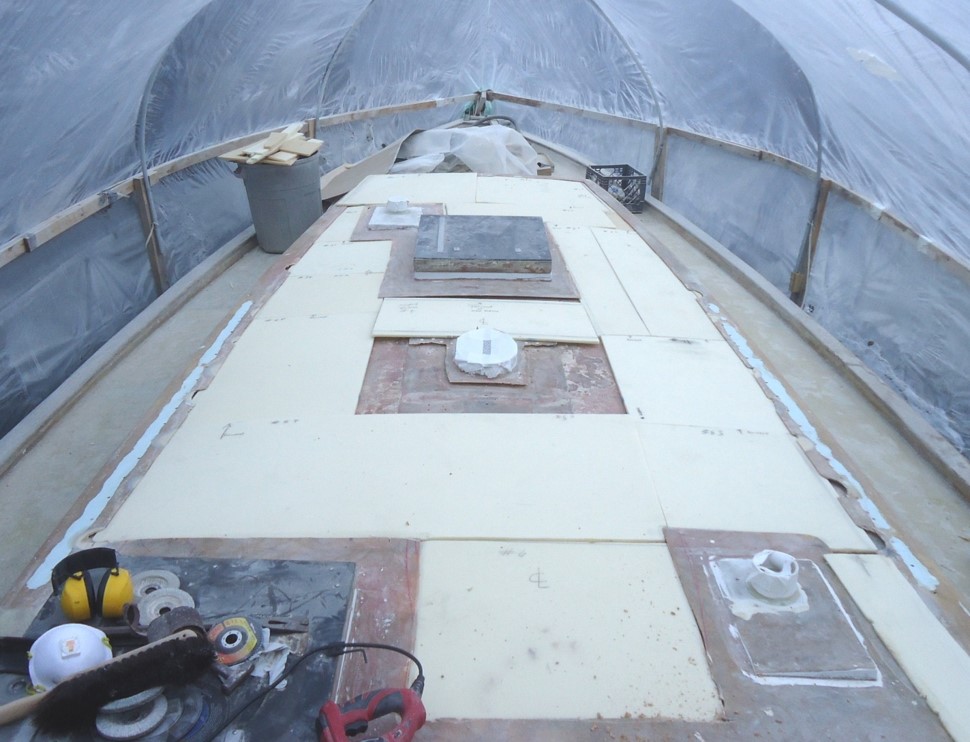
All these areas were re-cored with Core Cell set in thickened epoxy and covered by 2 layers of 1708 biaxial fiberglass cloth and final layer of 18oz boat cloth. Once laid-up it was then vacuum bagged down to facilitate bonding. In the process, the head sail tracks were recessed into the core of the side decks; along with the middeck drains.

Spraying down Awl Grip was considered for the bright sections of the deck but frankly, I’m not a great painter and didn’t feel I would be satisfied with the outcome. I ended up back to the tried-and-true use of gel coat. It can be tricky spraying gel coat too but using a 50/50 mix of DuraTec high gloss additive, the gel coat finish comes out surprisingly smooth. The best part is that any mistakes can be sanded out as the area all gets sanded to 6000 grit to make it shine and then polished. All non-skid sections were sprayed down with a colored gel coat with micro-ballons added for traction.
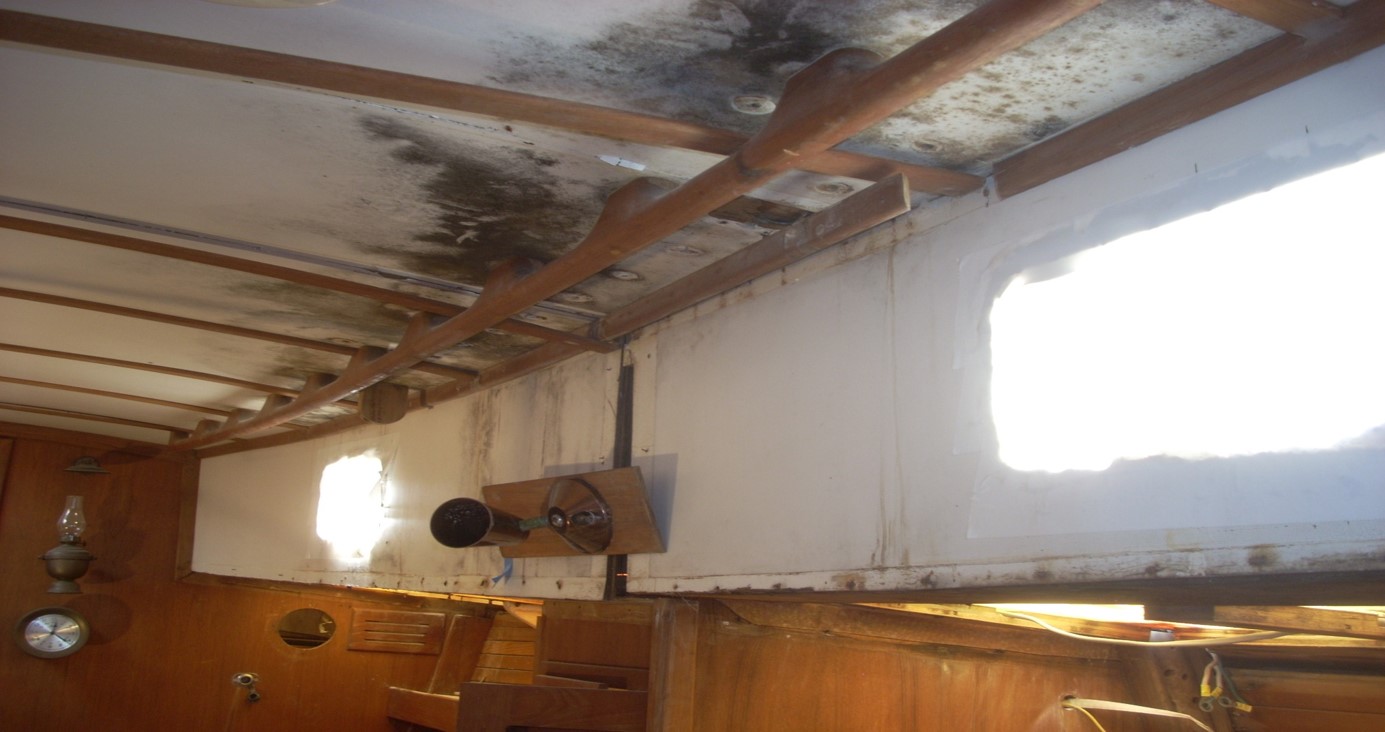
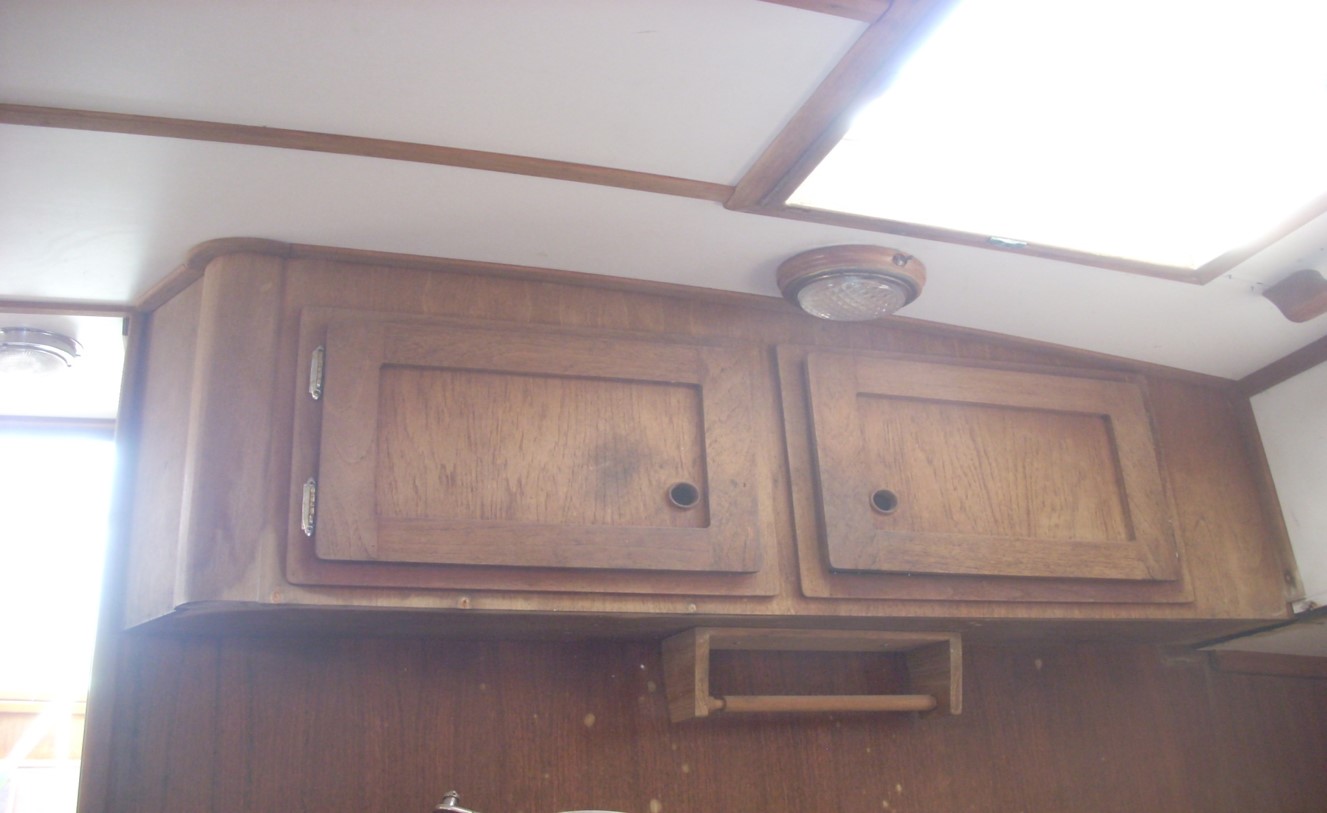
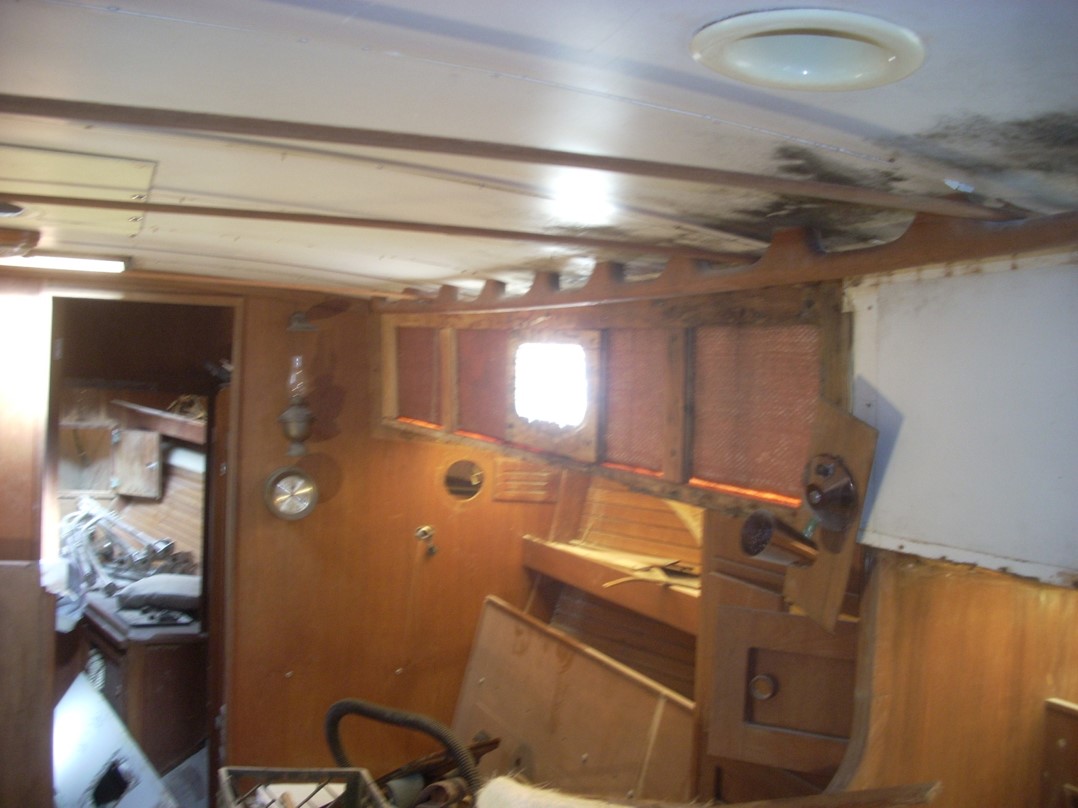
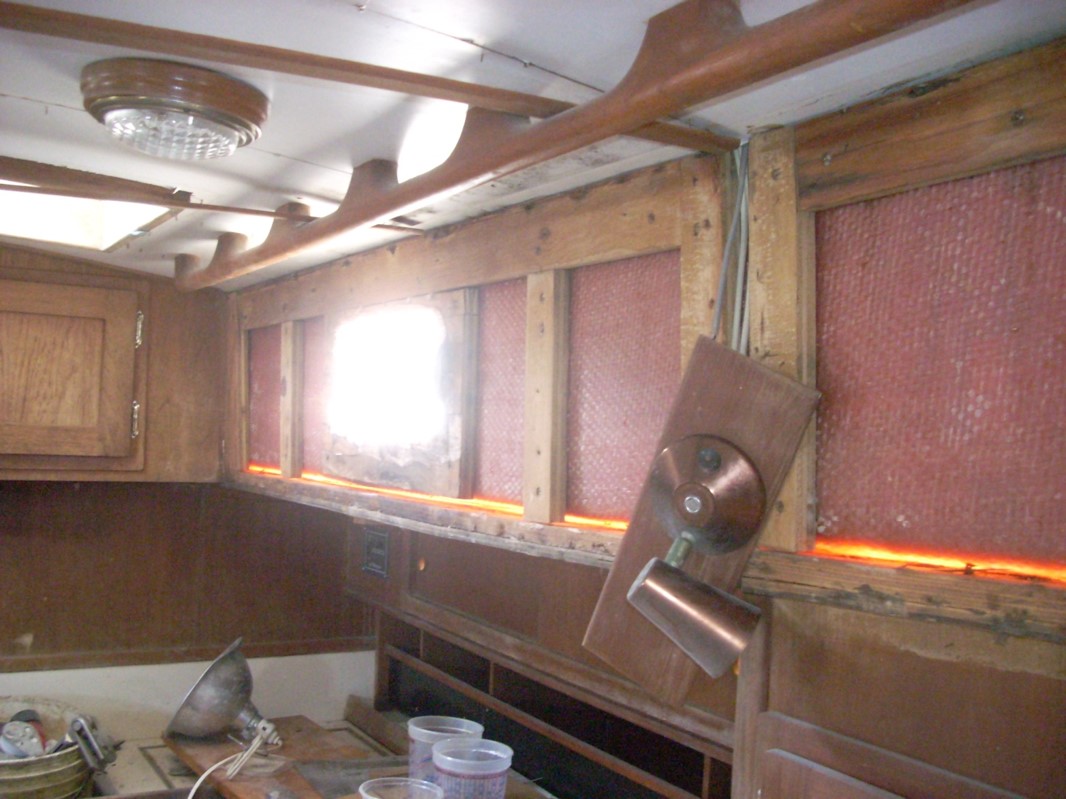
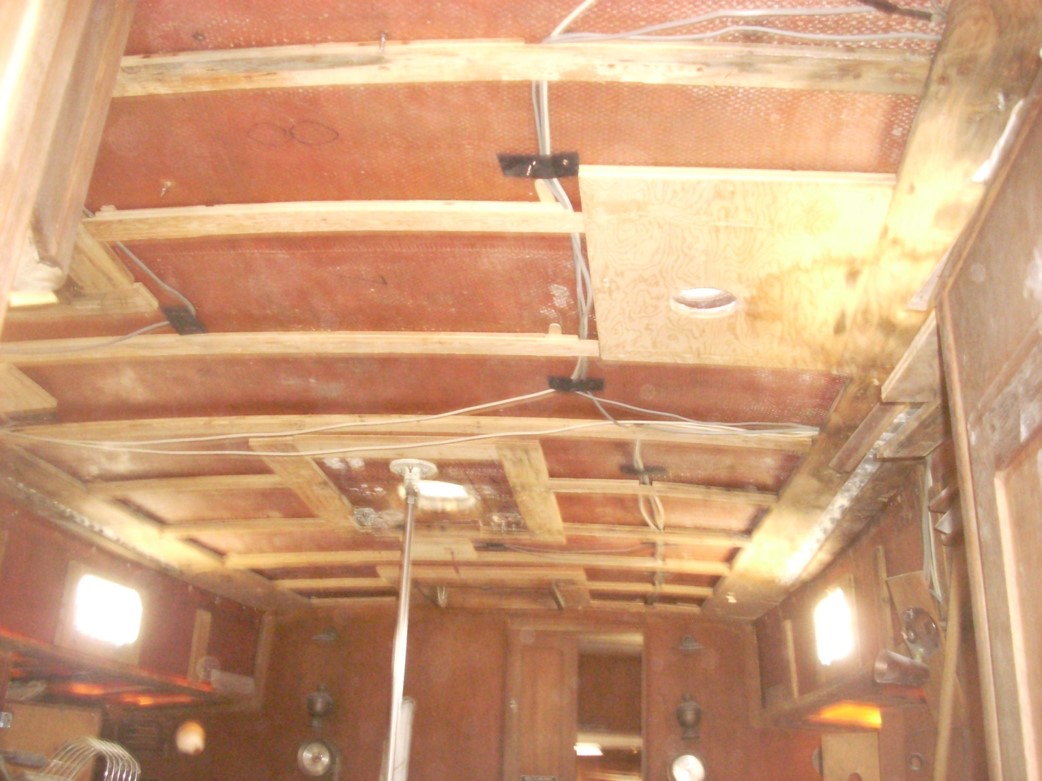
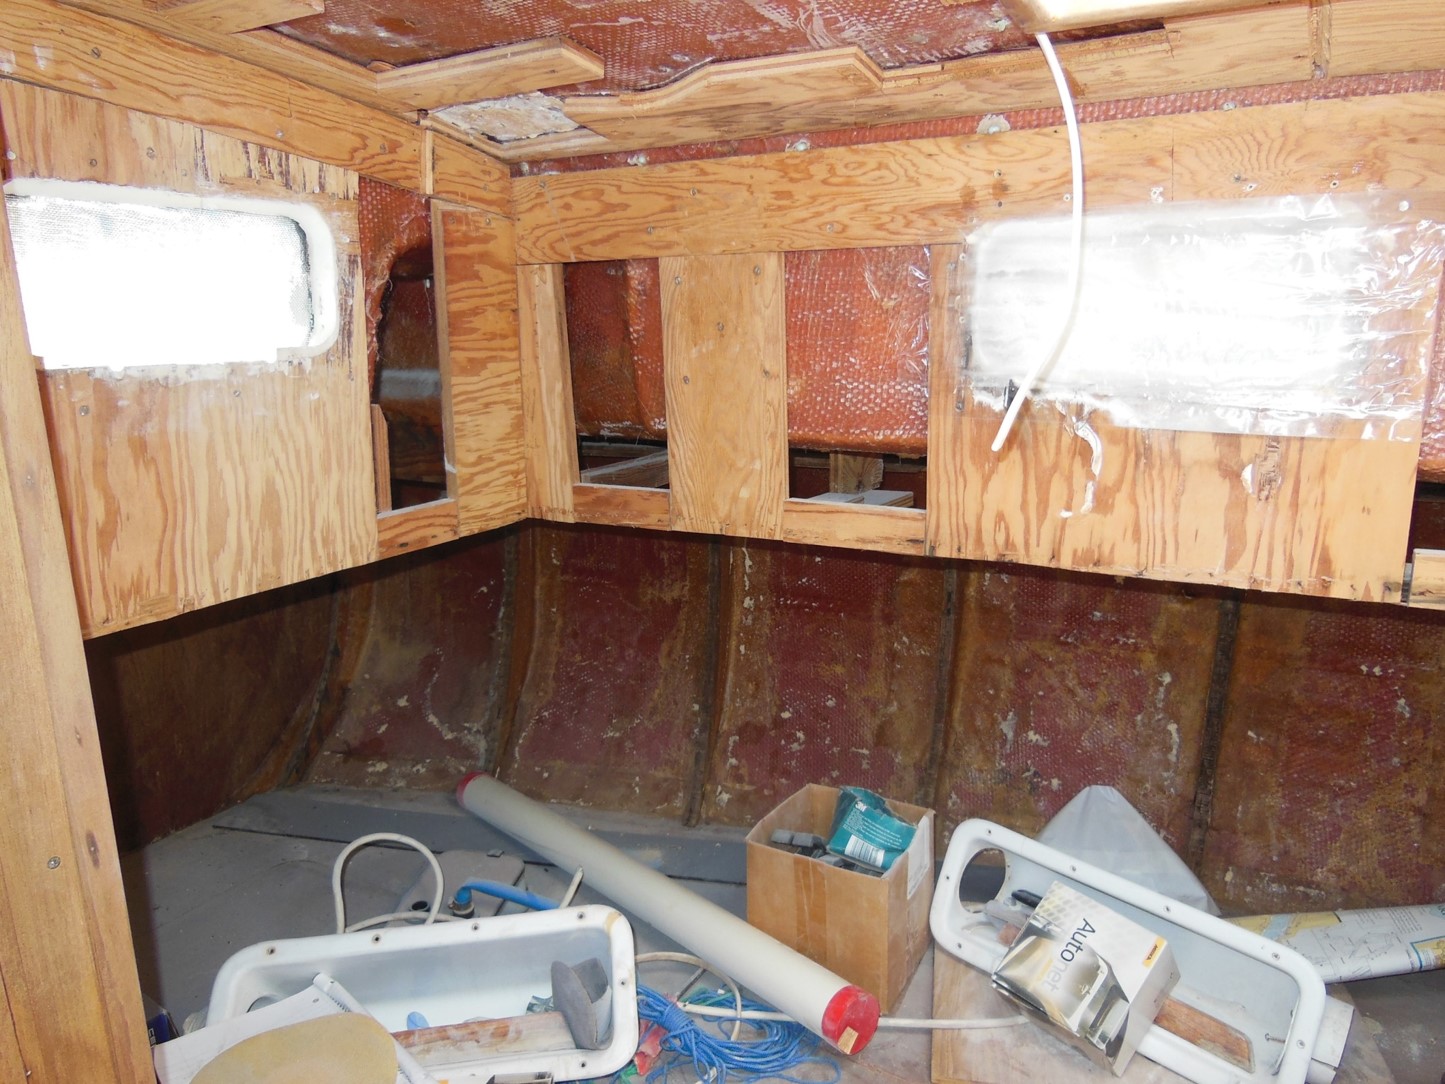
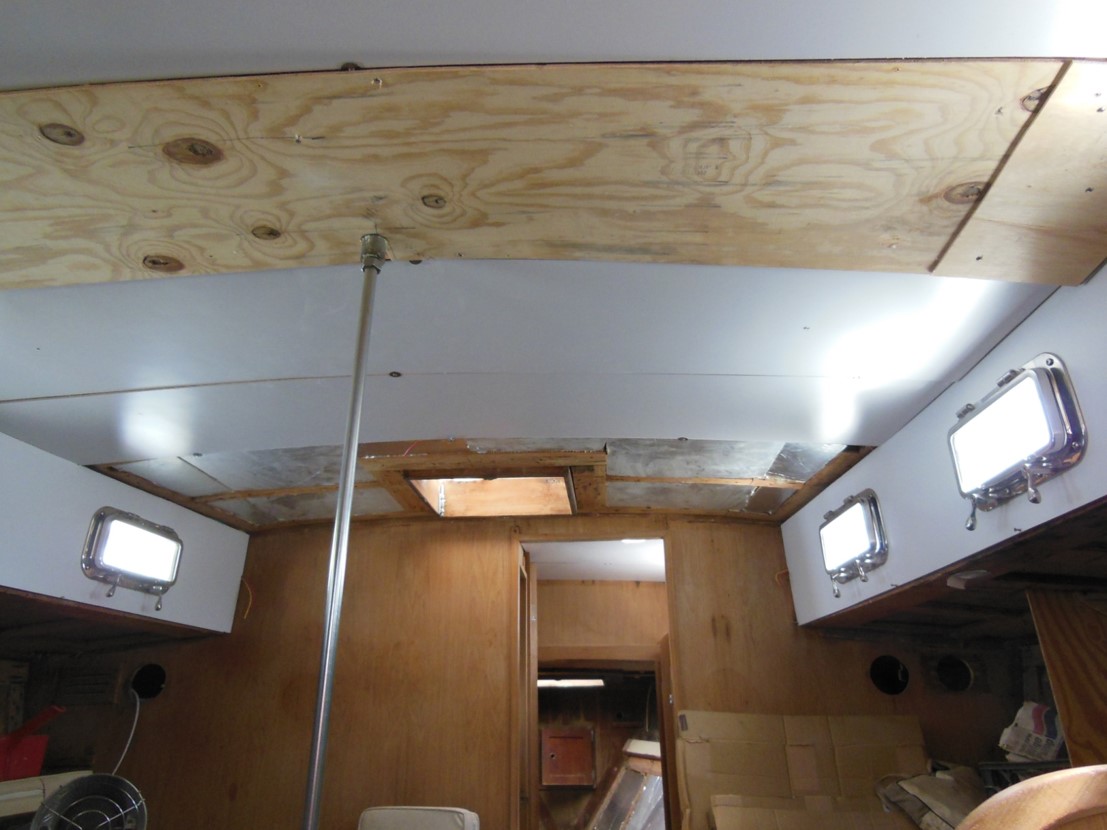
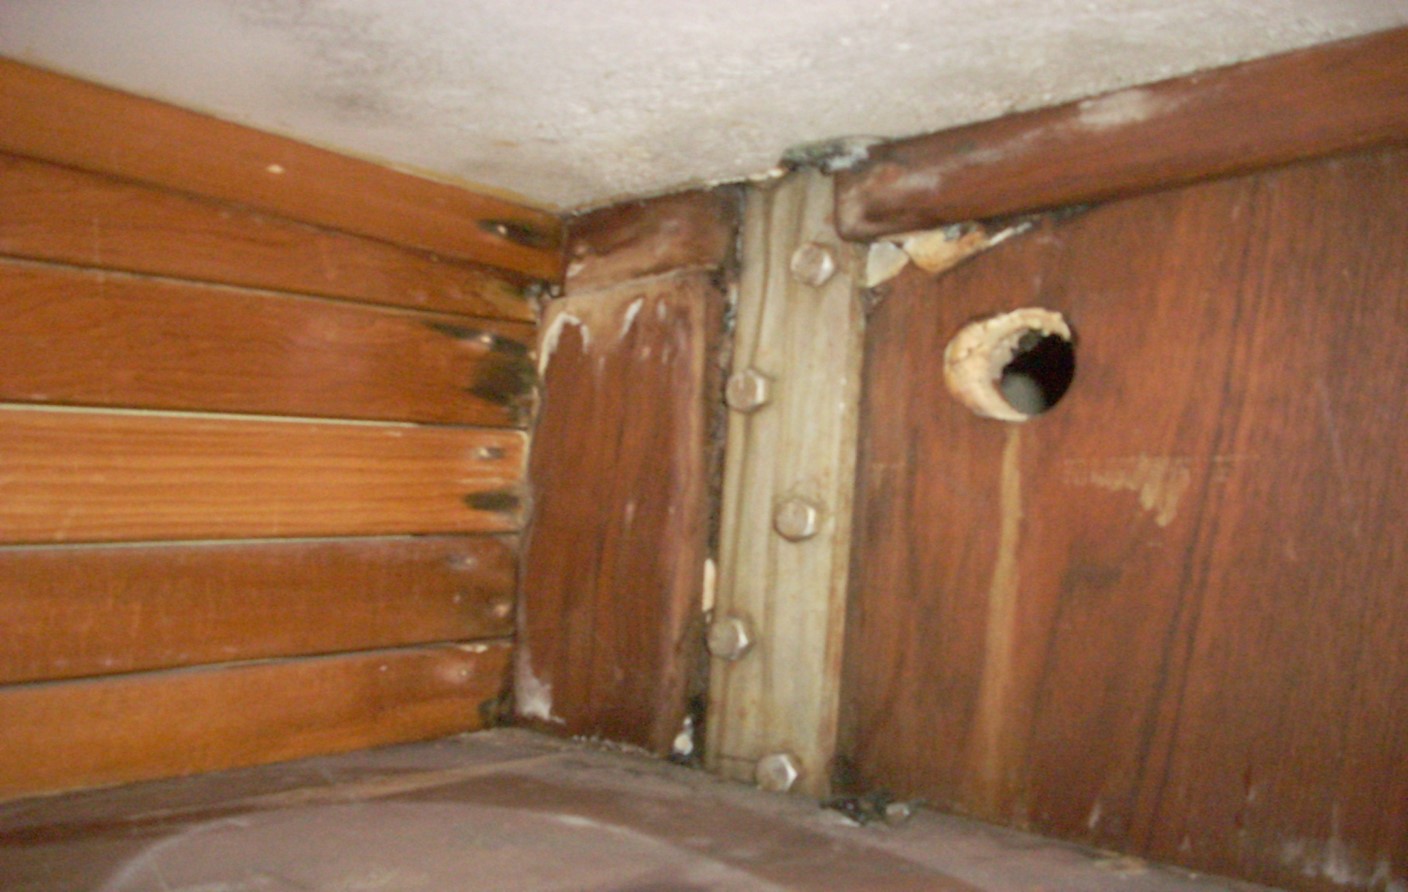
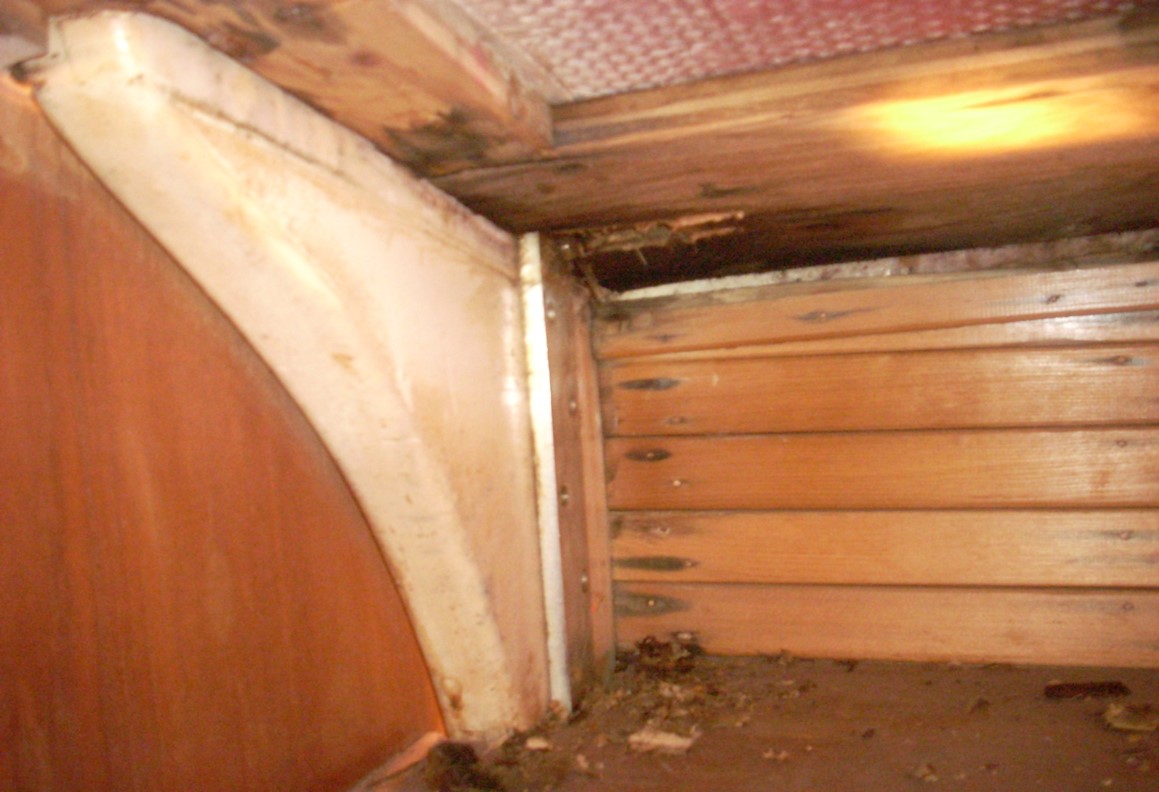
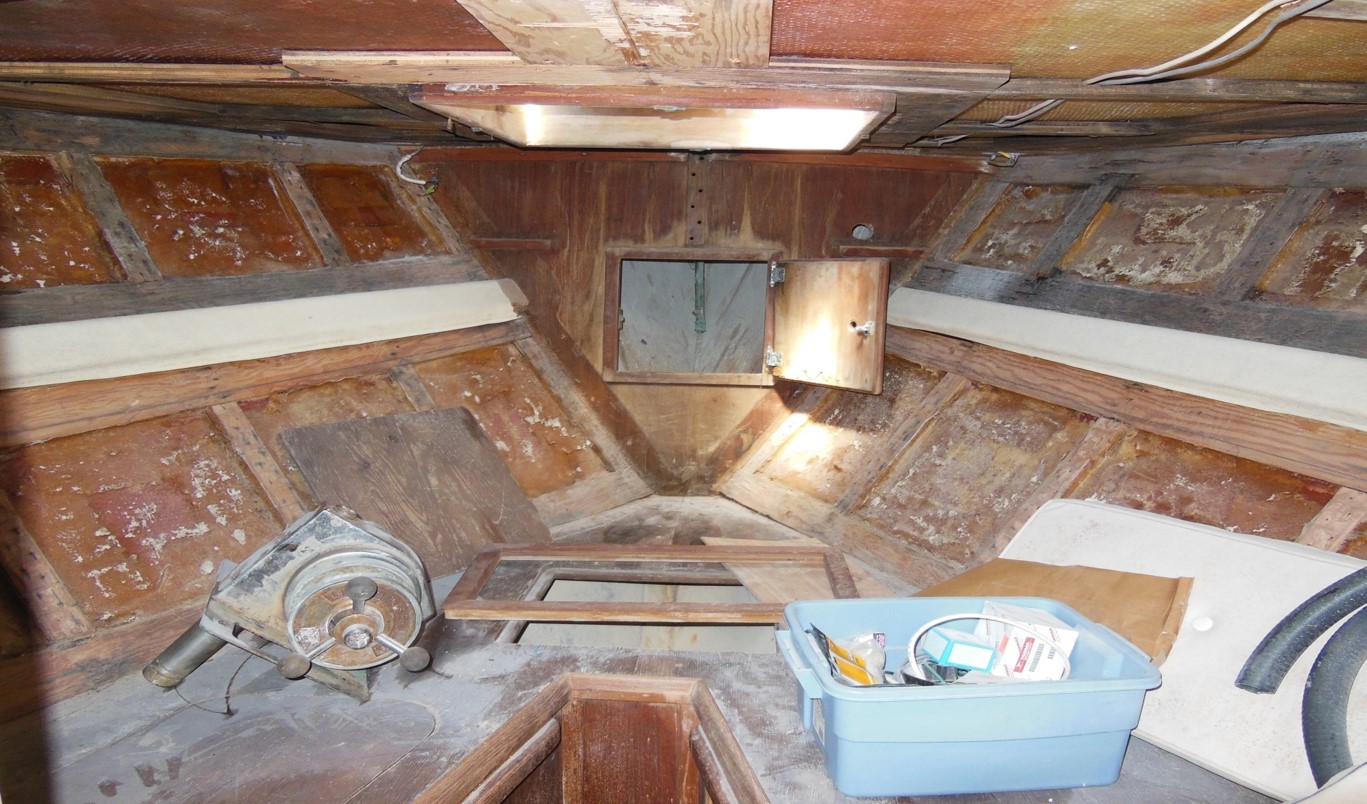
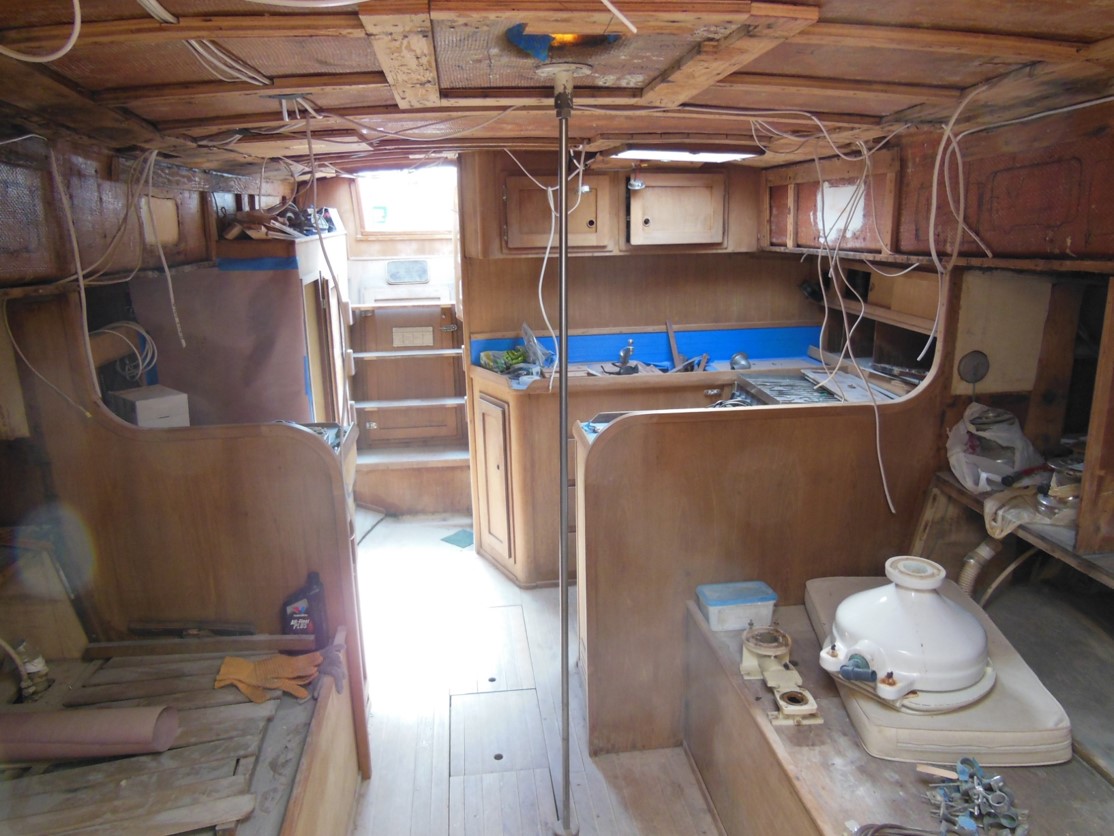
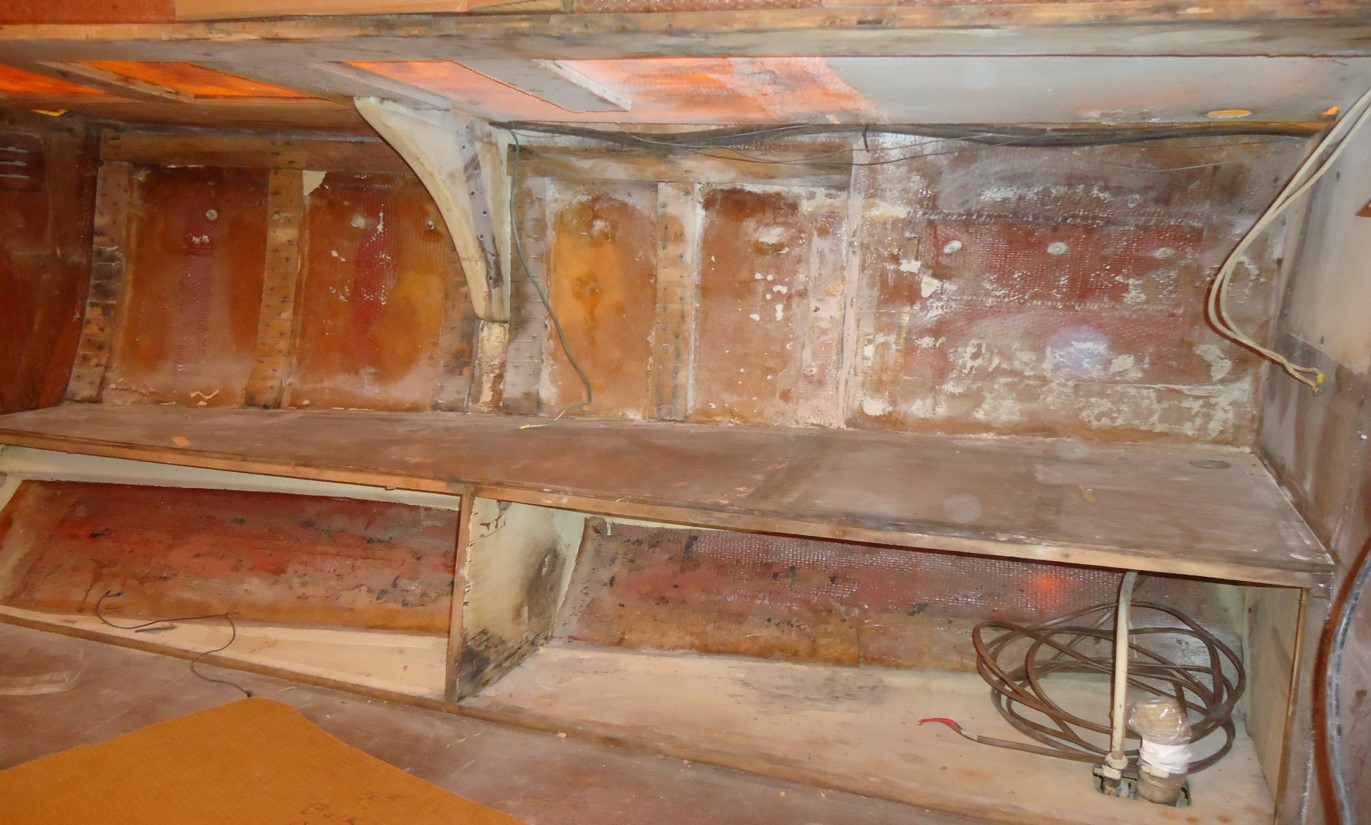
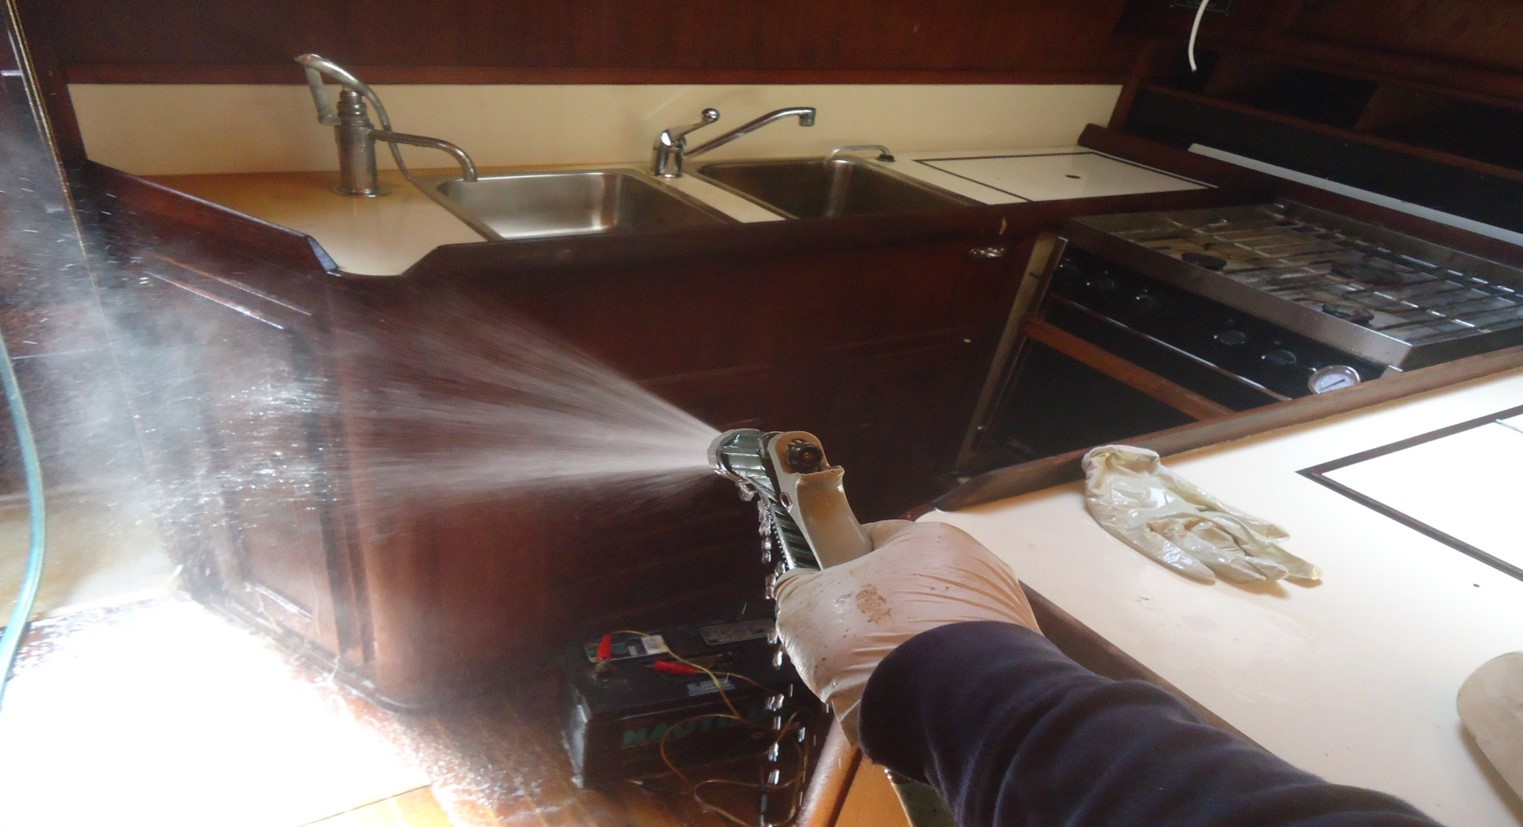
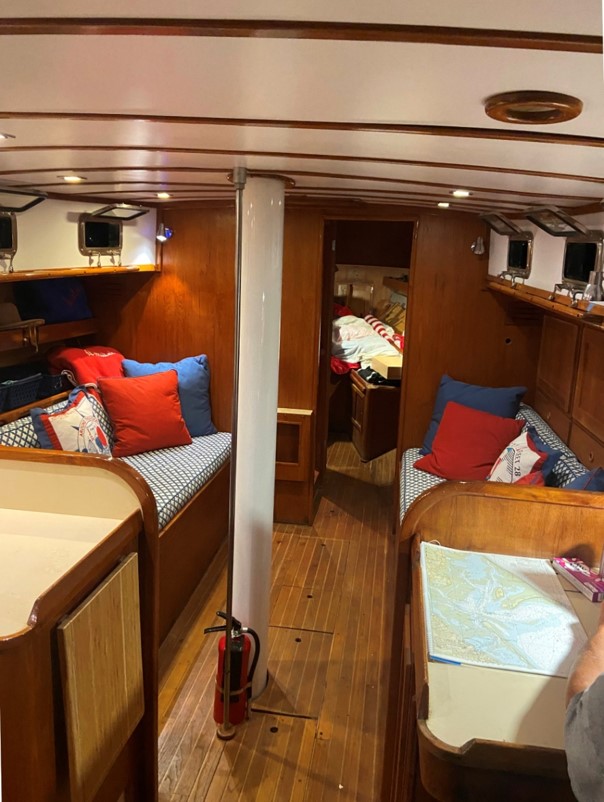
The water seepage from the deck had ruined the headliner below and damaged two structural bulkheads connected to the chain plates. The horizontal fur strips of the interior (ceilings) were also badly stained, about 100 sq ft of replacement ash strips were cut, sanded and polyurethane is before reinstallation and new Formica on plywood was made for the headliner. The interior was so spartan at one point that the teak of the interior was cleaned with that nasty two-part teak cleaning acid, a scrub brush, and hosed down.
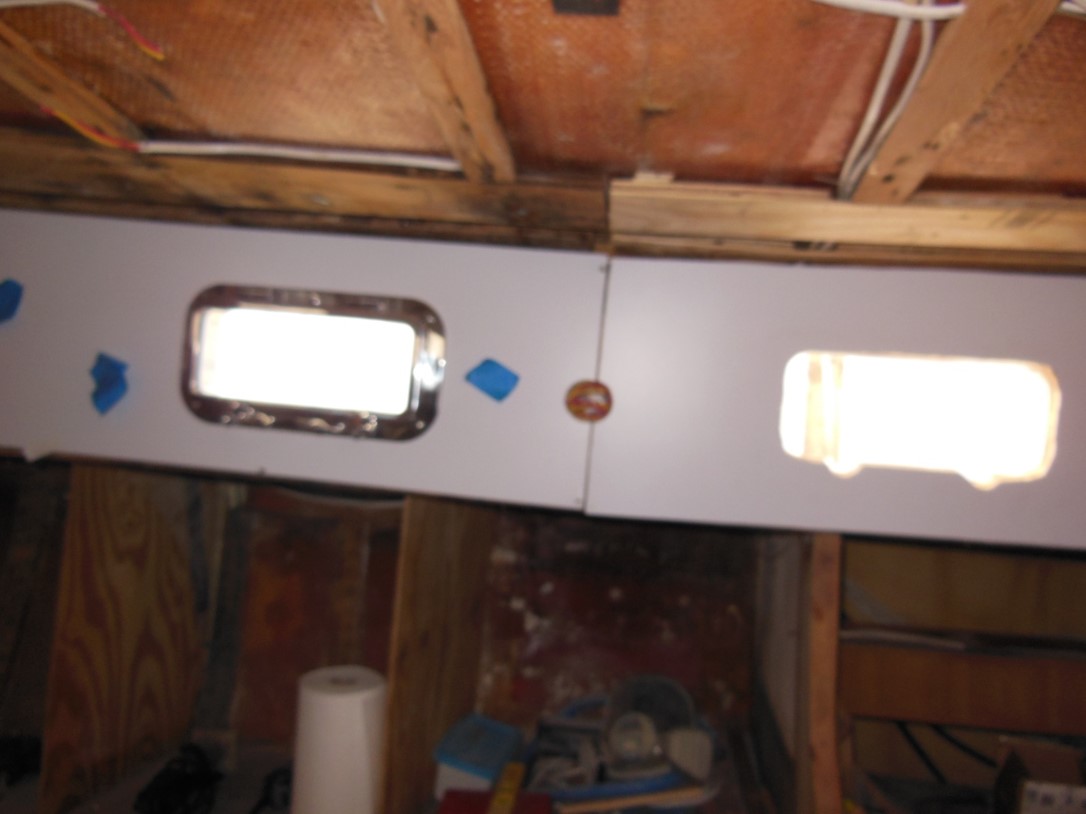
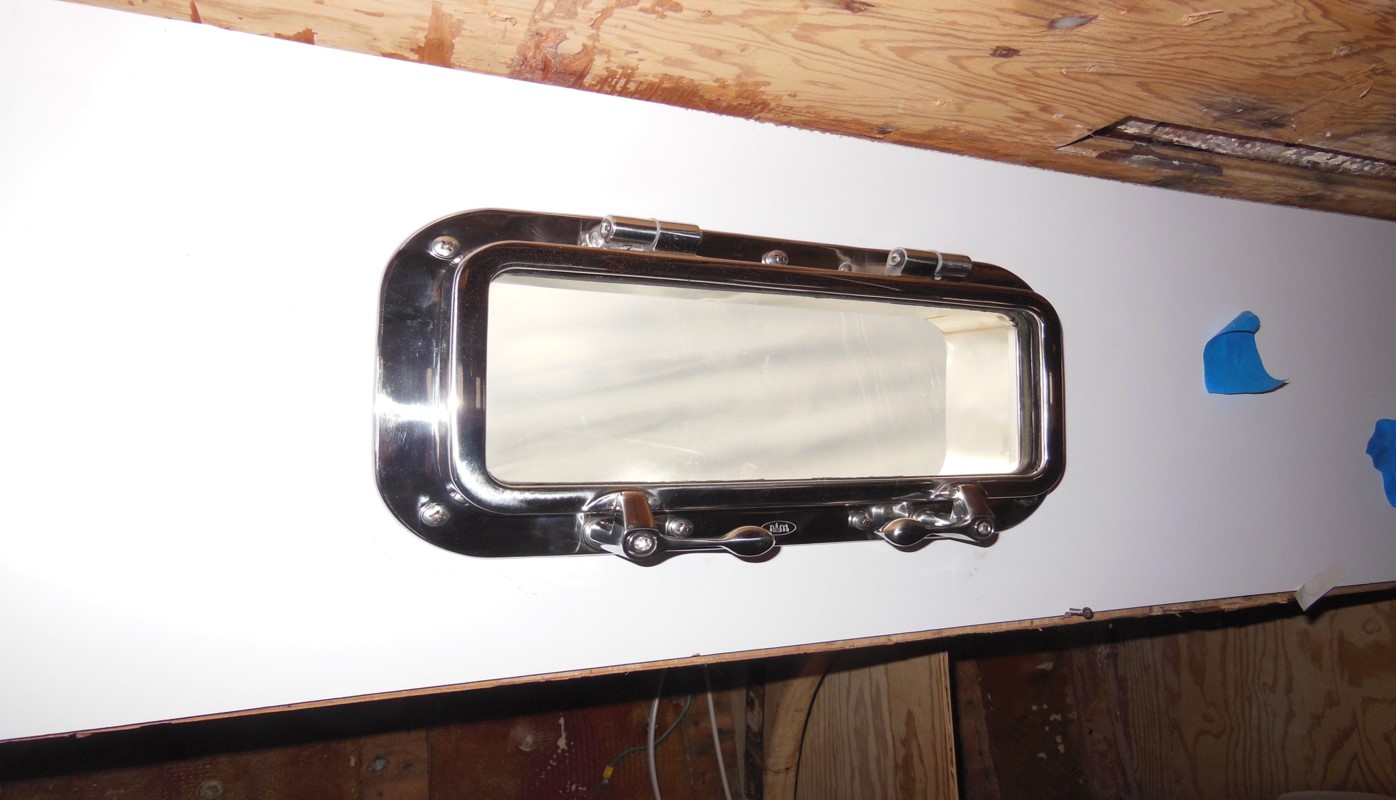
As with most major projects, once the rework begins it is very hard to stop. The vessel originally had 9 plastic ports on the house sides and 4 wooden deck hatches. The 9 cabin ports were replaced with 14 stainless New Found Metals ports. Adding more ports meant re-configuring their spacing in the cabin sides. The wooden hatches were replaced with stainless Mann Ship hatches.
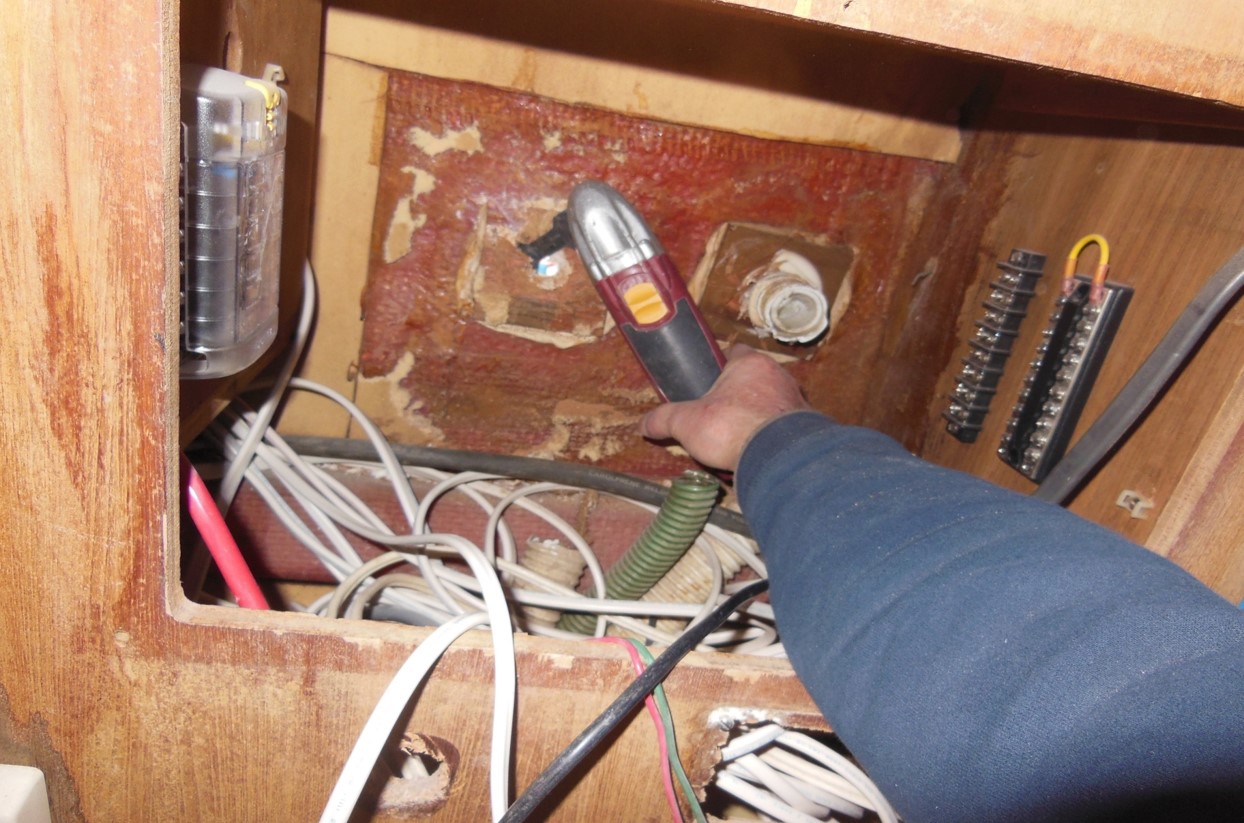
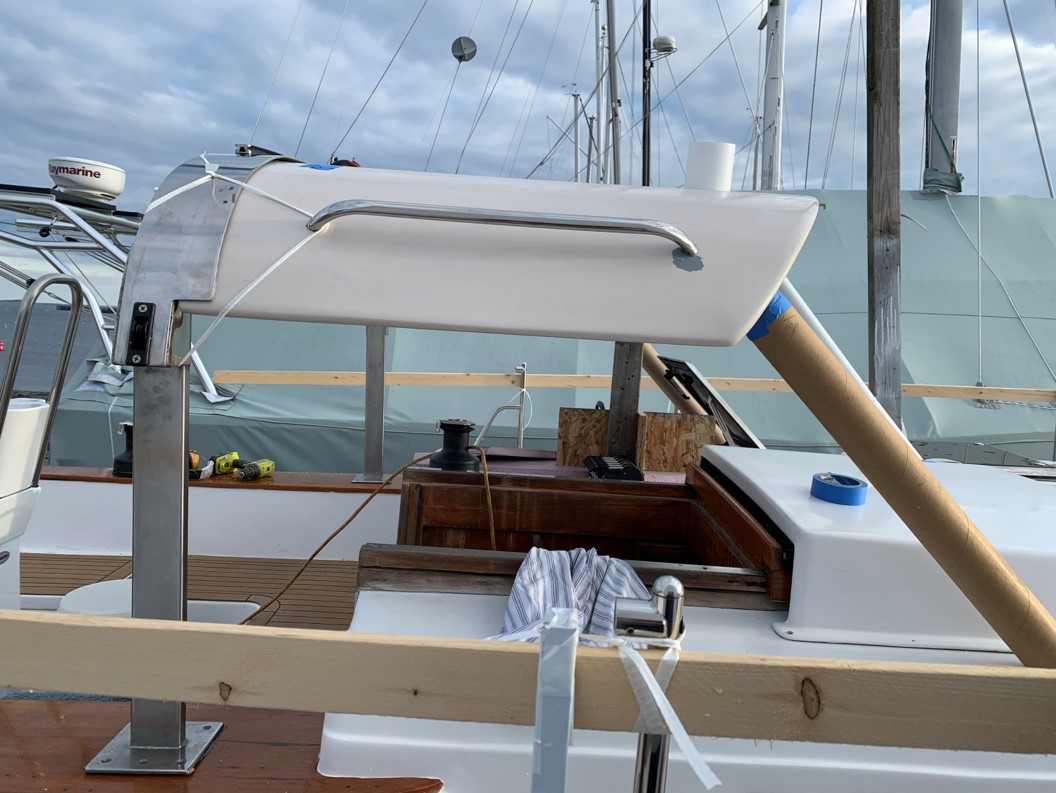
The DC electrical systems as well as electronics were also aged so while the boat was pulled apart, every inch of plain copper wire has been removed and replaced with new tinned wire, installed to ABYC standards with a new electrical panel. The batteries were located in the wonderful engine room of the Valiant 40 but that location is way too hot for them over time. Now there are now 8 group 31 AGM batteries aboard. 4 are in hanging locker and 4 are under the aft cabin berth with a start battery under the companionway step. To charge these banks, besides a new 110-amp new Balmar alternator, there are 5 Flexible 100-watt solar panels are on the bimini top of the new stern stainless-steel arch a 175-watt panel is on top of the ridged dodger I built. The ridged dodger is supported by another hefty custom stainless-steel arch that is sized to accommodate the main sheet and traveler.
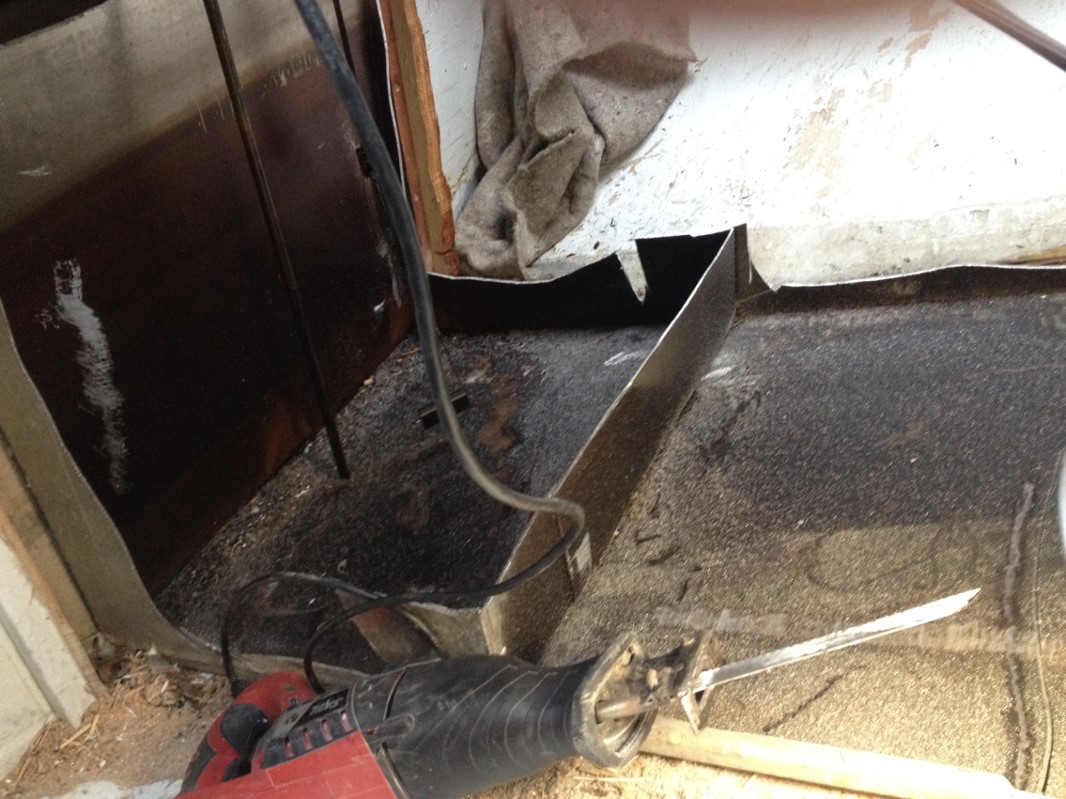
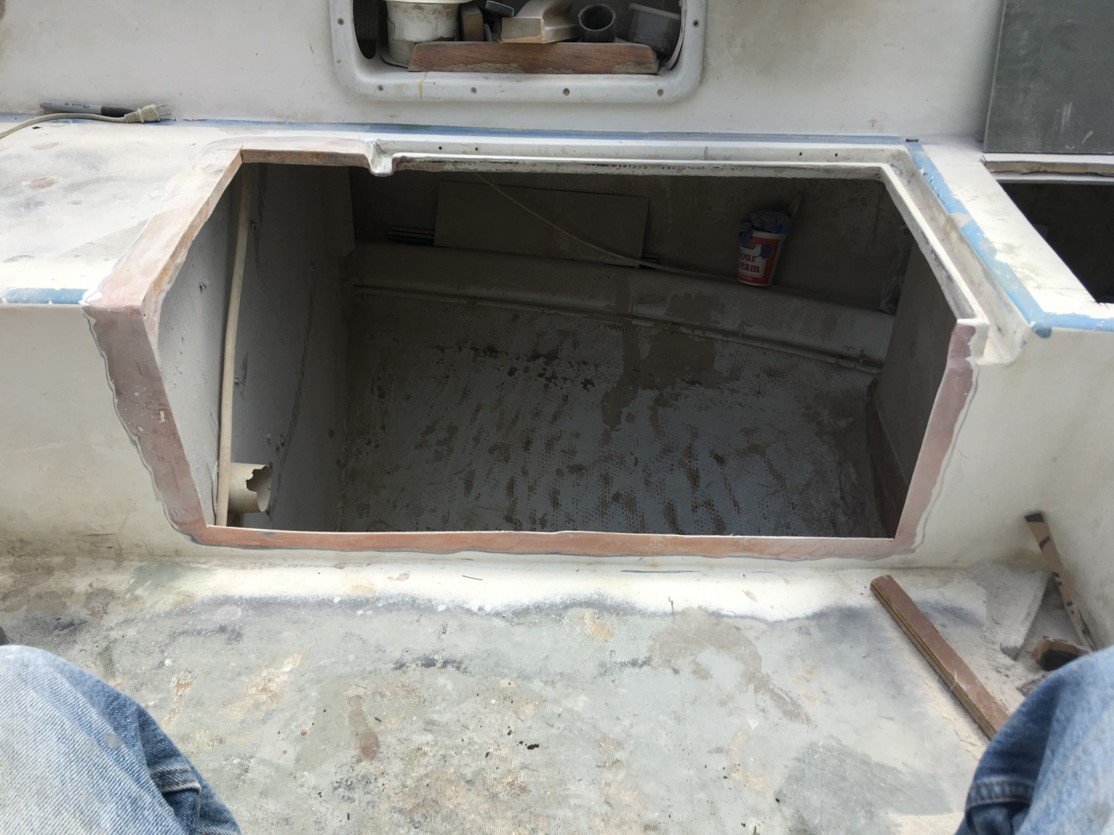
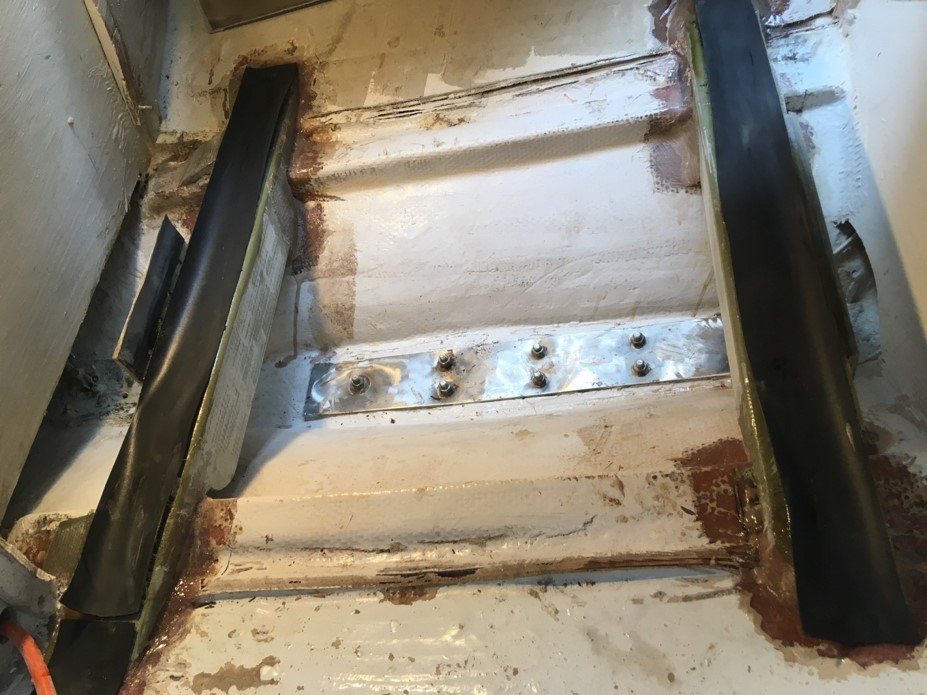
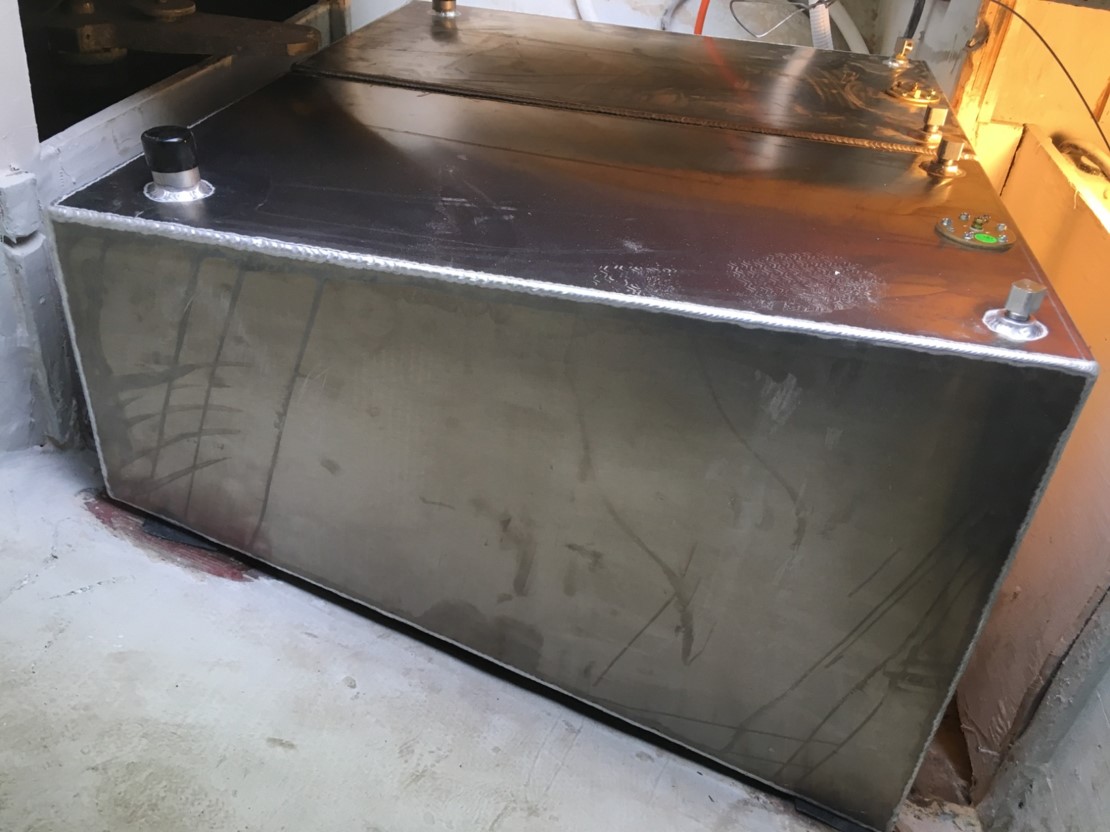
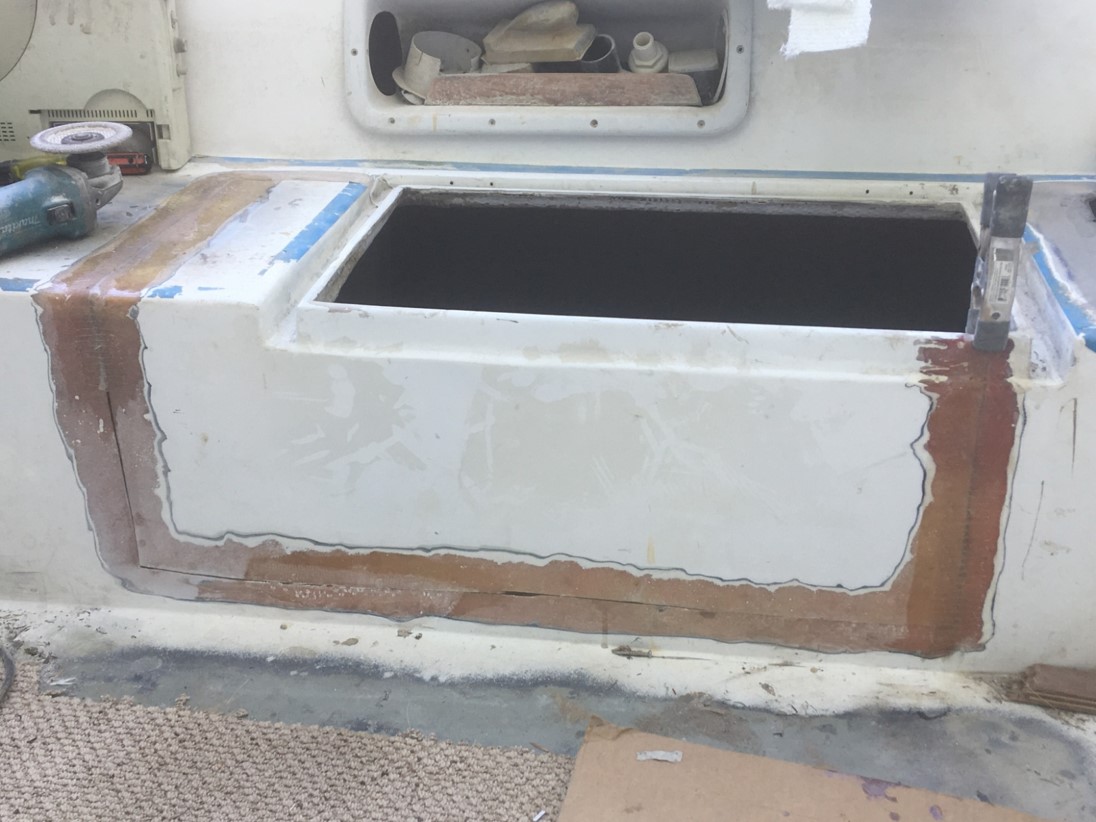
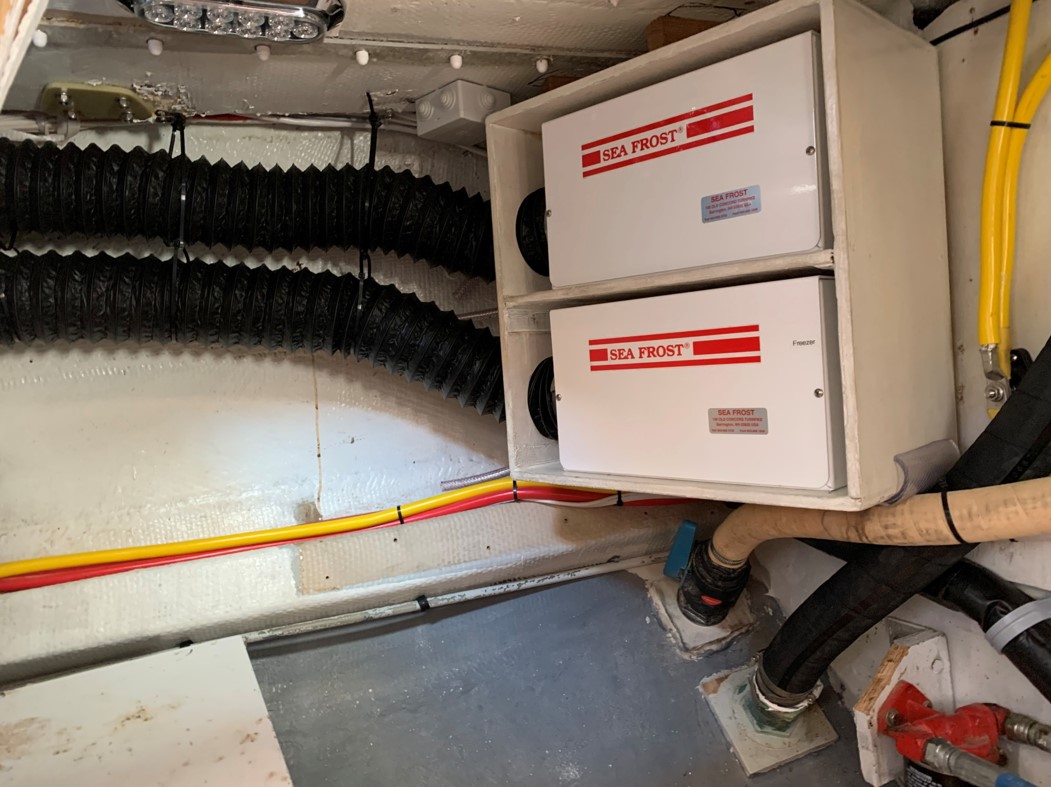
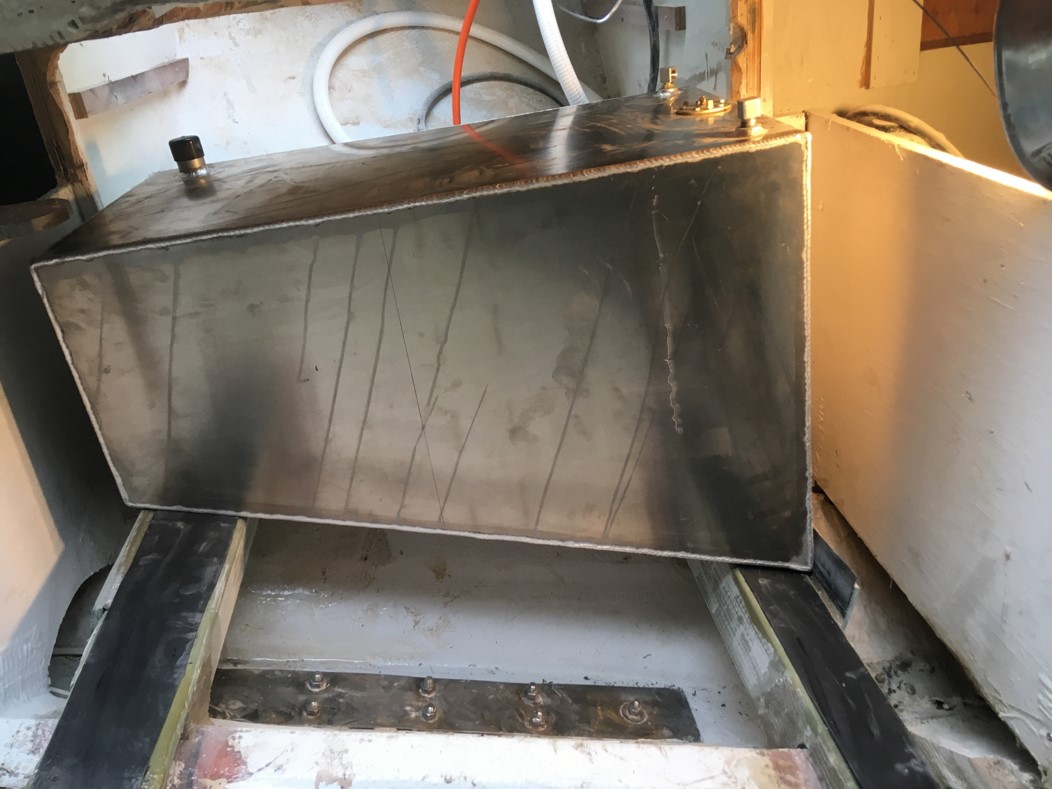
All of the plumbing was removed and replaced as well as every thru-hull, pump, faucet, propane hose, holding tank, deck fill and deck drain. The two original aluminum, 75-gallon water tanks leaked and would not fit out the companionway so were cut up for removal. Consequently, the new tanks were fabricated in place using Coosa Board and FDA approved epoxy from MAX BOND. The bladder waste holding tank was tossed and a custom stainless-steel tank was installed. The aged refrigeration system was replaced with two Sea Frost units; 1 fridge and 1 freezer. The 96-gallon fuel tank was suspect and the tank was cut out to remove. Two new aluminum 45 gal fuel tanks were fabricated from my templates and the cockpit side was cut to install them.

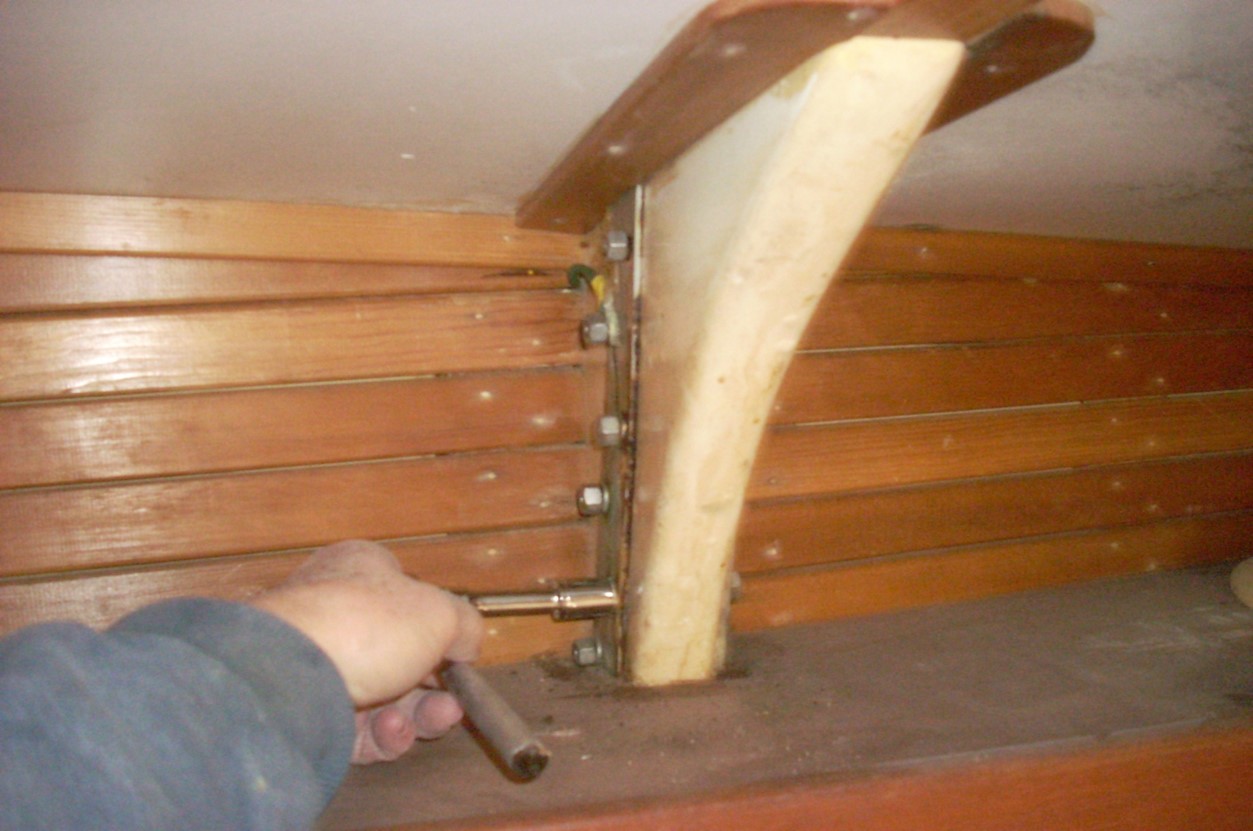
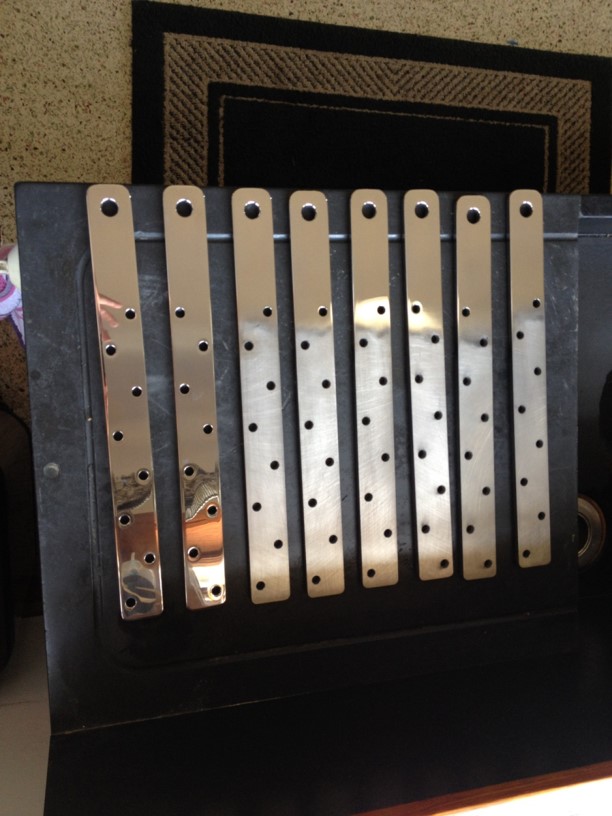
The mast system was upgraded with new rod rigging and the mast was rewired and painted. New chain plates we waterjet cut to reduce stress on the metal and polished to resist pitting over time. The sails are mixed but the main is new.

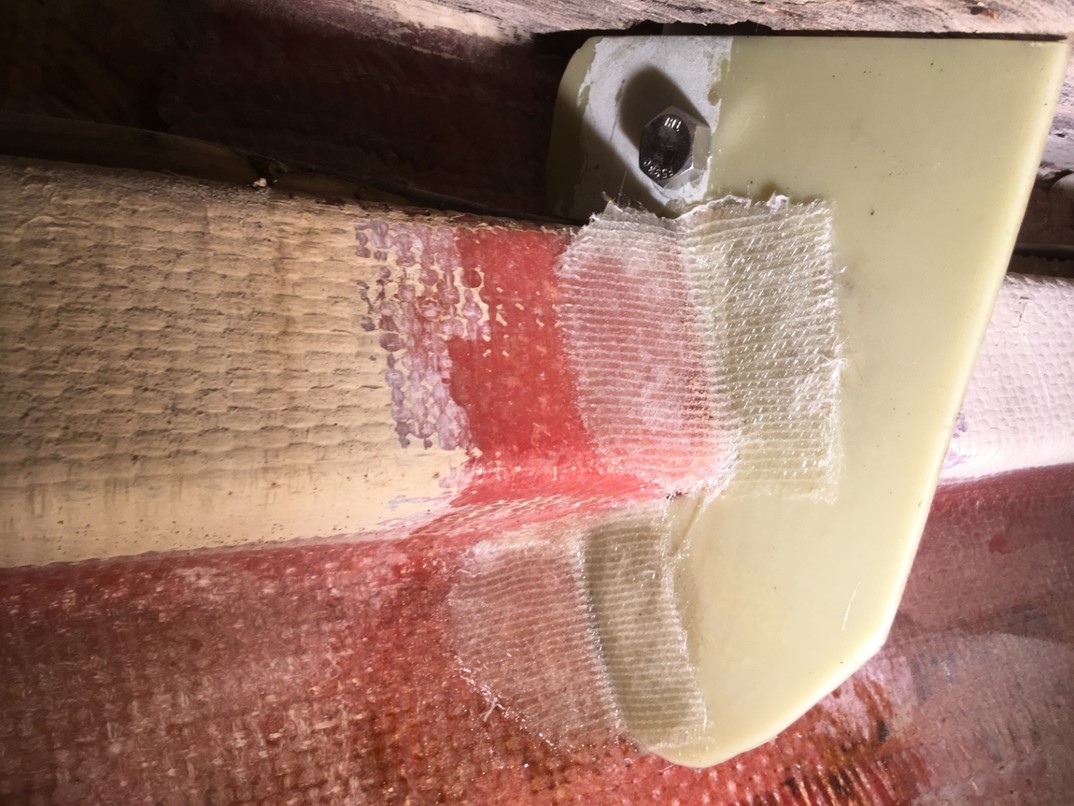
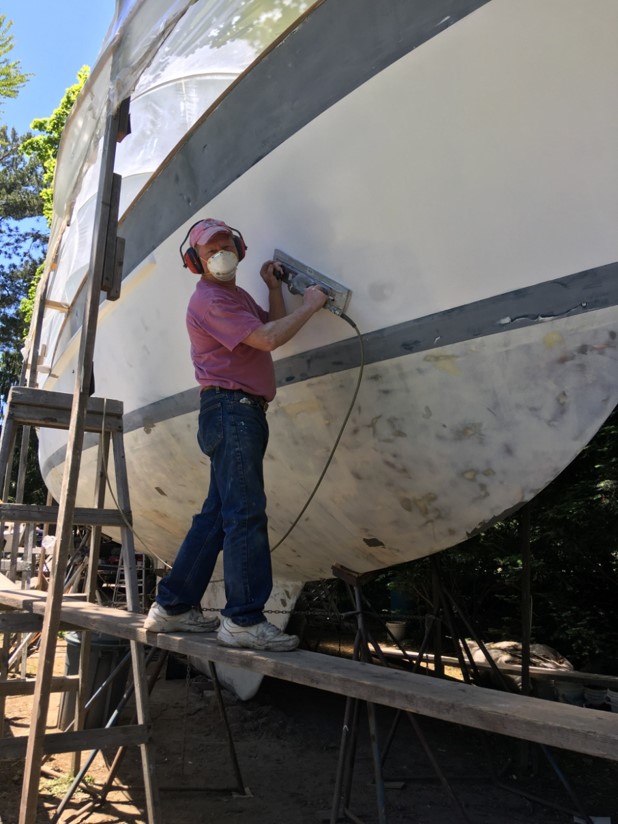
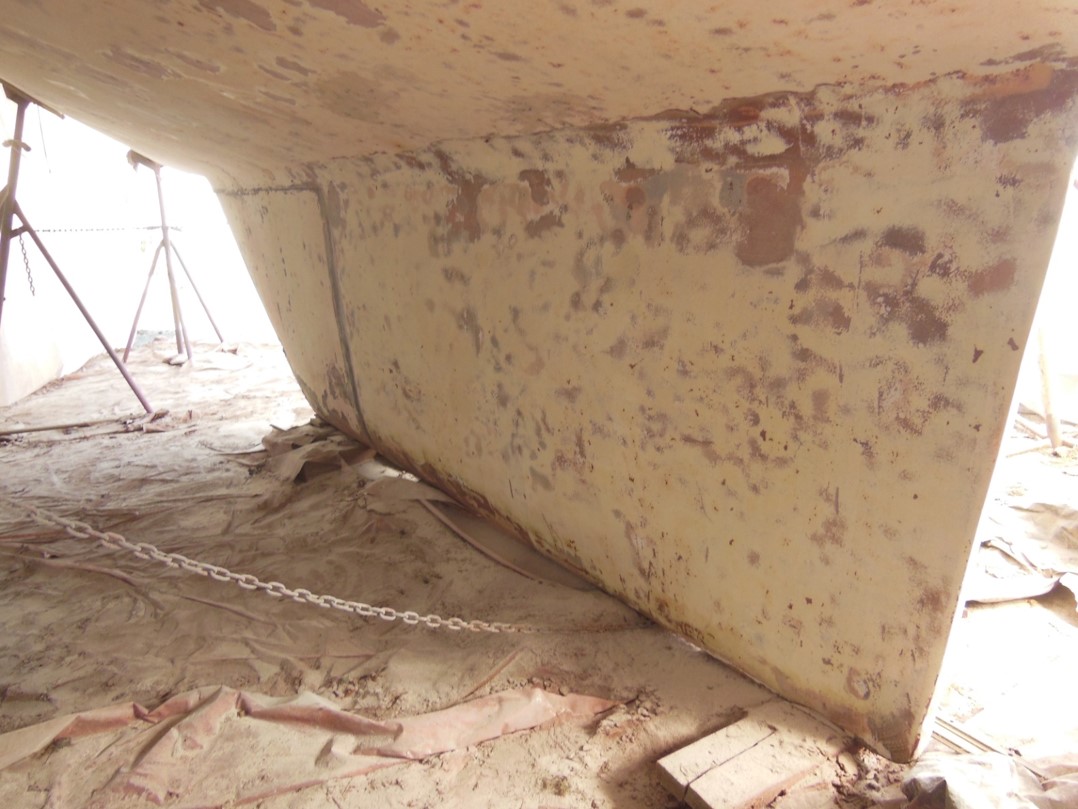
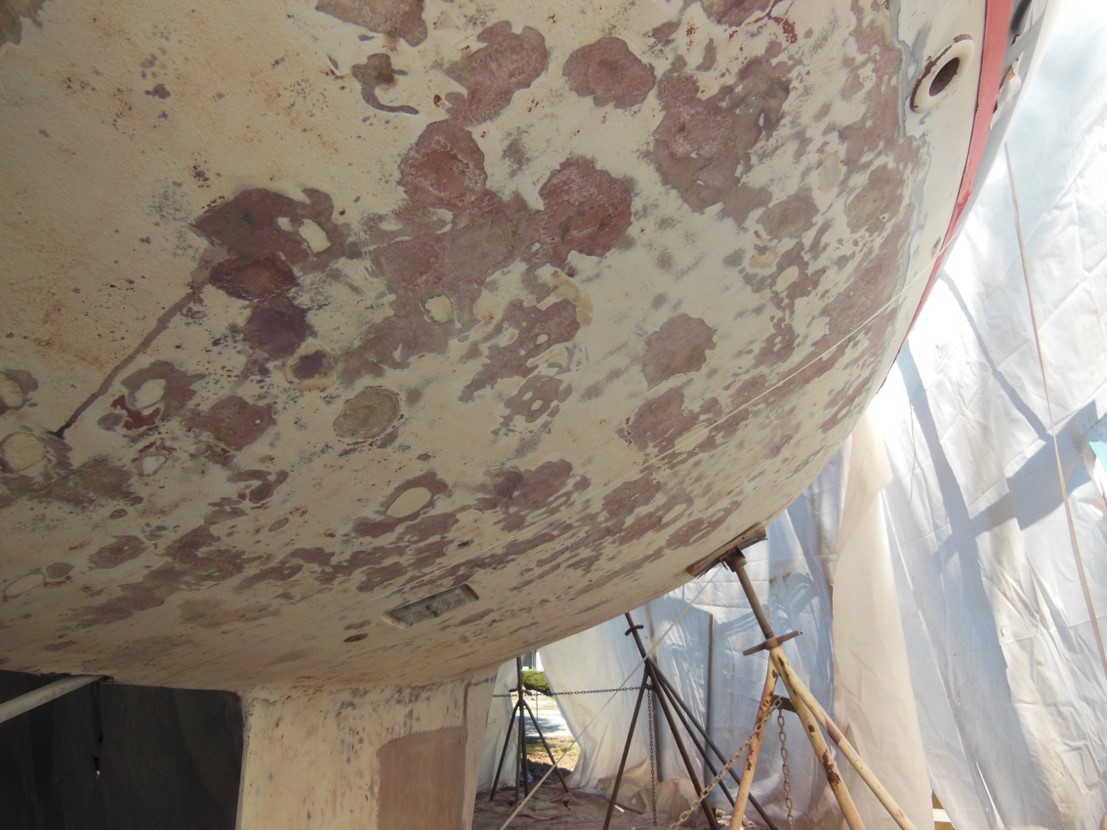
Her bottom was sand blasted and re-faired with thicken epoxy. Her rudder had some voids so it was removed, pealed, re-glassed with epoxy and is good as new.

She had a 1999 Beta Marine 43 diesel engine that was started once a year over the ten-year refit. But once launched the transmission and gear needed rebuilding and a new shaft, cutlass bearing, and stuffing box was installed.

She now has a full suite of B&G electronic including Zues 3 plotter, HALO 20 Radar, Auto Pilot, Triton depth, wind and boat speed, AIS, boat base computer, VHF, and Starlink

😊 She is Not for Sale 😊

If you think I’m qualified to look at your boat, please call for an appointment
Many Thanks,
Joe Grenier
978-317-5670

Fast forward to 2008:

Good news: I finally found a 1977 Valiant 40 I could afford. 

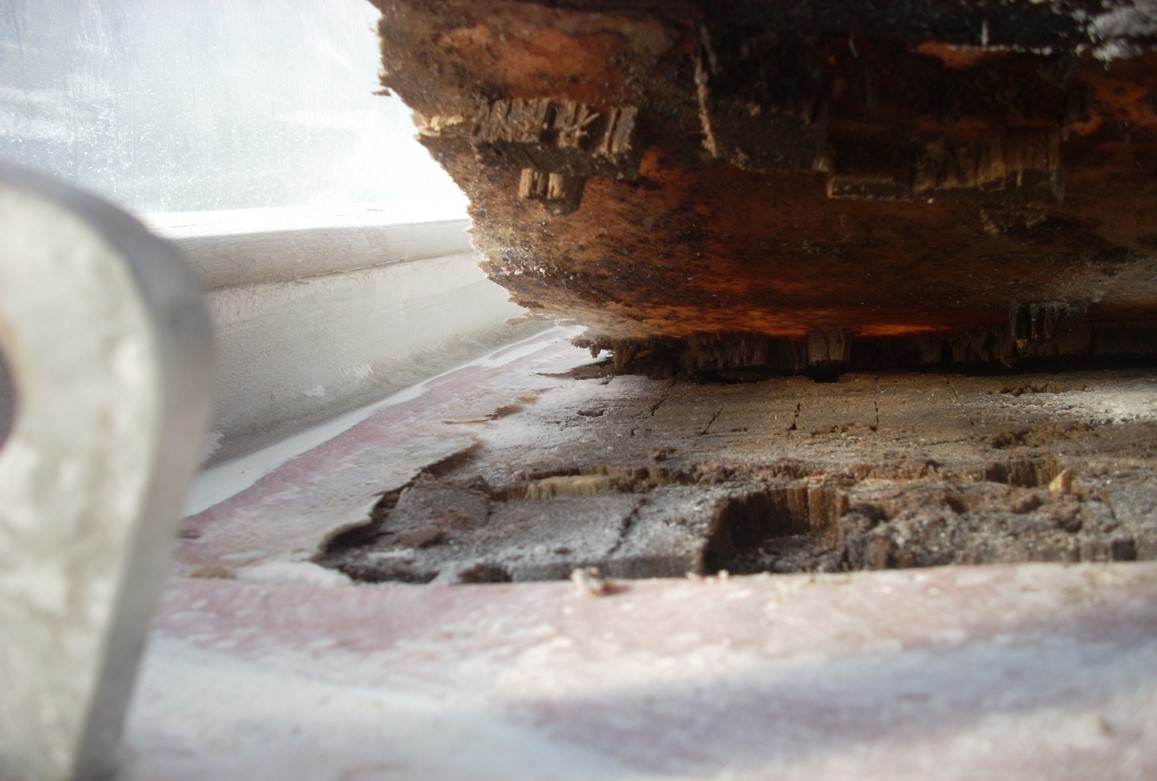
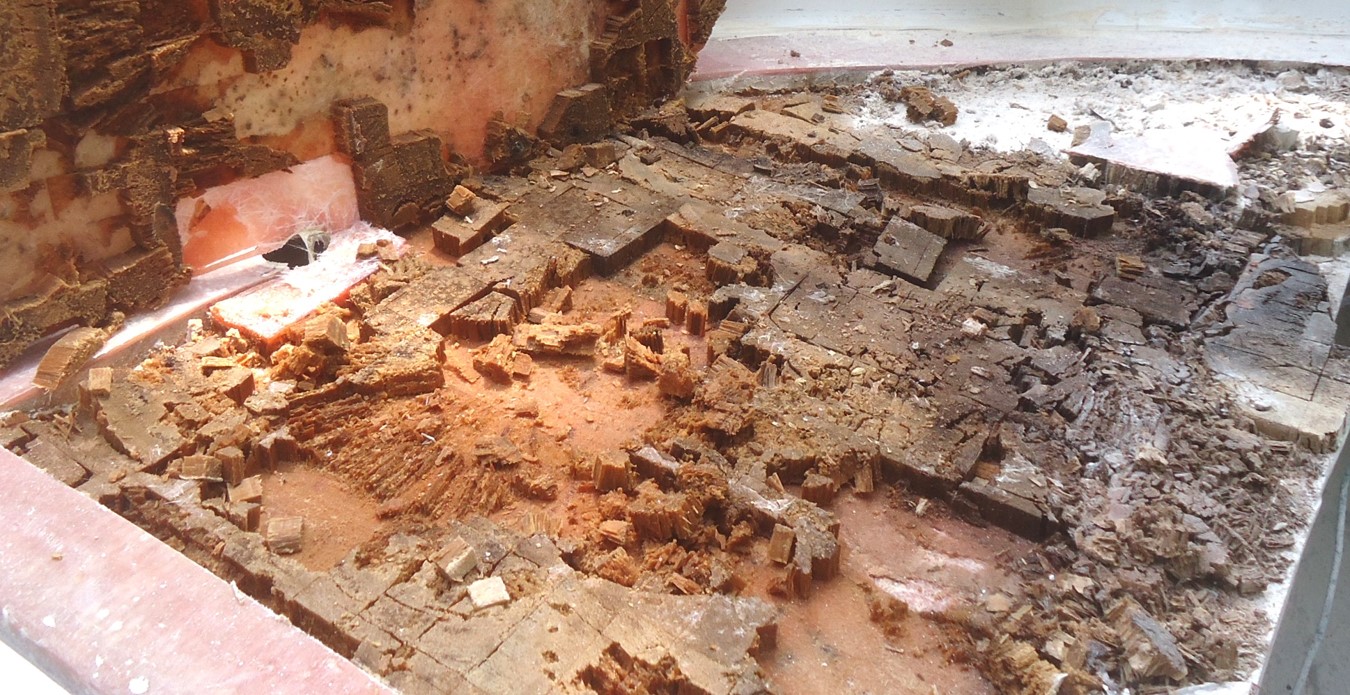
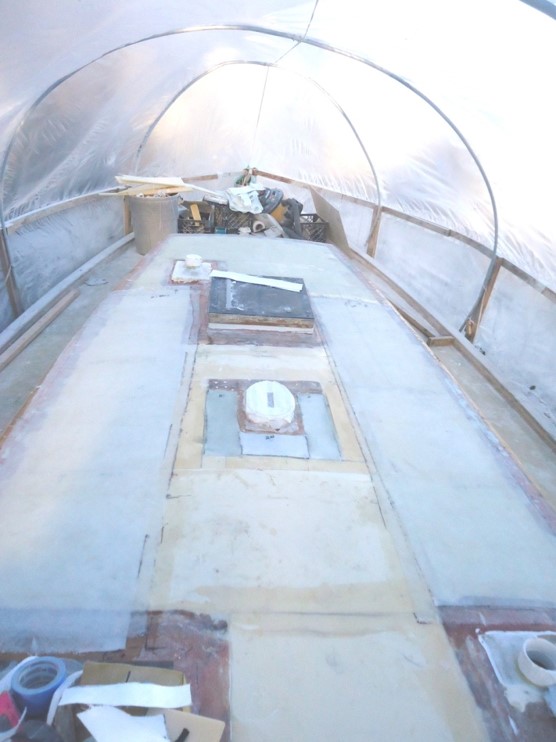
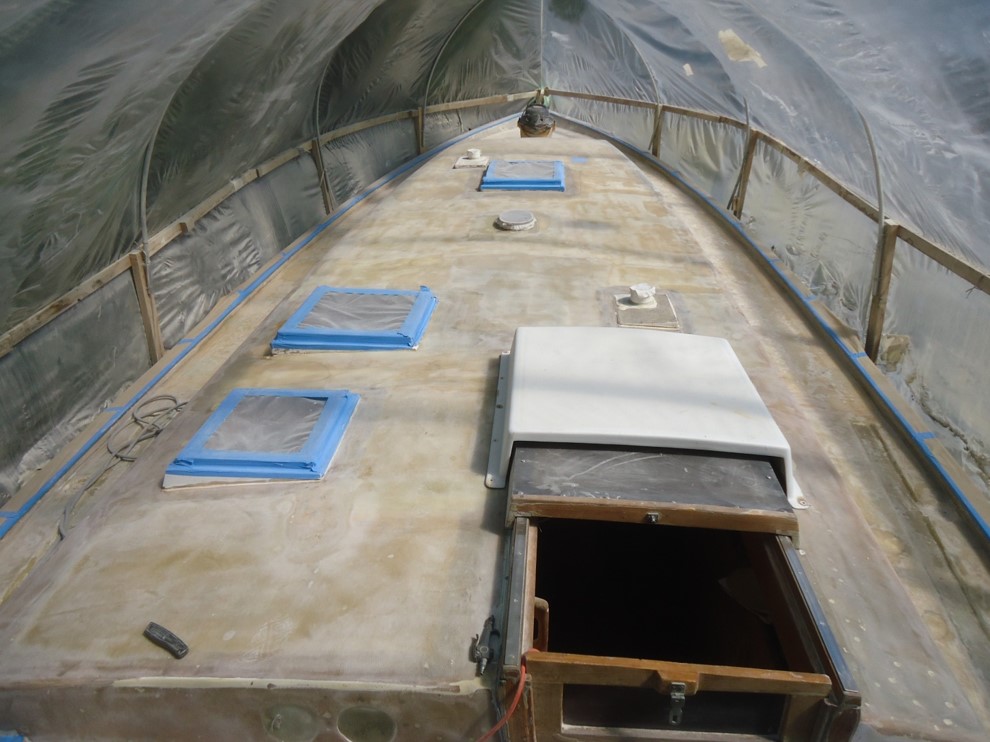
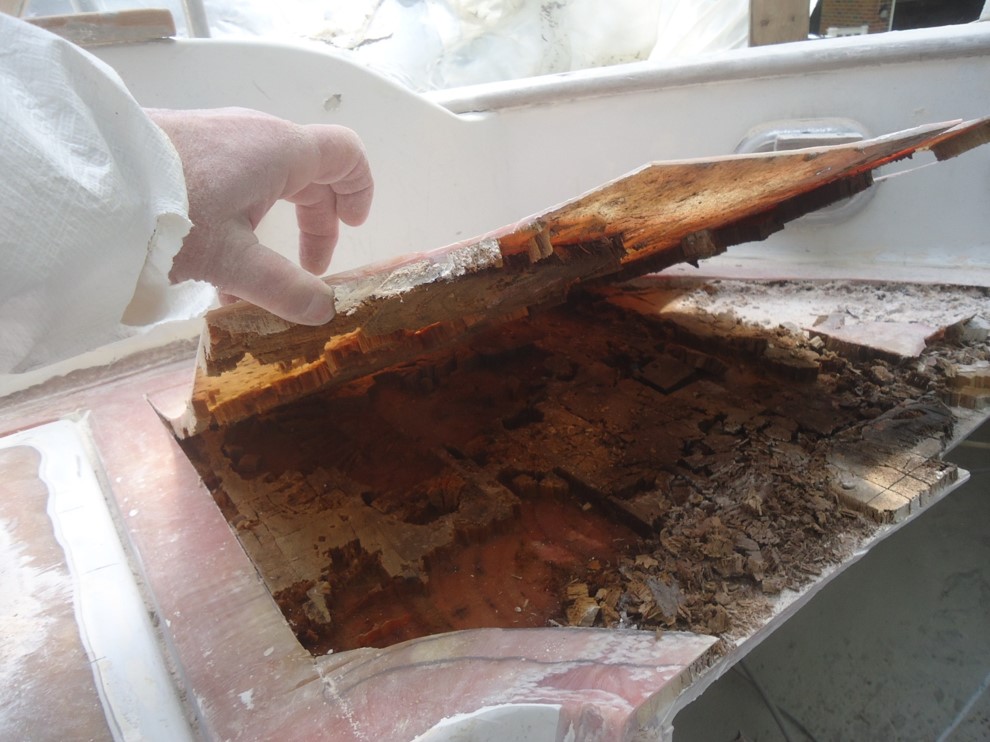
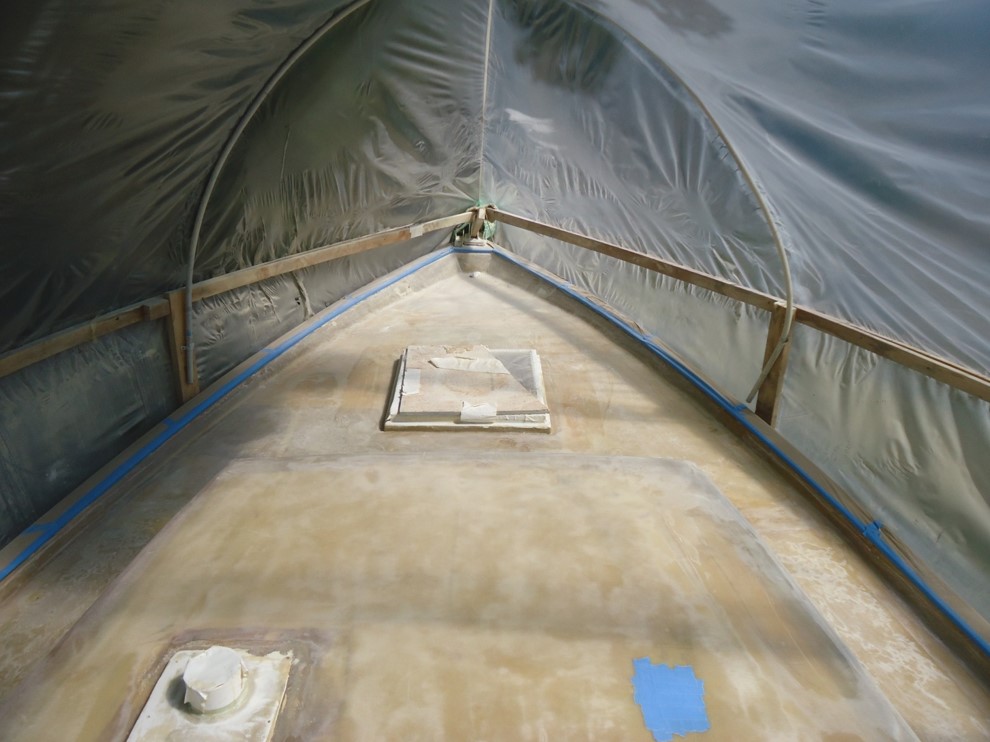
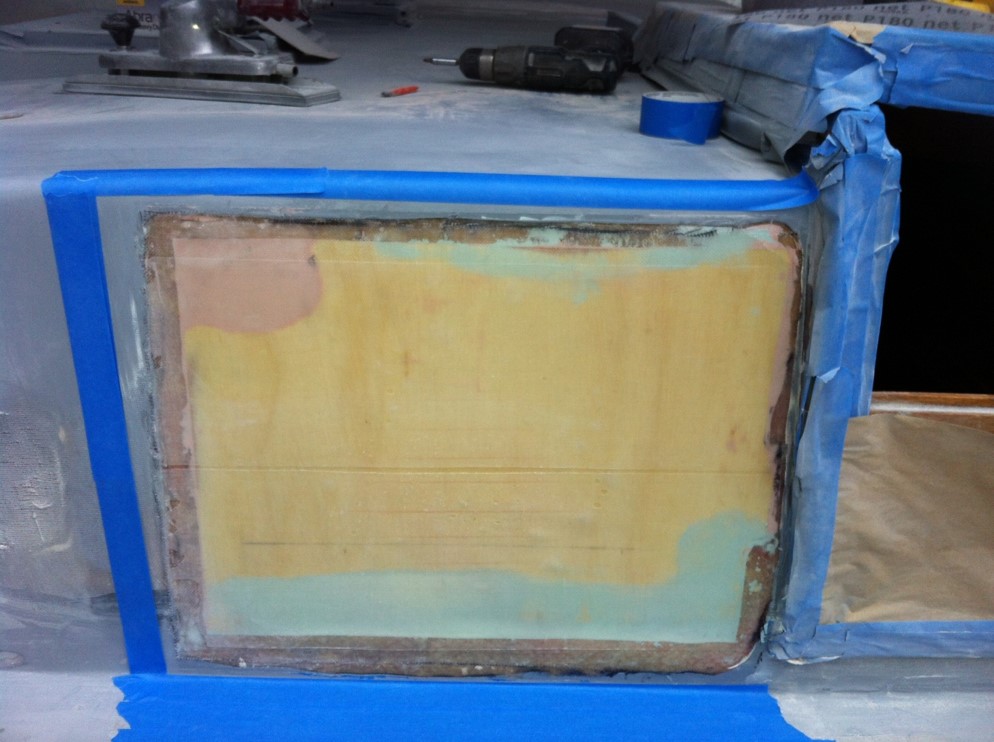
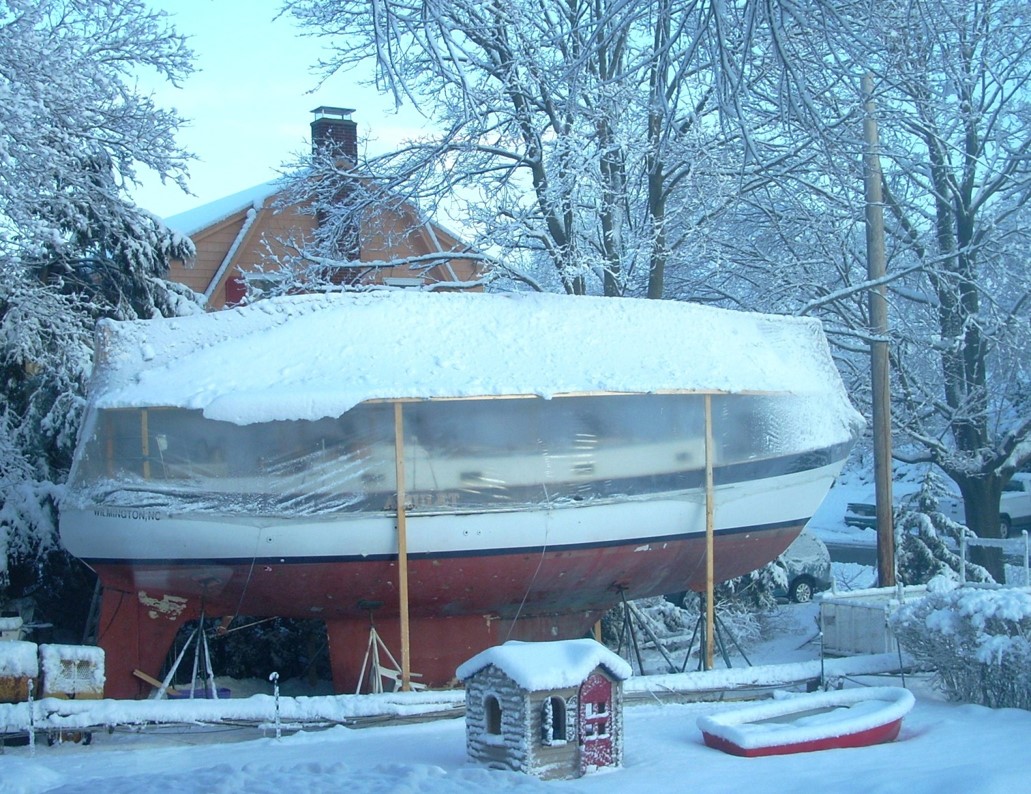
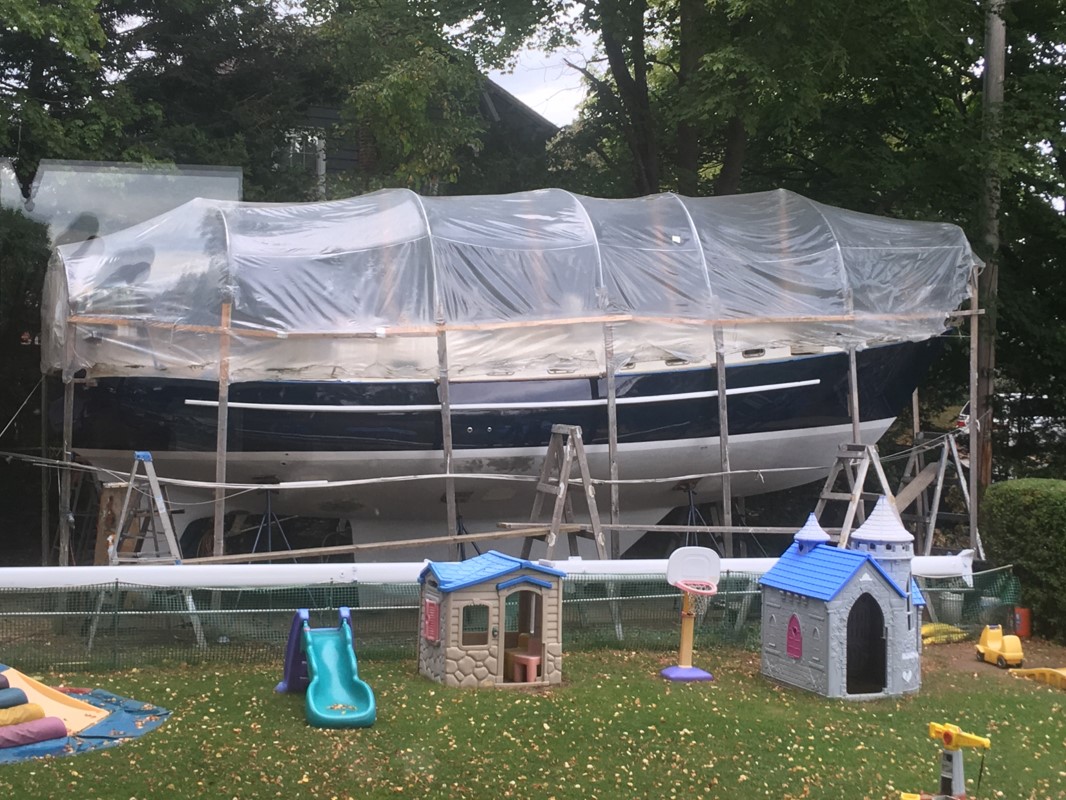
Bad news: She was very needy. Amulet was built during the infamous “fire retardant resin era” of the Valiant history (blue water boat.org). In addition to having the unsightly but non structure blistering, resulting from the fire-retardant resin; she had been badly let go. Water had intruded the Balsa deck core in so many places that the entire top layer of the deck had to be completely removed and all the Balsa core beneath it. Nothing was spared including, the side and fore deck, cabin top, cockpit sole and cockpit seating areas.

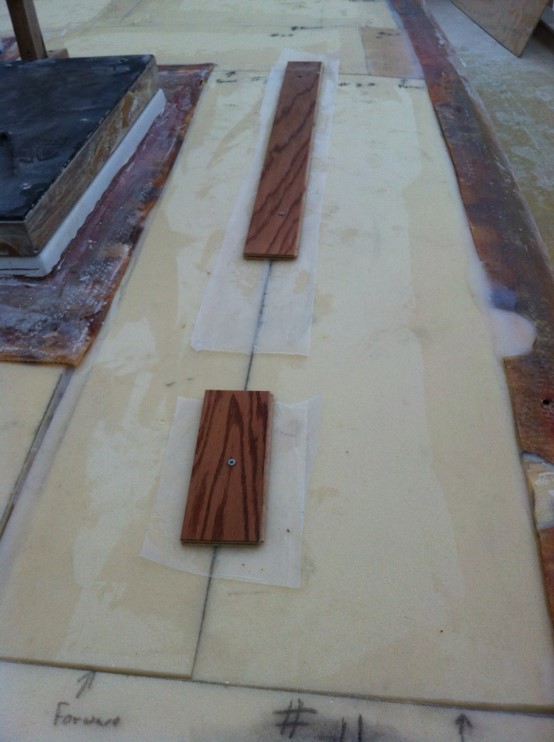
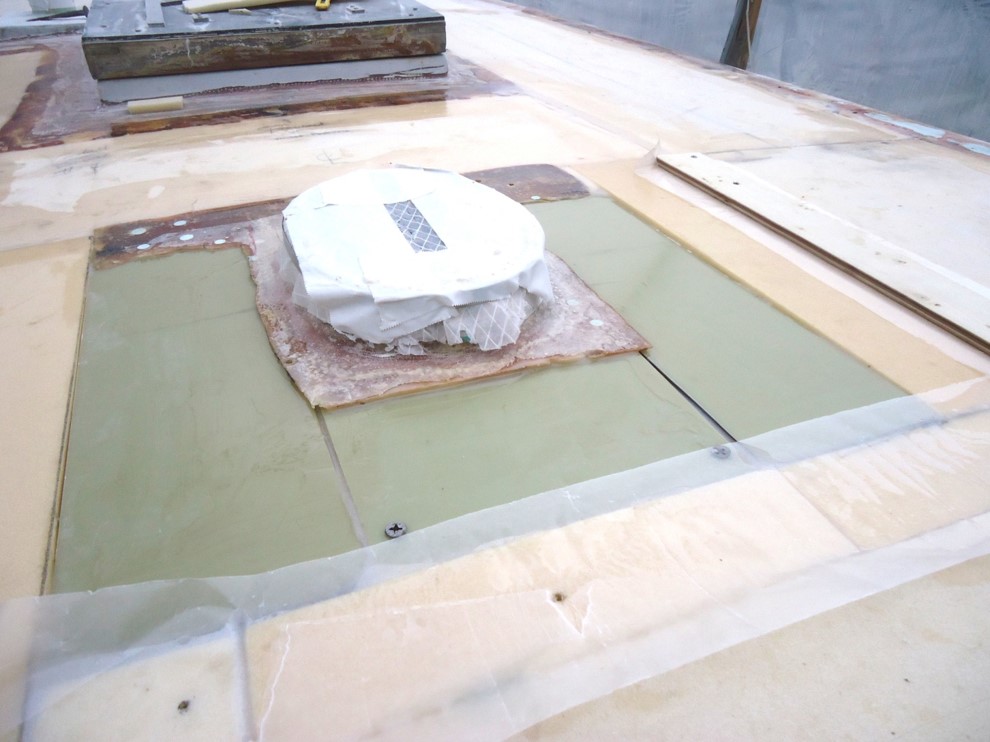
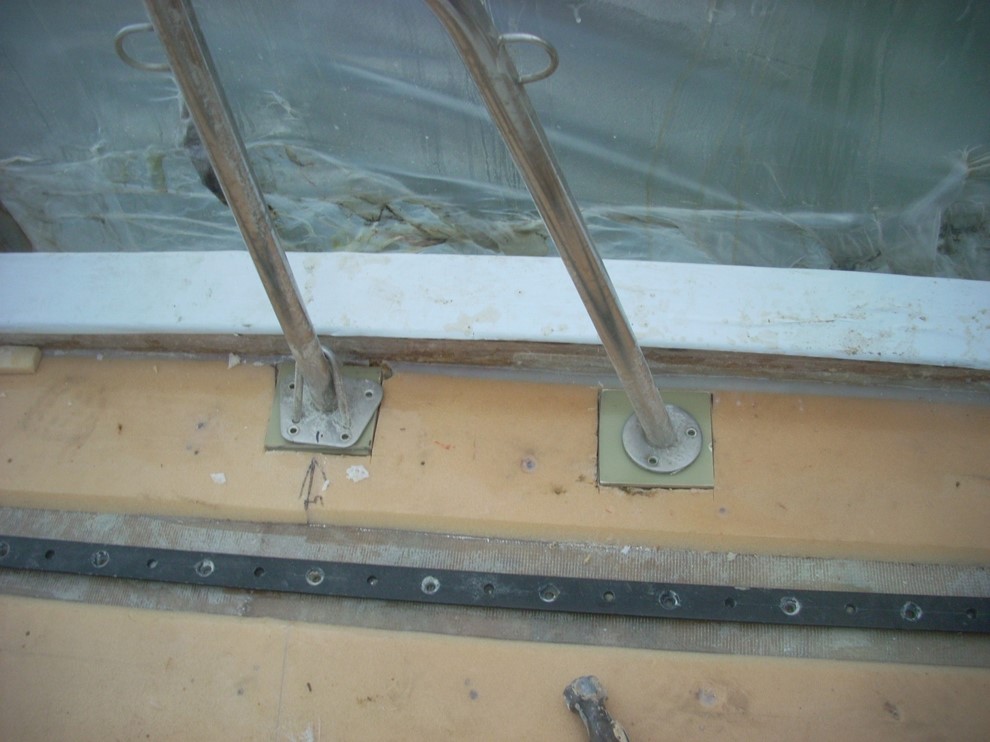
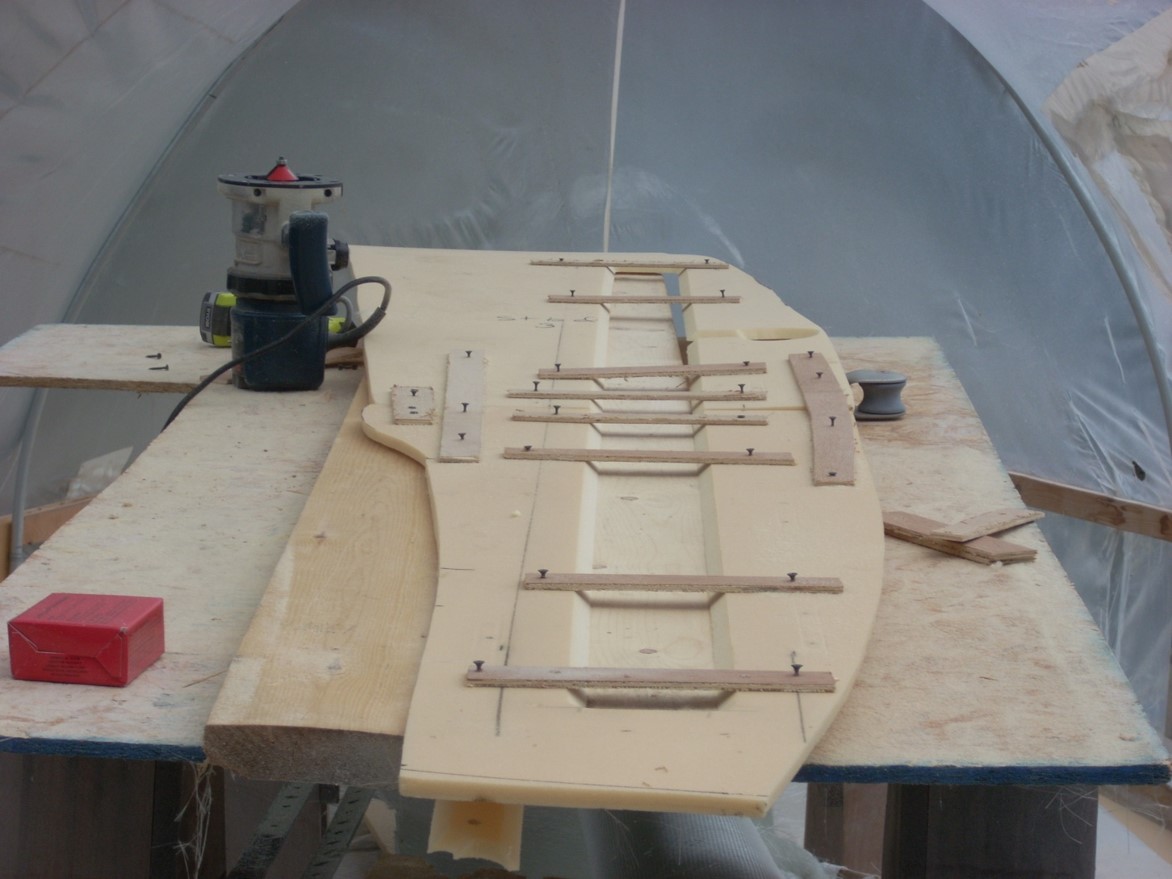
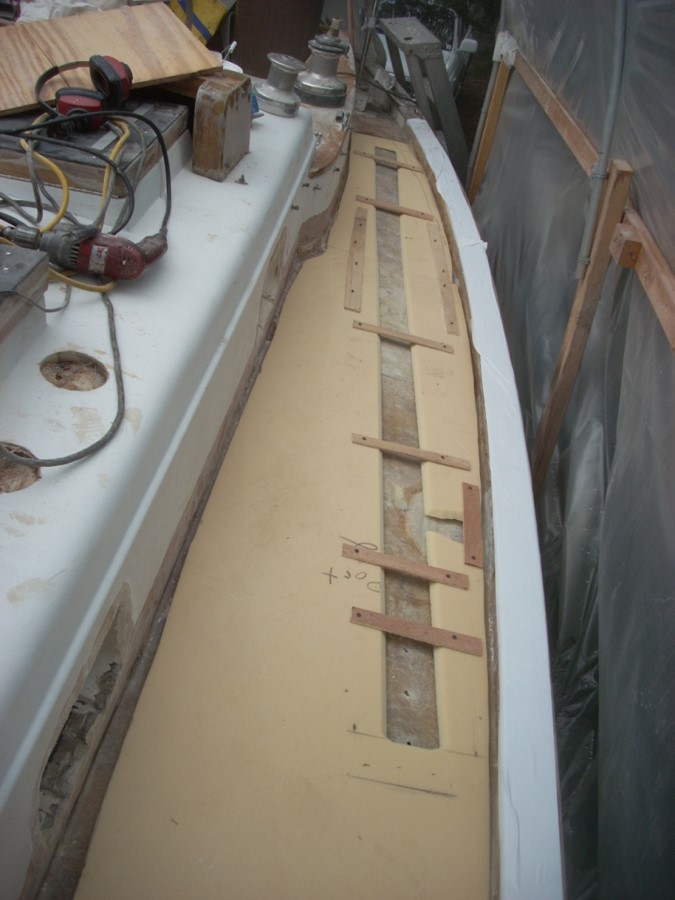
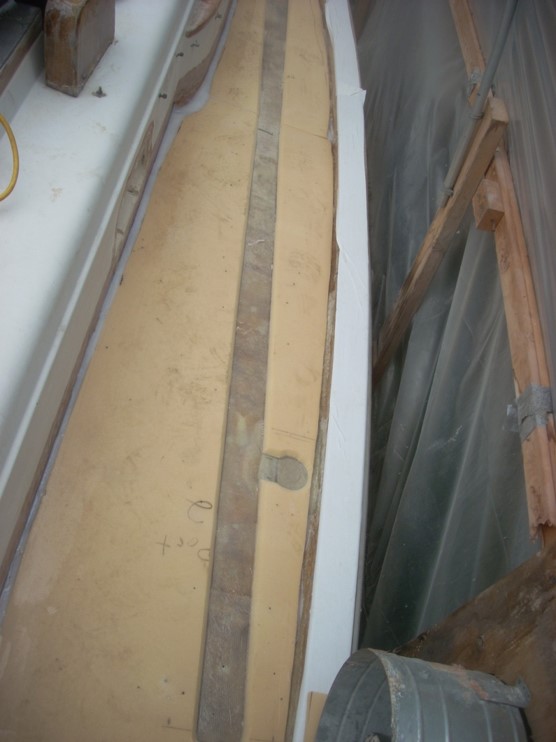
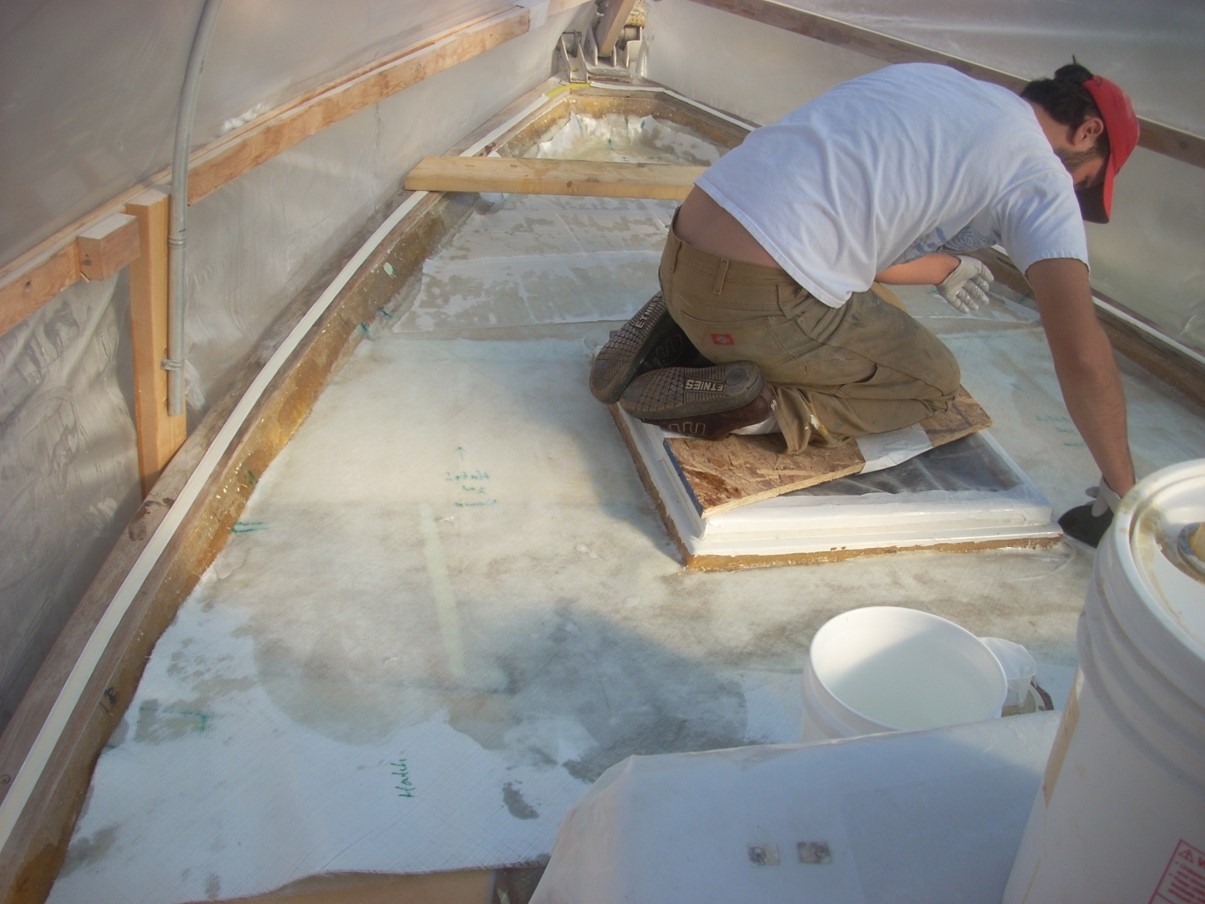
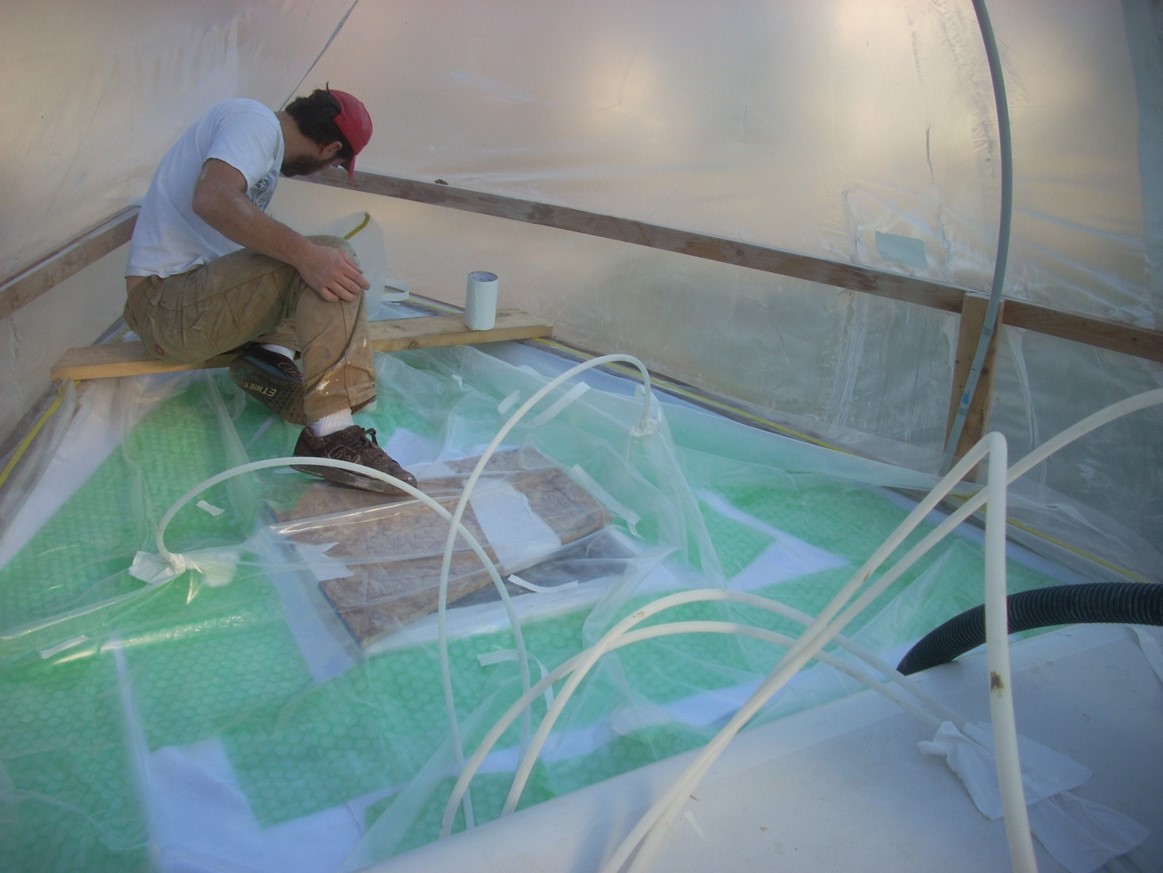
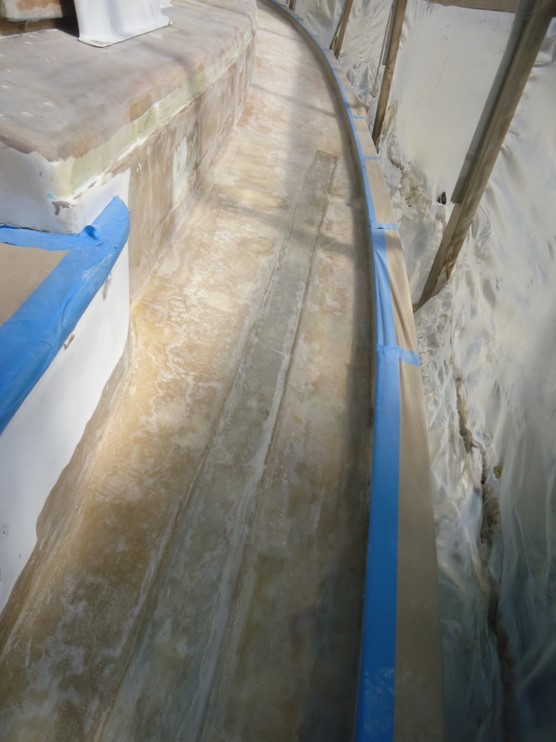
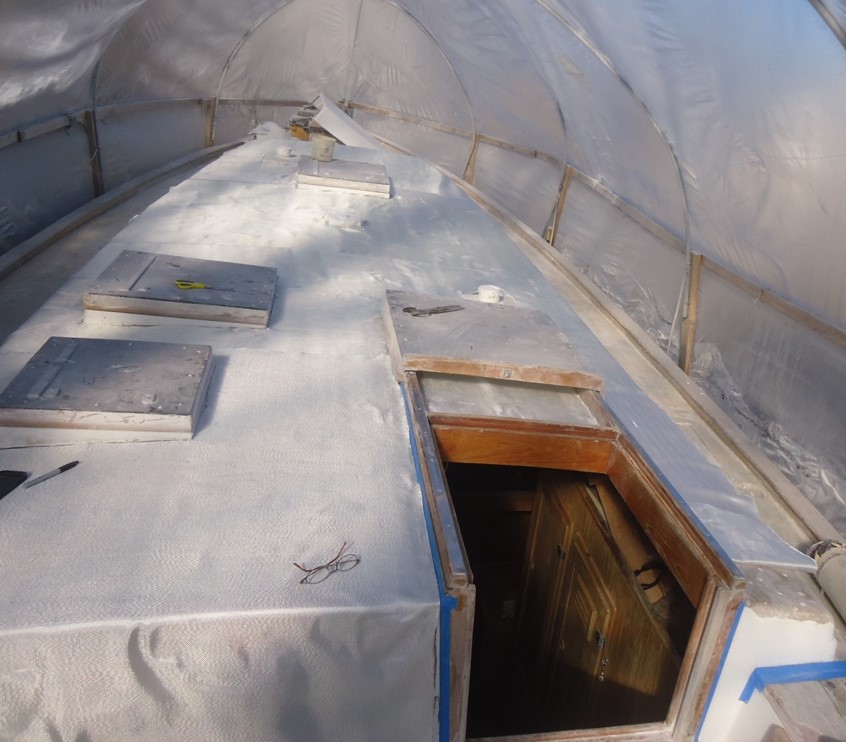
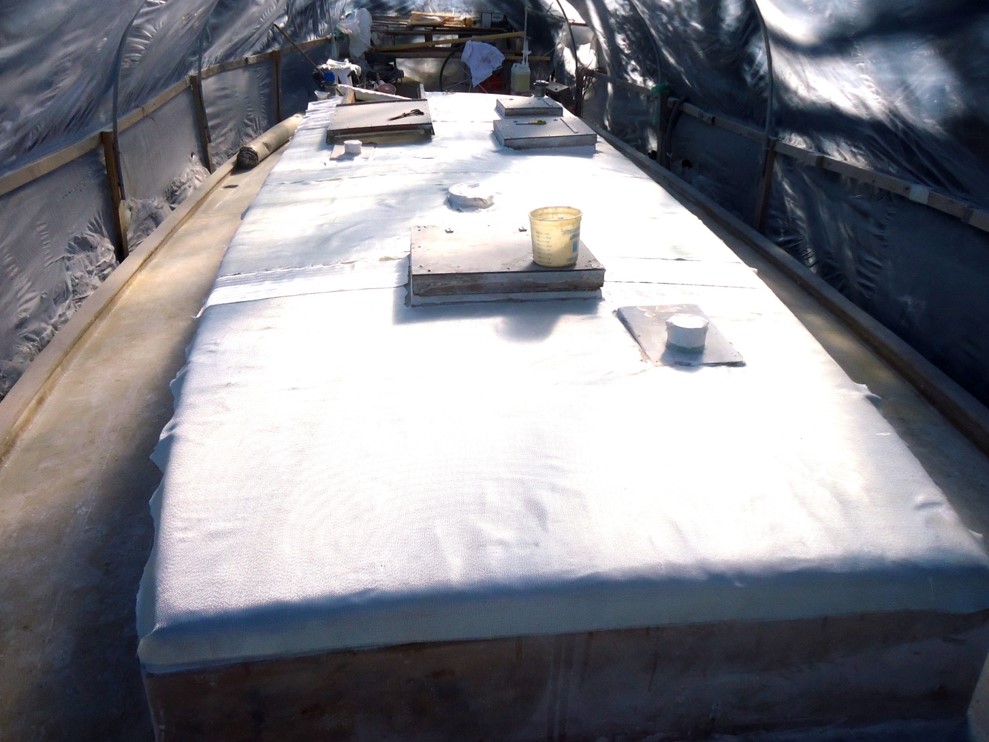
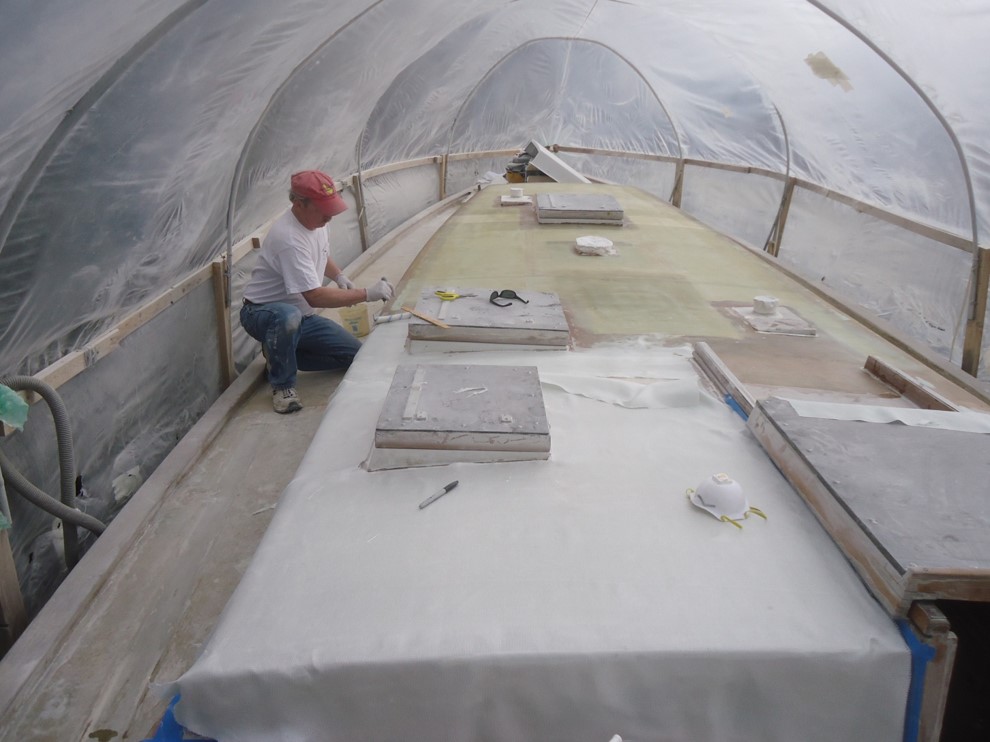
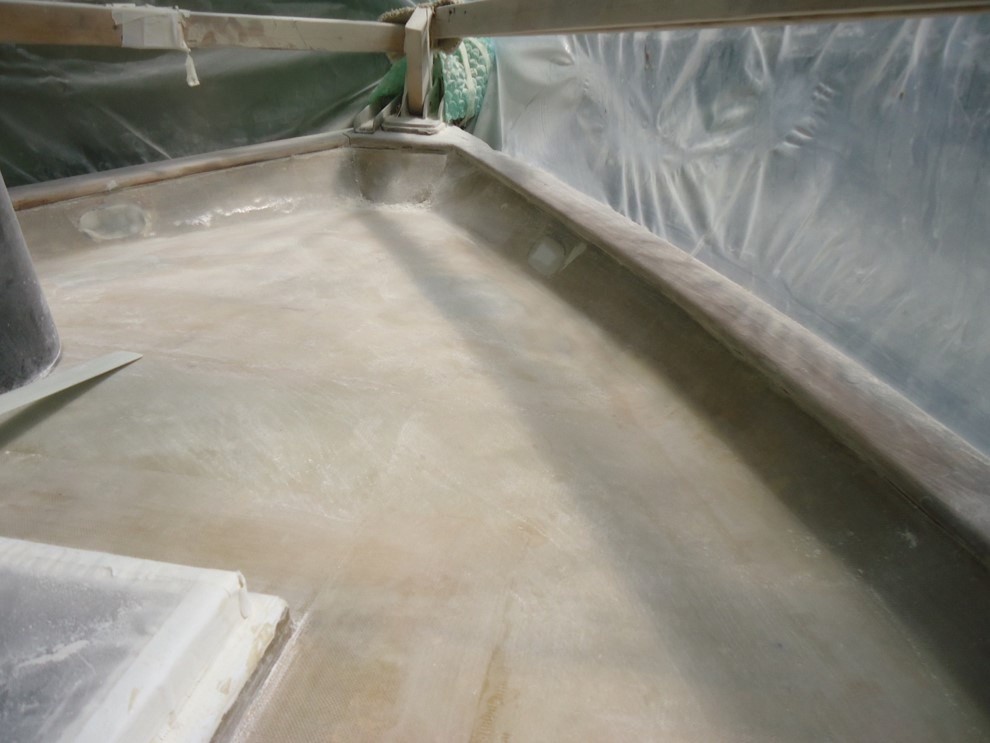
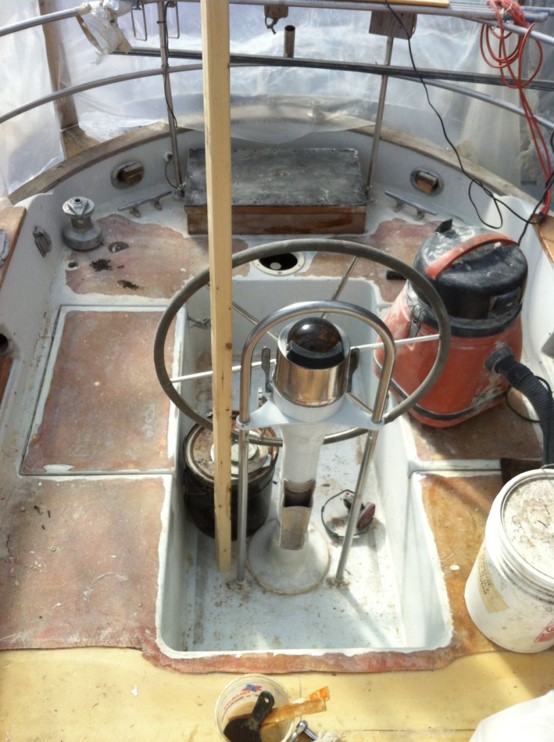
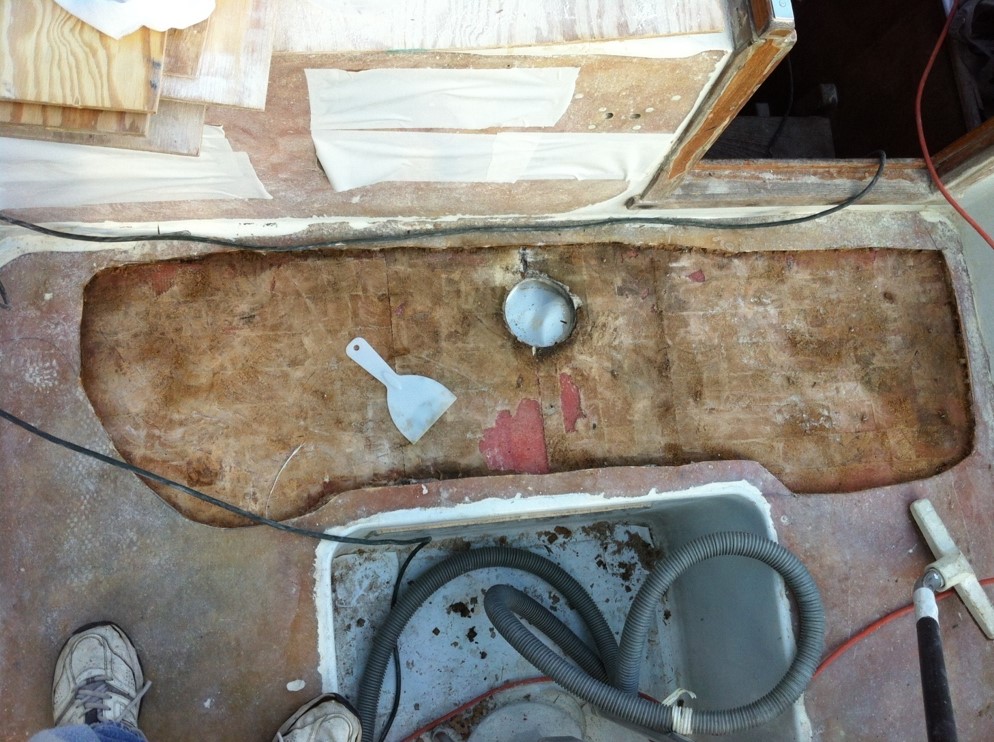
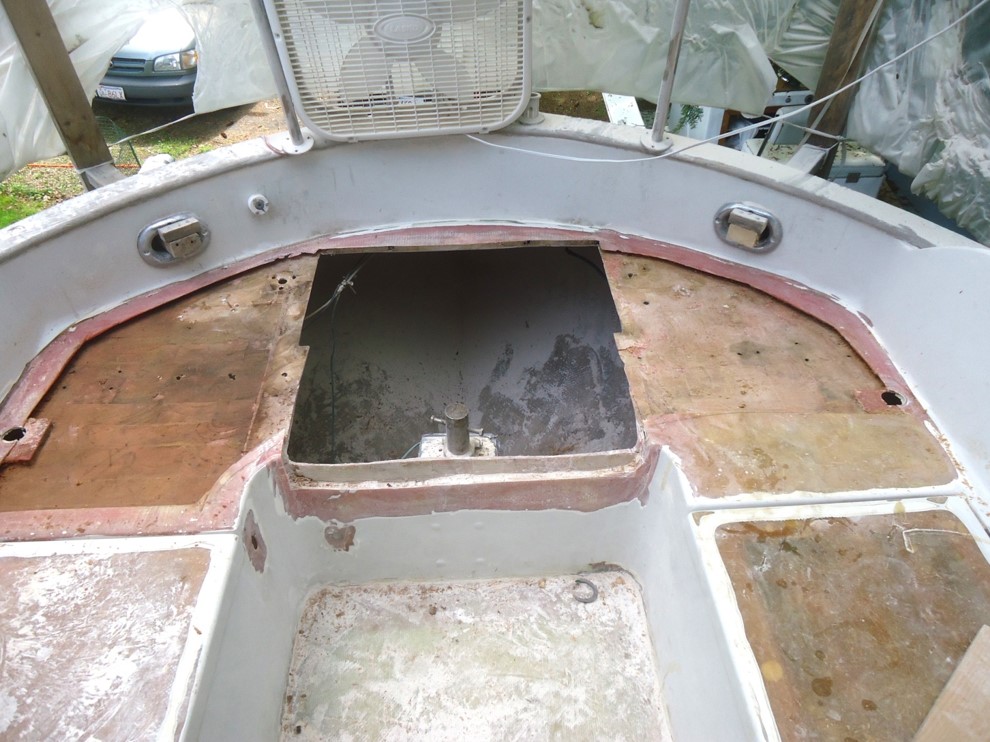
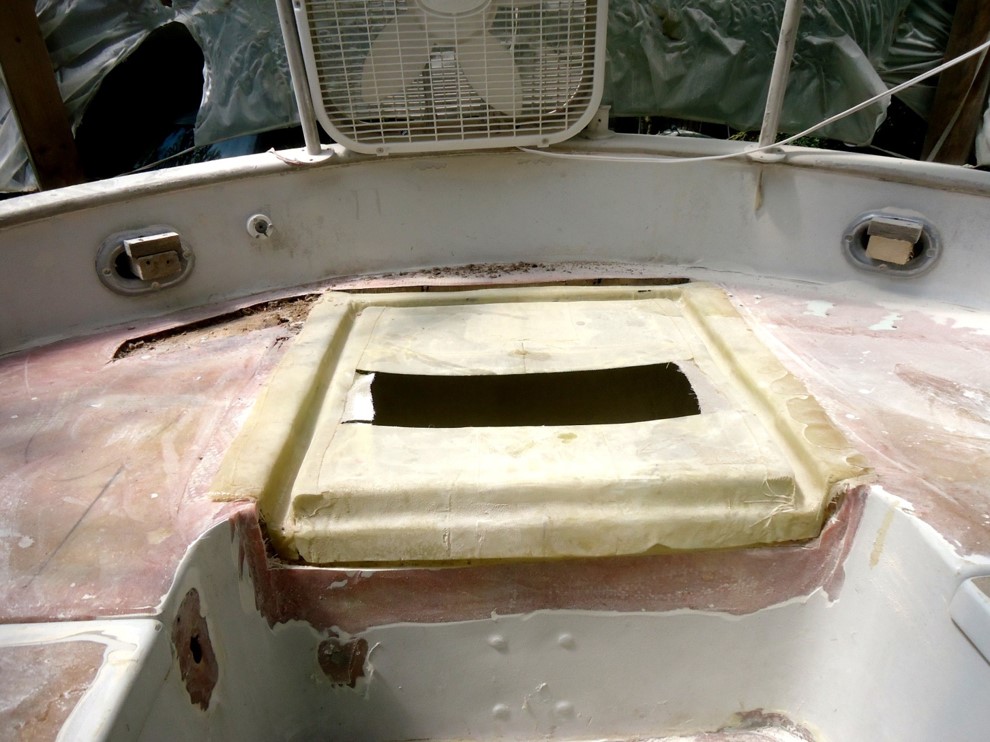
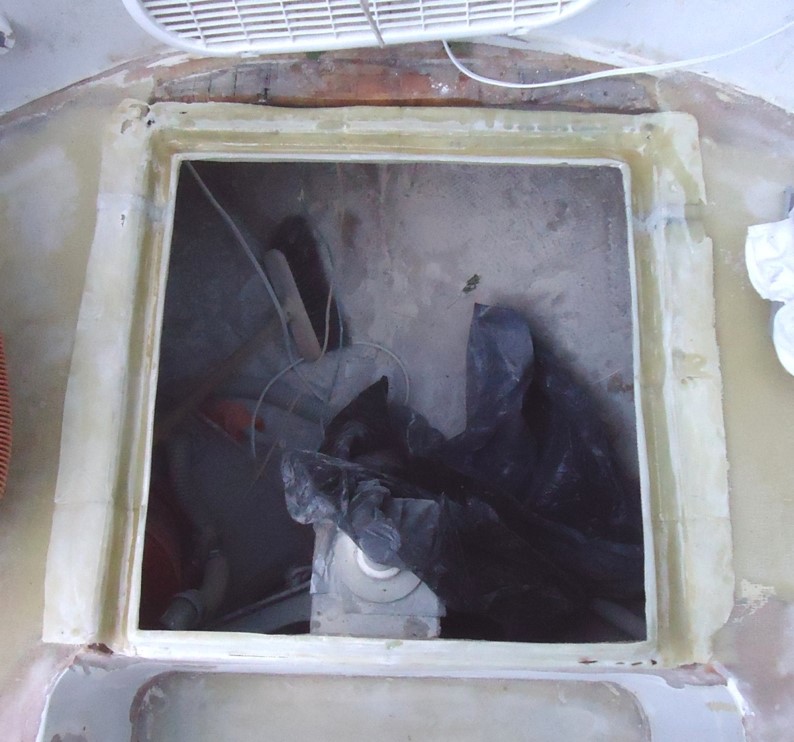
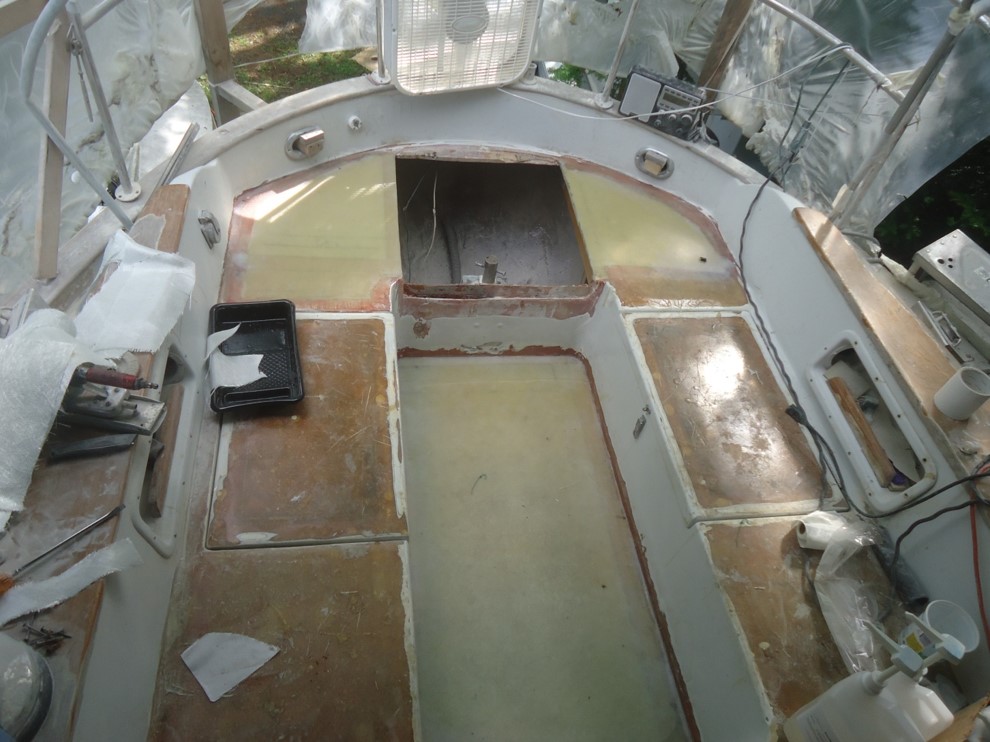
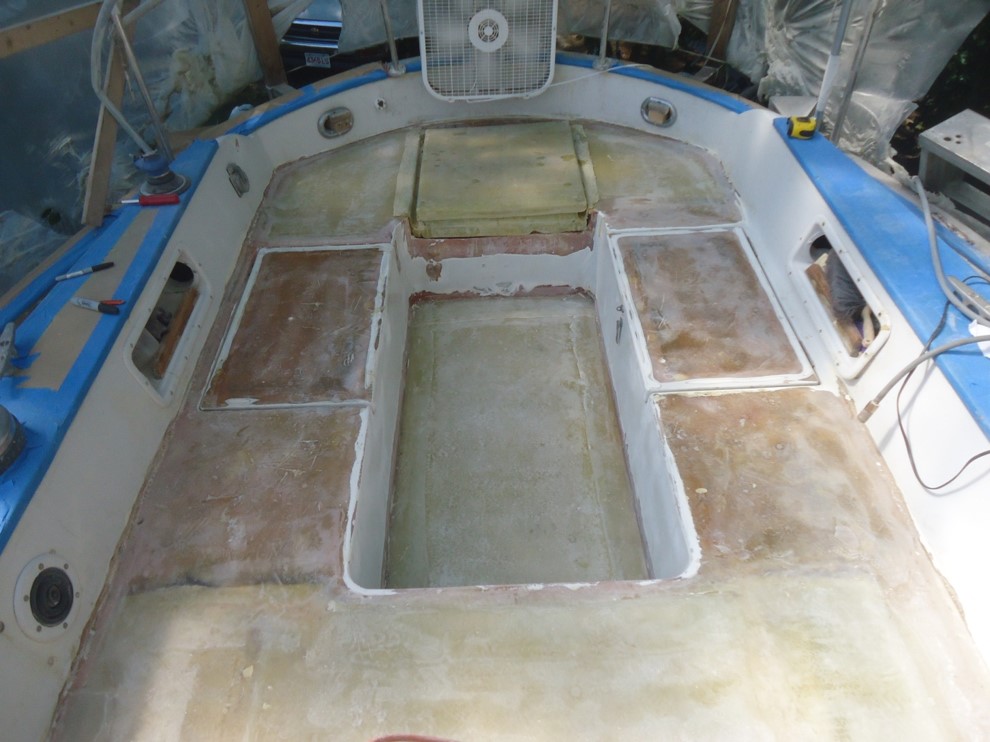
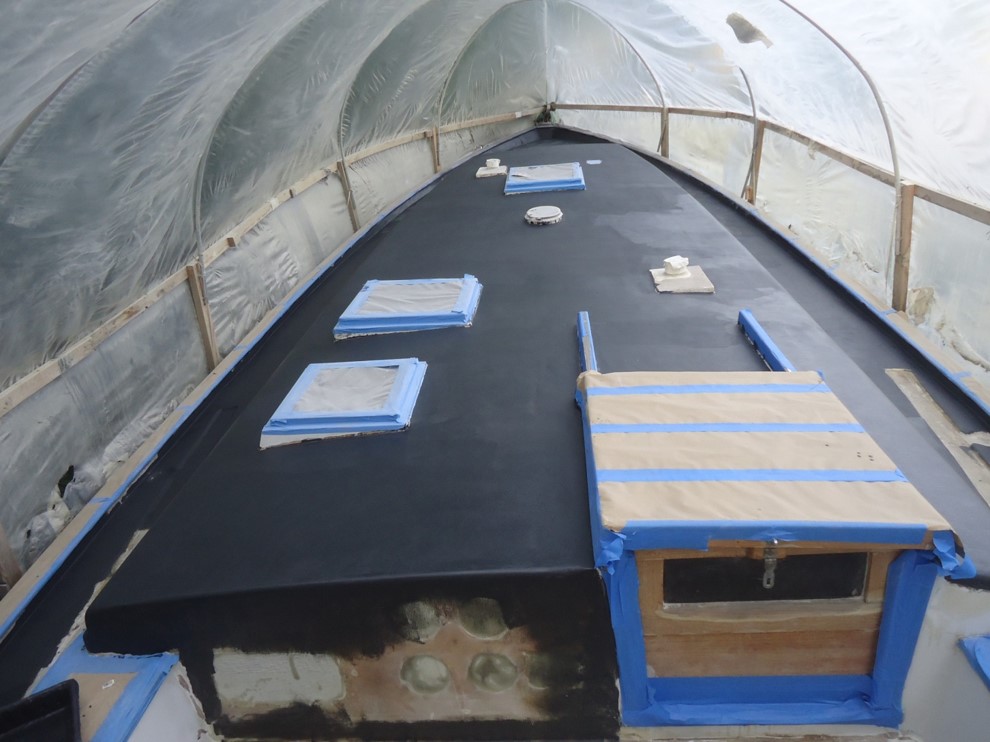
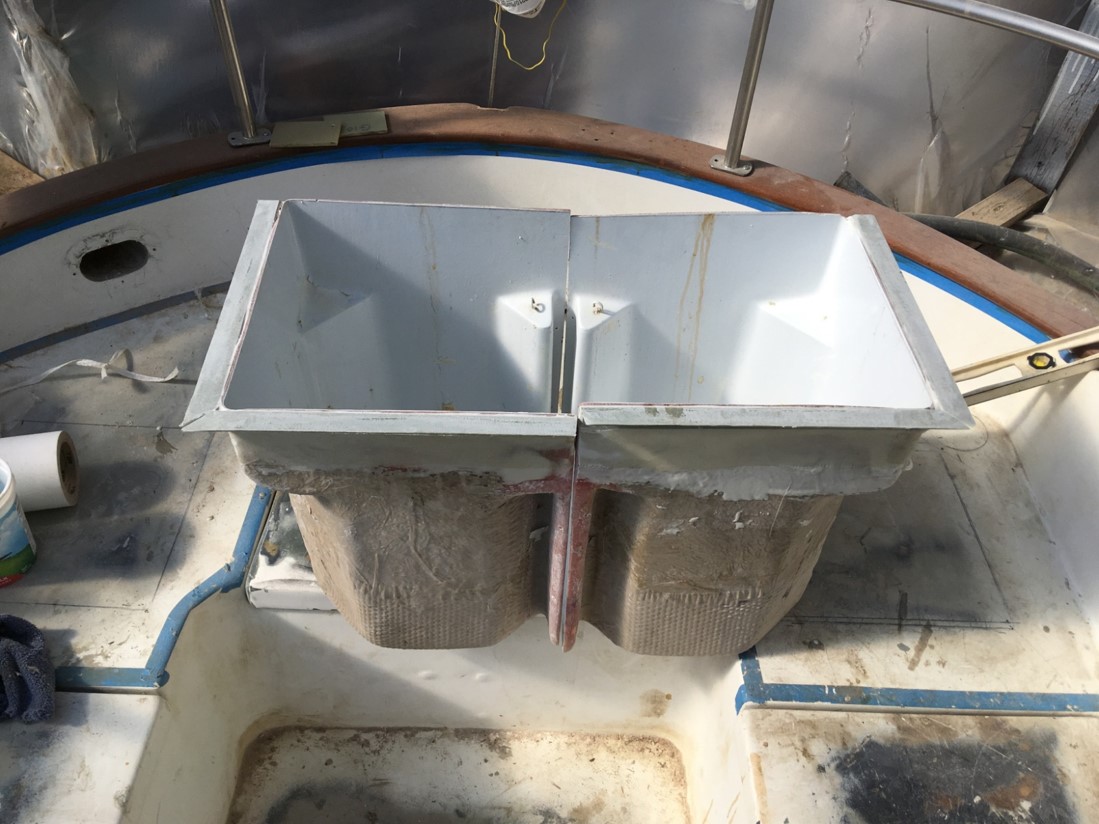
All these areas were re-cored with Core Cell set in thickened epoxy and covered by 2 layers of 1708 biaxial fiberglass cloth. A final layer of 18oz boat cloth was laid on top and then vacuum bagged down to facilitate bonding. In the process, the head sail tracks were recessed into the core of the side decks; along with the middeck drains. The cockpit had a large raised propane locker behind helms seat, limiting where one could sit. This has been removed and a plug was taken from another locker top. Now a new locker was created and making a flush seat for the helmsman that, when opened, offers clear access to the new steering radial and wire below. The large propane locker was then cut in two and reused. Each part became the new propane boxes that contained drains in the “corners” of the canoe stern with custom locker lids made for them.
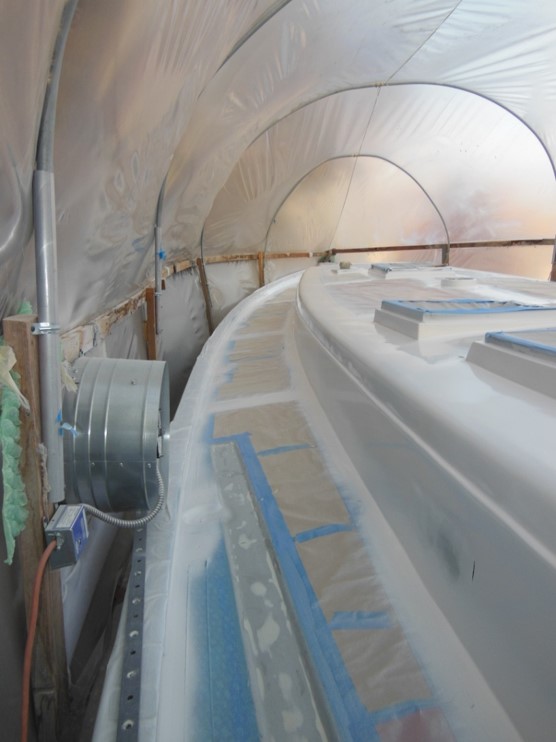
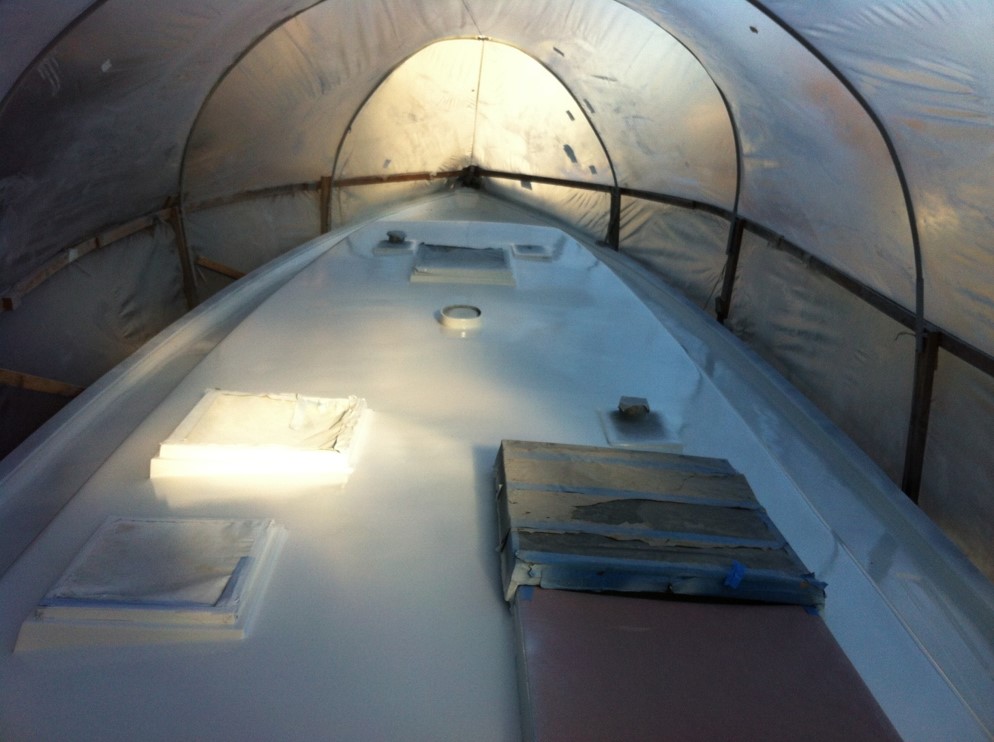
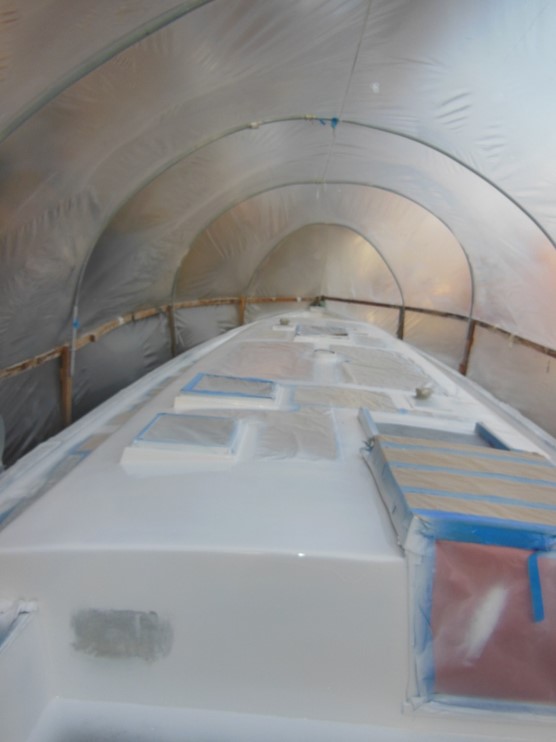
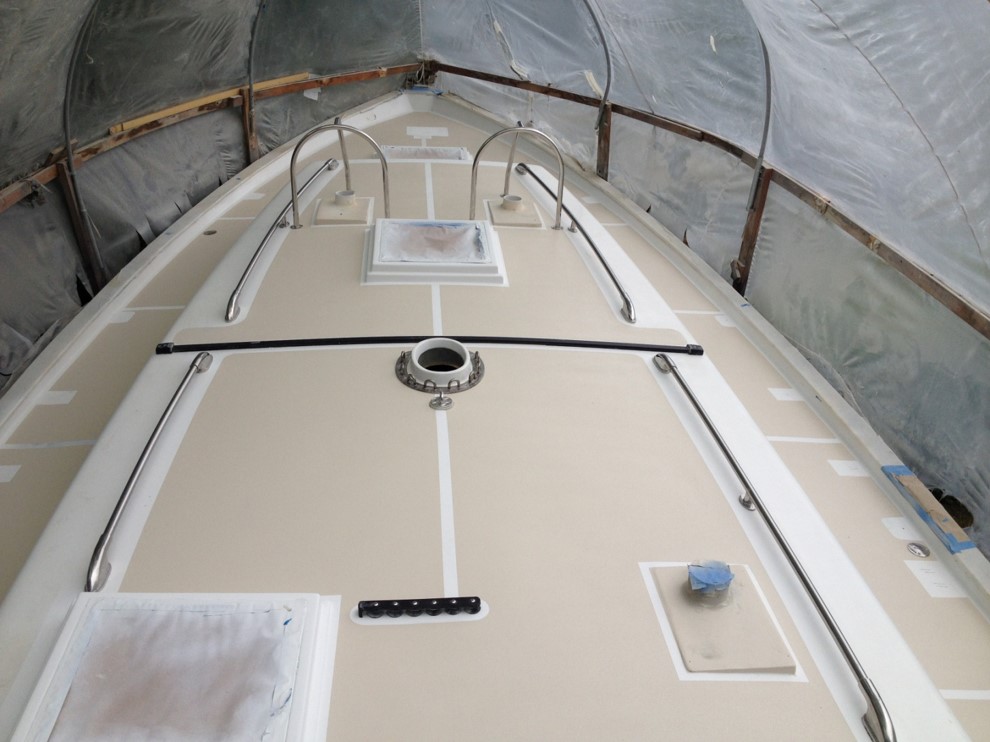
Spraying down Awl Grip was considered for the bright sections of the deck but frankly, I’m not a great painter and didn’t feel I would be satisfied with the outcome. I ended up back to the tried-and-true use of gel coat. It can be tricky spraying gel coat too but using a 50/50 mix of DuraTec high gloss additive, the gel coat finish comes out surprisingly smooth. The best part is that any mistakes can be sanded out as the area all gets sanded to 6000 grit to make it shine and then polished. All non-skid sections were sprayed down with a colored gel coat with micro-ballons added for traction.
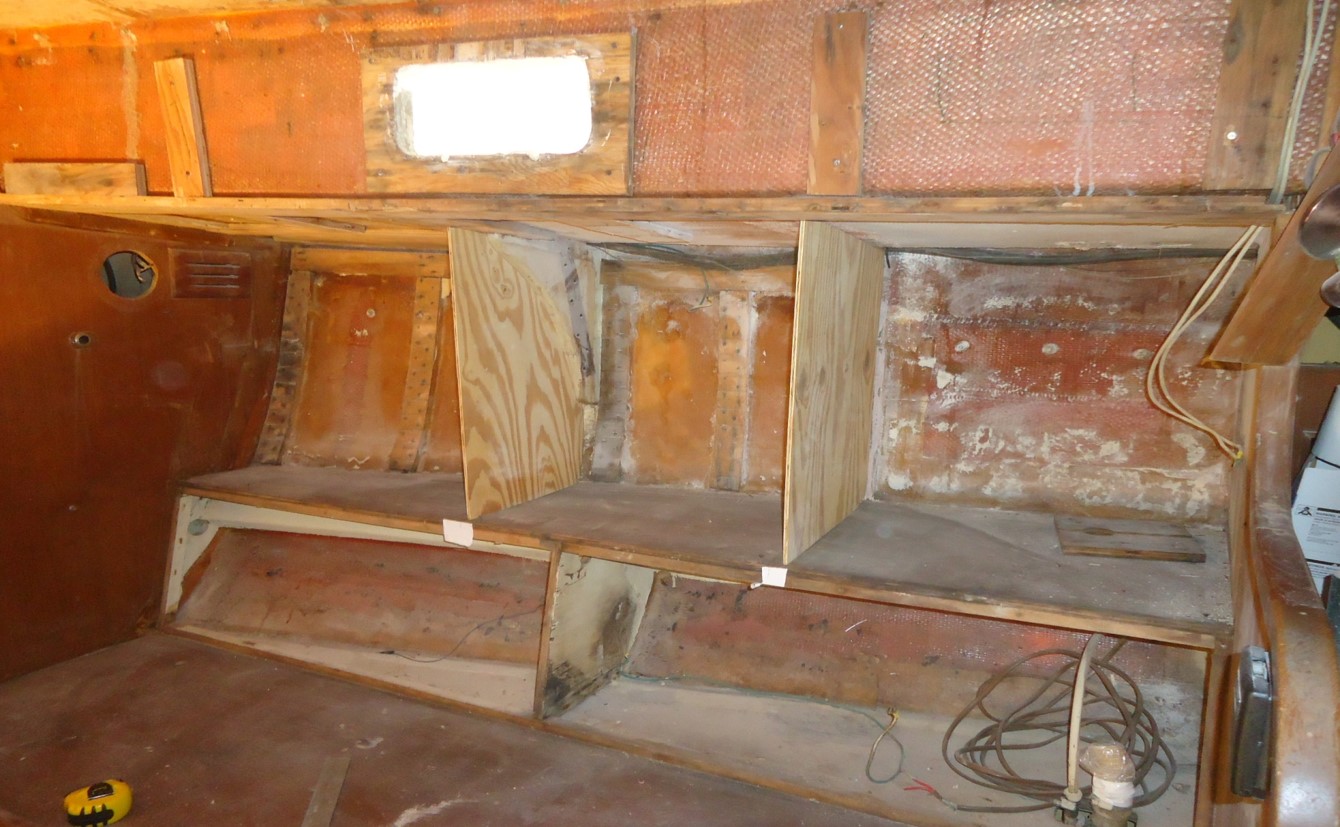
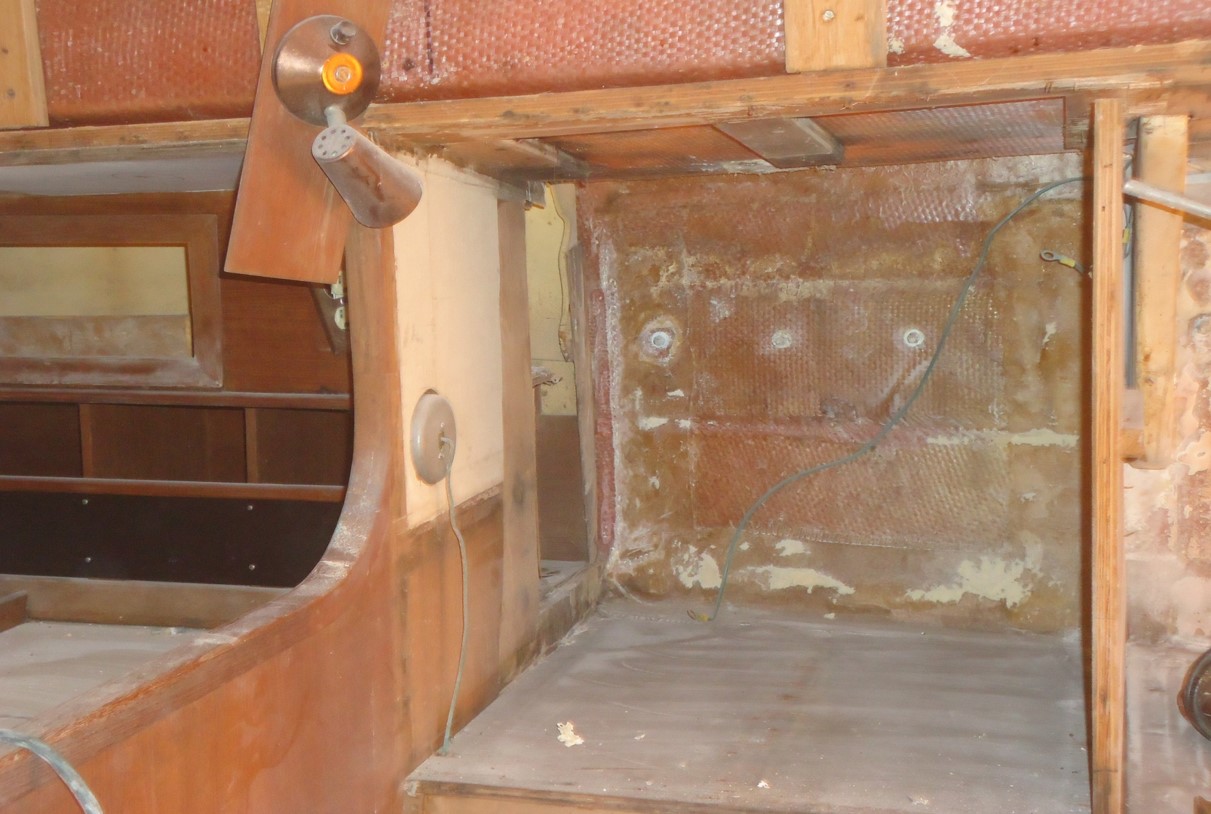
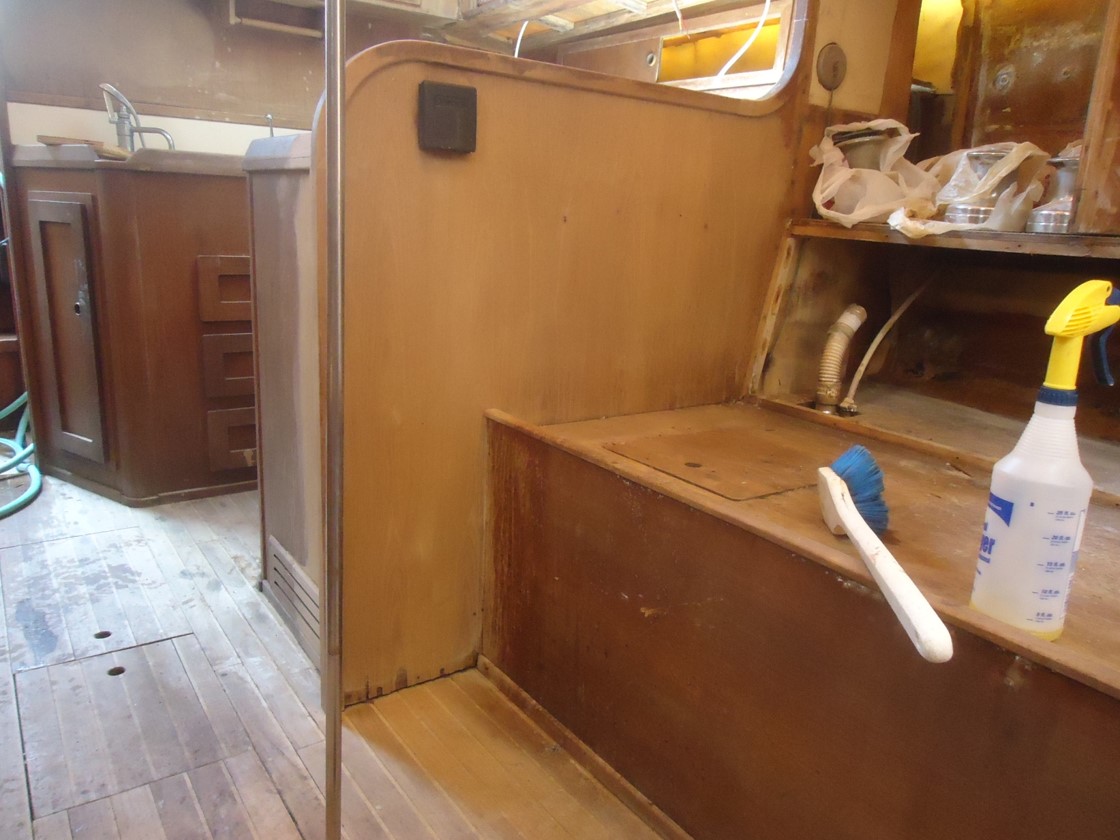
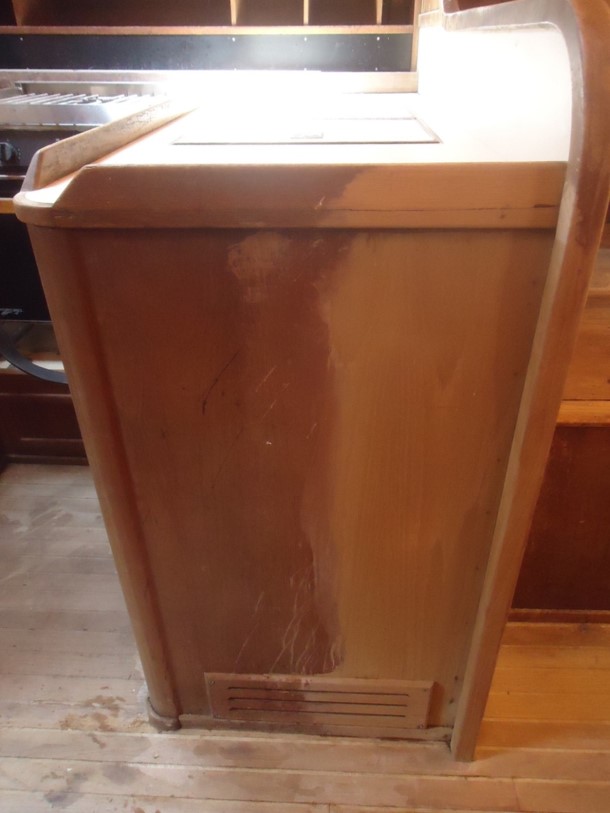
The water seepage from the deck had ruined the headliner below and damaged two structural bulkheads connected to the chain plates. The horizontal fur strips of the interior (ceilings) were also badly stained, about 100 sq ft of replacement ash strips were cut, sanded and polyurethane is before reinstallation and new Formica on plywood was made for the headliner. The interior was so spartan at one point that the teak of the interior was cleaned with that nasty two-part teak cleaning acid, a scrub brush, and hosed down.
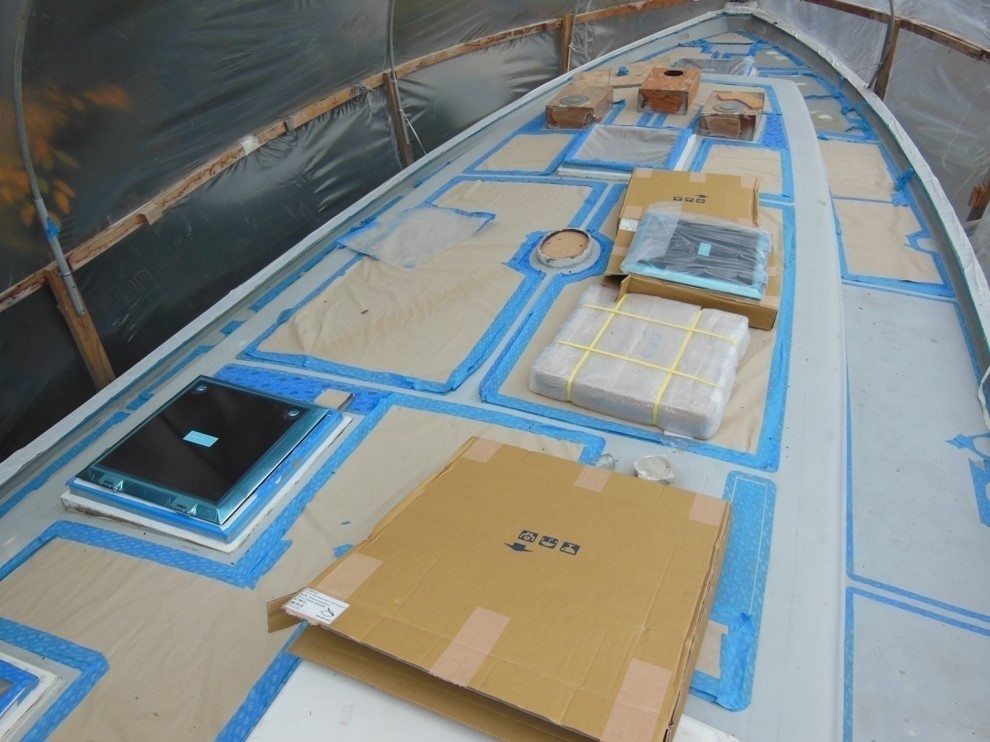
As with most major projects, once the rework begins it is very hard to stop. The vessel originally had 9 plastic ports on the house sides and 4 wooden deck hatches. The 9 cabin ports were replaced with 14 stainless New Found Metals ports. Adding more ports meant re-configuring their spacing in the cabin sides. The wooden hatches were replaced with stainless Mann Ship hatches.
The DC electrical systems as well as electronics were also aged so while the boat was pulled apart, every inch of plain copper wire has been removed and replaced with new tinned wire, installed to ABYC standards with a new electrical panel. The batteries were located in the wonderful engine room of the Valiant 40 but that location is way too hot for them over time. Now there are now 8 group 31 AGM batteries aboard. 4 are in hanging locker and 4 are under the aft cabin berth with a start battery under the companionway step. To charge these banks, besides a new 110-amp new Balmar alternator, there are 5 Flexible 100-watt solar panels are on the bimini top of the new stern stainless-steel arch a 175-watt panel is on top of the ridged dodger I built. The ridged dodger is supported by another hefty custom stainless-steel arch that is sized to accommodate the main sheet and traveler.
All of the plumbing was removed and replaced as well as every thru-hull, pump, faucet, propane hose, holding tank, deck fill and deck drain. The two original aluminum, 75-gallon water tanks leaked and would not fit out the companionway so were cut up for removal. Consequently, the new tanks were fabricated in place using Cusa board and FDA approved epoxy from MAX BOND. The bladder waste holding tank was tossed and a custom stainless-steel tank was installed. The aged refrigeration system was replaced with two Sea Frost units; 1 fridge and 1 freezer. The 9-gallon fuel tank was suspect and the tank was cut out to remove. Two new aluminum fuel tanks were fabricated from my templates and the cockpit side was cut to install them.

The mast system was upgraded with new rod rigging and the mast was rewired and painted. New chain plates we waterjet cut to reduce stress on the metal and polished to resist pitting over time. The sails are mixed but the main is new.

Her bottom was sand blasted and re-faired with thicken epoxy. Her rudder had some voids so it was removed, pealed, re-glassed with epoxy and is good as new.

She had a 1999 Beta Marine 43 diesel engine that was started once a year over the ten-year refit. But once launched the transmission and gear needed rebuilding and a new shaft, cutlass bearing, and stuffing box was installed.

She now has a full suite of B&G electronic including Zues 3 plotter, HALO 20 Radar, Auto Pilot, Triton depth, wind and boat speed, AIS, boat base computer, VHF, and Starlink

😊 She is Not for Sale 😊

If you think I’m qualified to look at your boat, please call for an appointment
Many Thanks,
Joe Grenier
978-317-5670
Fast forward to 2008:

Good news:

I finally found a 1977 Valiant 40 I could afford.

Bad news: She was very needy. Amulet was built during the infamous “fire retardant resin era” of the Valiant history (blue water boat.org). In addition to having the unsightly but non structure blistering, resulting from the fire-retardant resin; she had been badly let go. Water had intruded the Balsa deck core in so many places that the entire top layer of the deck had to be completely removed and all the Balsa core beneath it. Nothing was spared including, the side and fore deck, cabin top, cockpit sole and cockpit seating areas.

All these areas were re-cored with Core Cell set in thickened epoxy and covered by 2 layers of 1708 biaxial fiberglass cloth. A final layer of 18oz boat cloth was laid on top and then vacuum bagged down to facilitate bonding. In the process, the head sail tracks were recessed into the core of the side decks; along with the mid- deck drains. The cockpit had a large raised propane locker behind helms seat, limiting where one could sit. This has been removed and a plug was taken from another locker top. Now a new locker was created and making a flush seat for the helmsman that, when opened, offers clear access to the new steering radial and wire below. The large propane locker was then cut in two and reused. Each part became the new propane boxes that contained drains in the “corners” of the canoe stern with custom locker lids made for them.

Spraying down Awl Grip was considered for the bright sections of the deck but frankly, I’m not a great painter and didn’t feel I would be satisfied with the outcome. I ended up back to the tried-and-true use of gel coat. It can be tricky

spraying gel coat too but using a 50/50 mix of DuraTec high gloss additive, the gel coat finish comes out surprisingly smooth. The best part is that any mistakes can be sanded out as the area all gets sanded to 6000 grit to make it shine and then polished. All non-skid sections were sprayed down with a colored gel coat with micro-ballons added for traction.

The water seepage from the deck had ruined the headliner below and damaged two structural bulkheads connected to the chain plates. The horizontal fur strips of the interior (ceilings) were also badly stained, about 100 sq ft of replacement ash strips were cut, sanded and polyurethane is before reinstallation and new Formica on plywood was made for the headliner. The interior was so spartan at one point that the teak of the interior was cleaned with that nasty two-part teak cleaning acid, a scrub brush, and hosed down.

As with most major projects, once the rework begins it is very hard to stop. The vessel originally had 9 plastic ports on the house sides and 4 wooden deck hatches. The 9 cabin ports were replaced with 14 stainless New Found Metals ports. Adding more ports meant re-configuring their spacing in the cabin sides. The wooden hatches were replaced with stainless Mann Ship hatches.

The DC electrical systems as well as electronics were also aged so while the boat was pulled apart, every inch of plain copper wire has been removed and replaced with new tinned wire, installed to ABYC standards with a new electrical panel. The batteries were located in the wonderful engine room of the Valiant 40 but that location is way too hot for them over time. Now there are now 8 group 31 AGM batteries aboard. 4 are in hanging locker and 4 are under the aft cabin berth with a start battery under the companionway step. To charge these banks, besides a new 110-amp new Balmar alternator, there are 5 Flexible 100-watt solar panels are on the bimini top of the new stern stainless-steel arch a 175-watt panel is on top of the ridged dodger I built. The ridged dodger is supported by another hefty custom stainless-steel arch that is sized to accommodate the main sheet and traveler.

All of the plumbing was removed and replaced as well as every thru-hull, pump, faucet, propane hose, holding tank, deck fill and deck drain. The two original aluminum, 75-gallon water tanks leaked and would not fit out the companionway so were cut up for removal. Consequently, the new tanks were fabricated in place using Cusa board and FDA approved epoxy from MAX BOND. The bladder waste holding tank was tossed and a custom stainless-steel tank was installed. The aged refrigeration system was replaced with two Sea Frost units; 1 fridge and 1 freezer. The 9-gallon fuel tank was suspect and the tank was cut out to remove. Two new aluminum fuel tanks were fabricated from my templates and the cockpit side was cut to install them.

The mast system was upgraded with new rod rigging and the mast was rewired and painted. New chain plates we waterjet cut to reduce stress on the metal and polished to resist pitting over time. The sails are mixed but the main is new.

Her bottom was sand blasted and re-faired with thicken epoxy. Her rudder had some voids so it was removed, pealed, re-glassed with epoxy and is good as new.

She had a 1999 Beta Marine 43 diesel engine that was started once a year over the ten-year refit. But once launched the transmission and gear needed rebuilding and a new shaft, cutlass bearing, and stuffing box was installed.

She now has a full suite of B&G electronic including Zues 3 plotter, HALO 20 Radar, Auto Pilot, Triton depth, wind and boat speed, AIS, boat base computer, VHF, and Starlink

😊 She is Not for Sale 😊

If you think I’m qualified to look at your boat, please call for an appointment Many Thanks,

Joe Grenier

978-317-5670
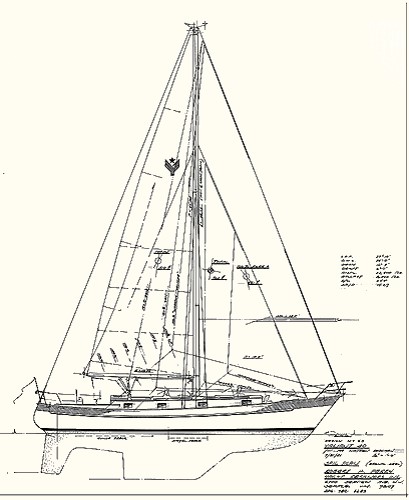
1977 Valiant 40 Refit
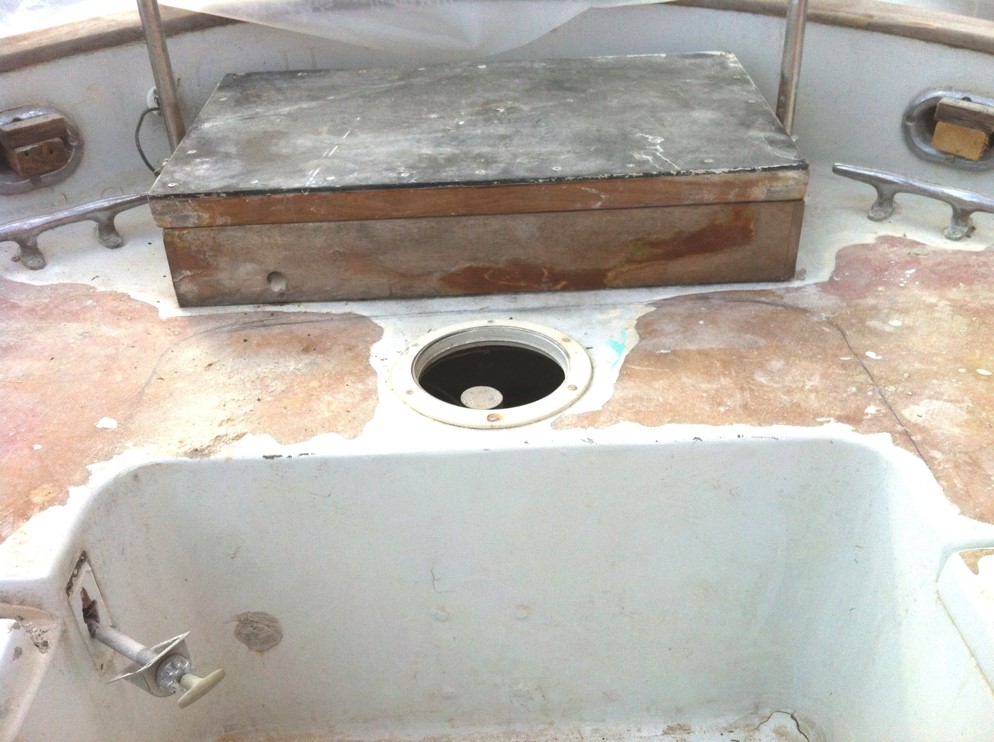
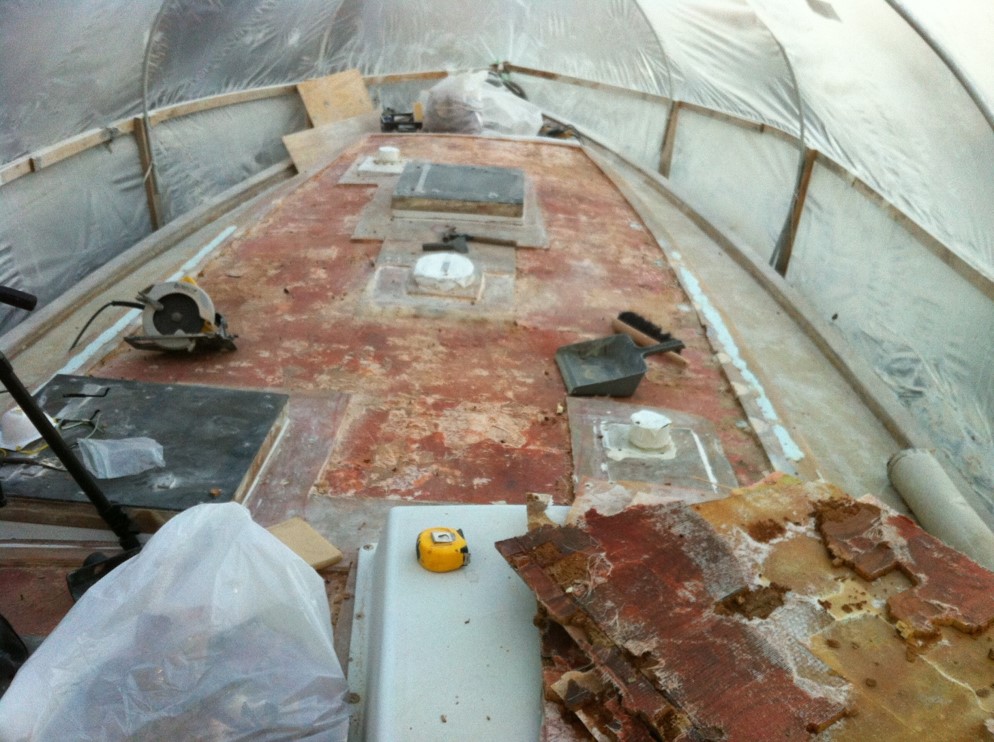
As Expected Balsa Core is Water Soaked and Rotted

90% Of The Deck Was Wet

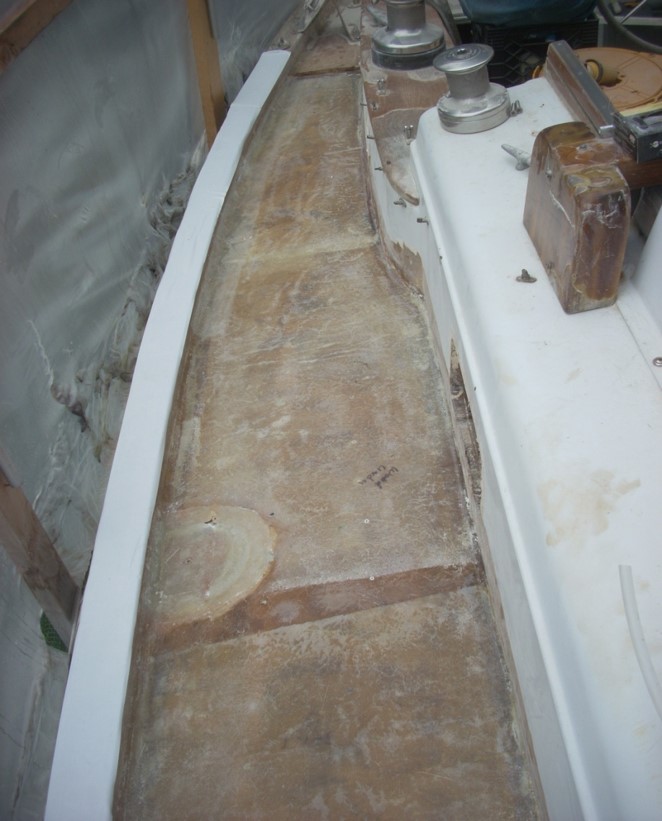
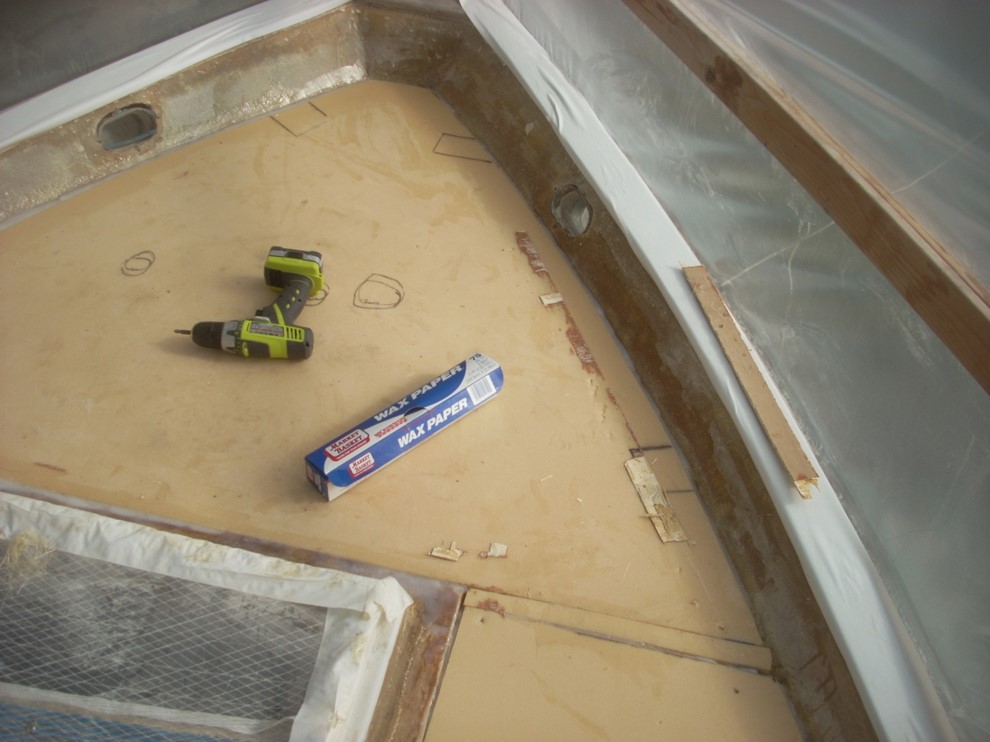
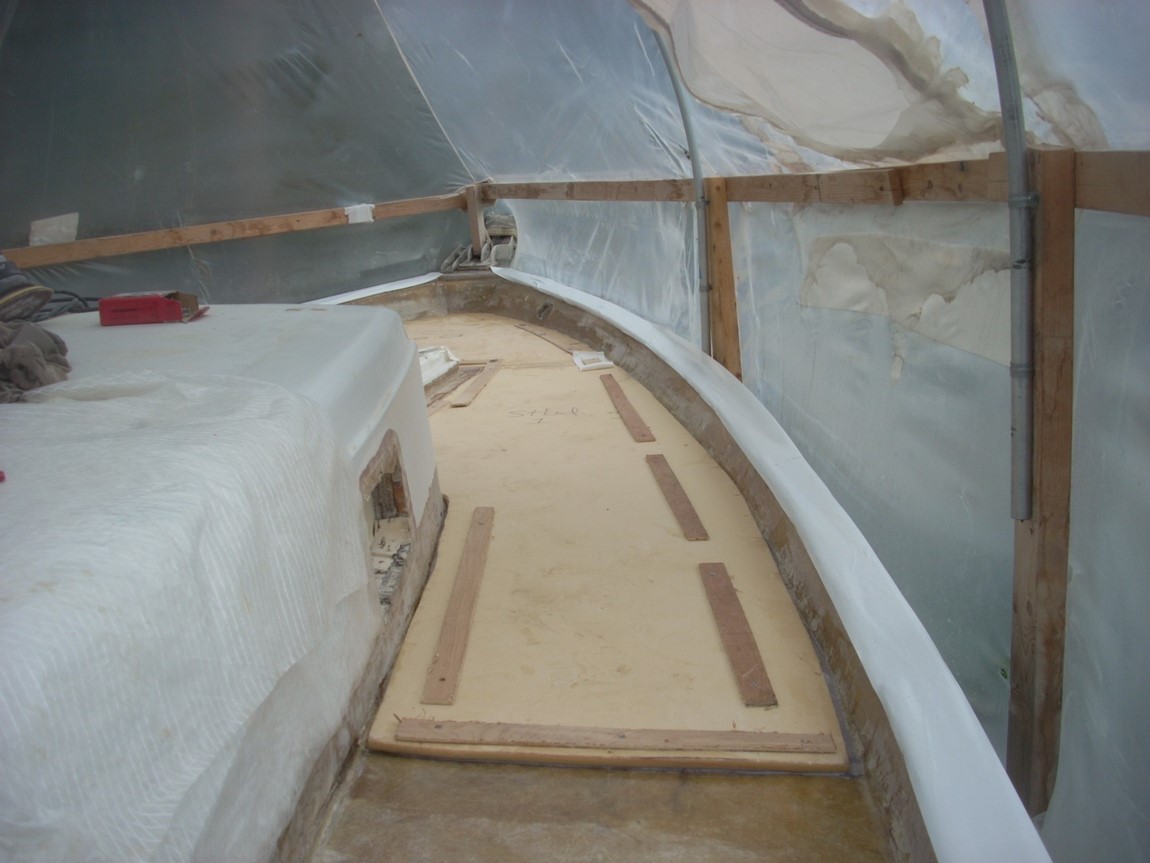
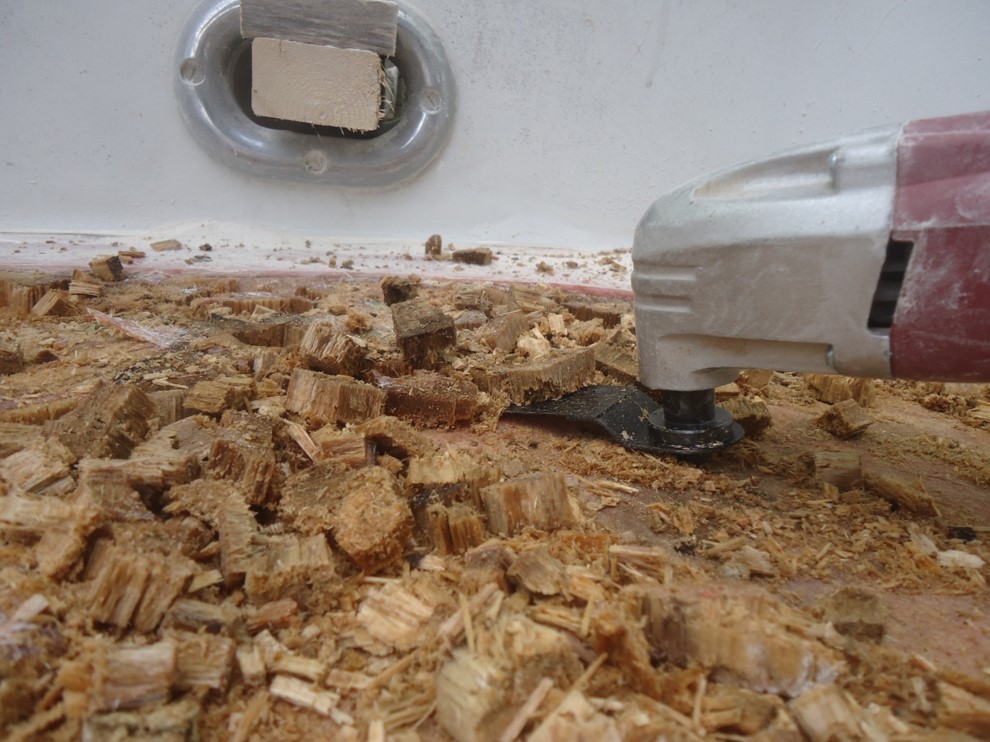
Top Fiberglass Layer and Balsa Core Completely Removed

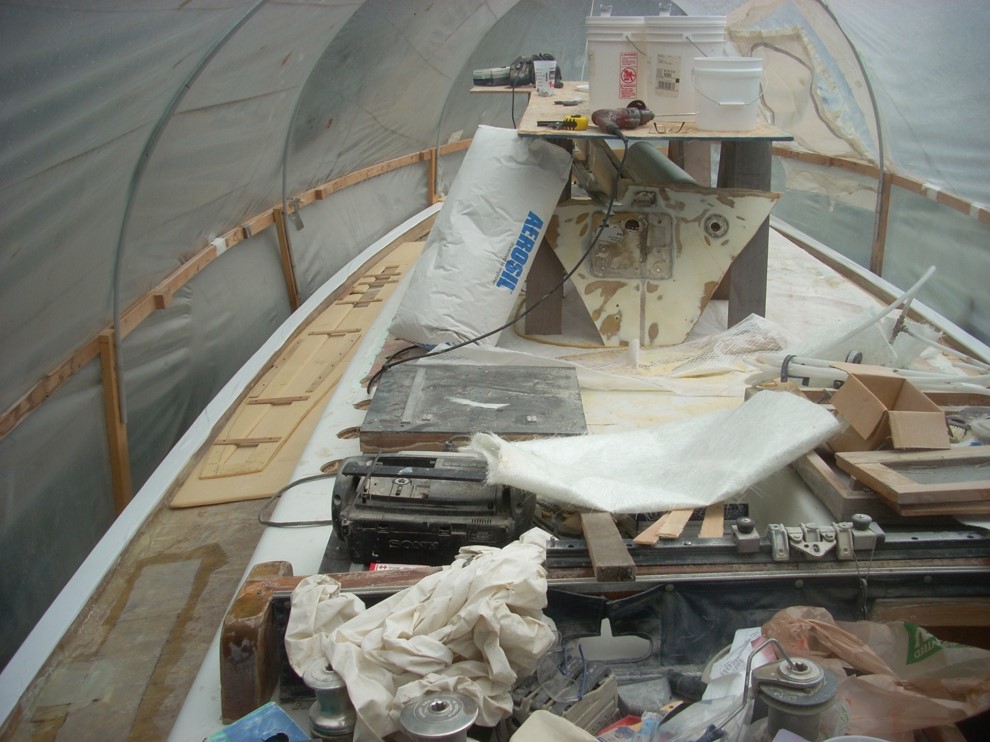
Work Station Set Up On Cabin Top

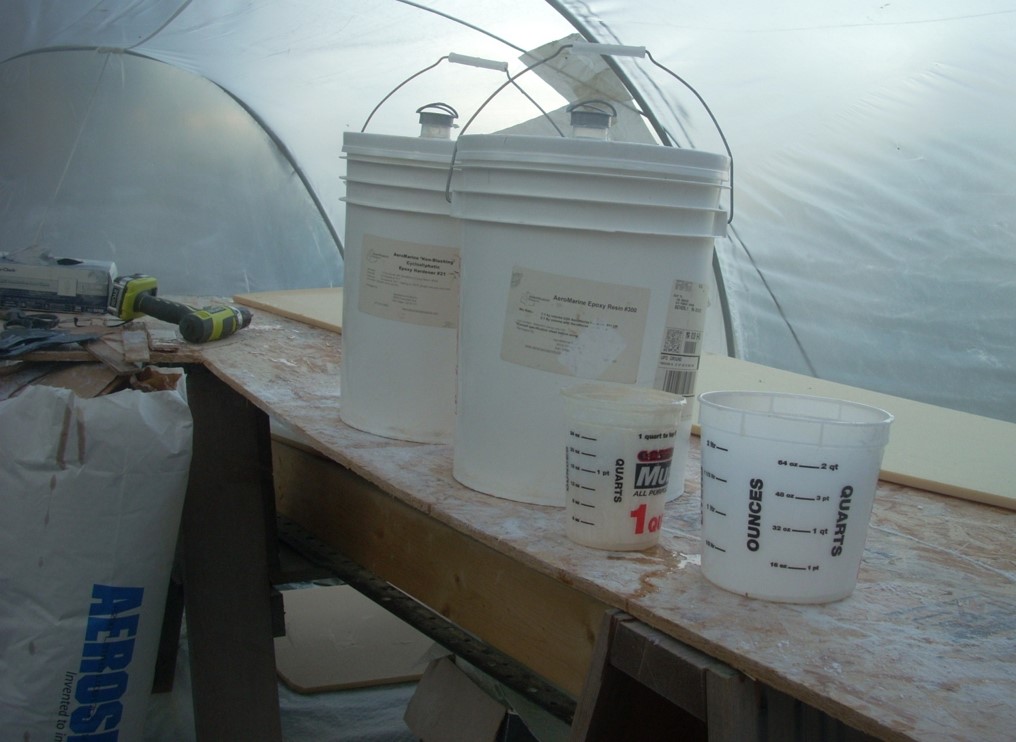
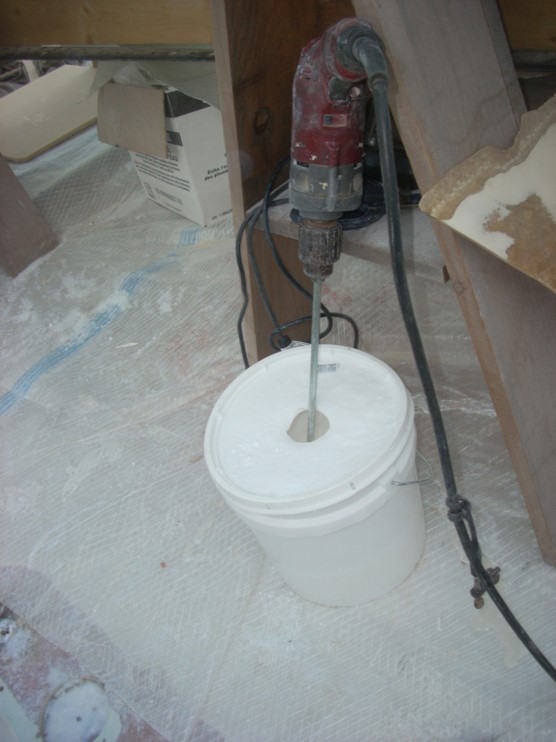
Important to Keep Dangerous Cabosil Dust Down While Mixing

Working In Confined Space Can Be Hard To Keep Organized

Cabin Top Core Removed

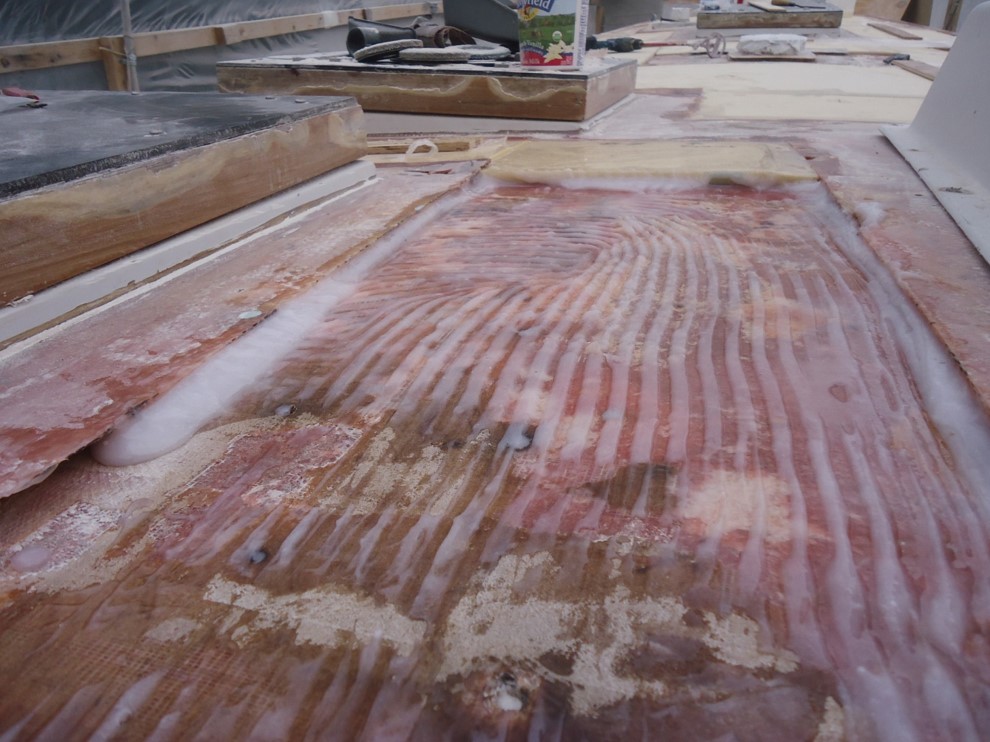
Thicken Epoxy Applied To Bed Core

New Core Being Installed

Core Cell Set Into Thicken Epoxy Tucked Under Old Fiberglass “Flanges”

G10 Installed Around Mast Area
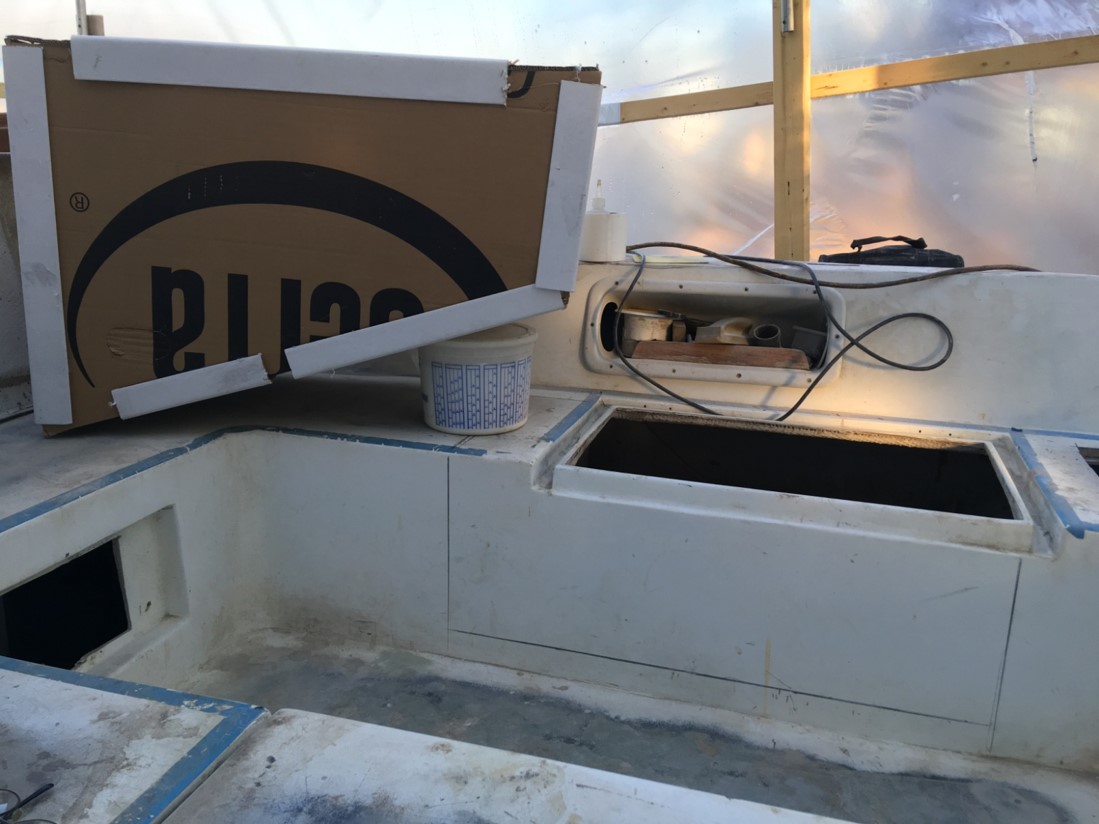
G10 Fit Under Each Load Center

New Core Cell Laid-In

Core Installation Side Decks

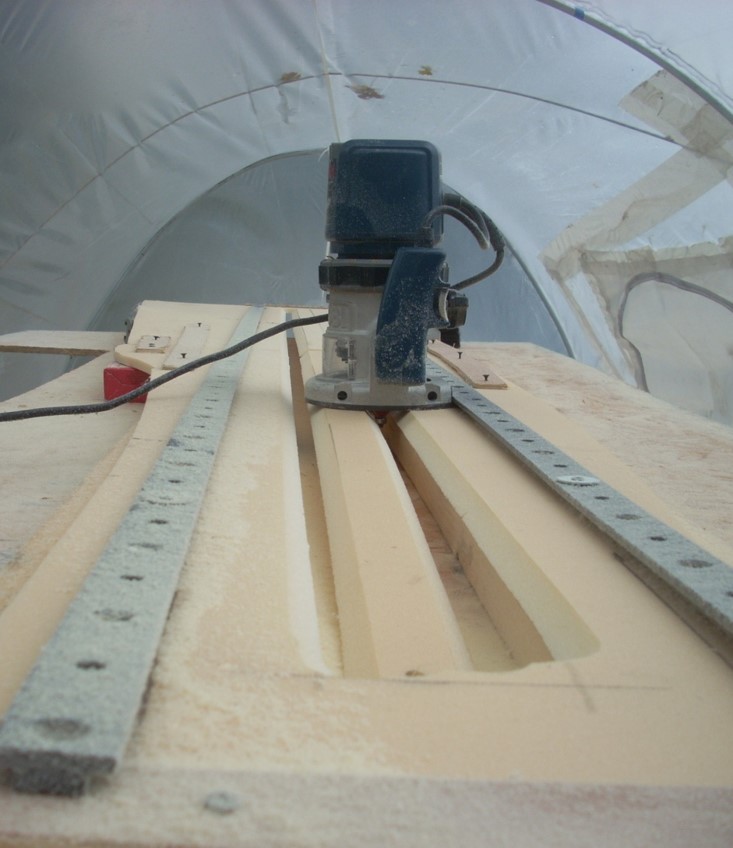
Recessing of Genoa Tracks

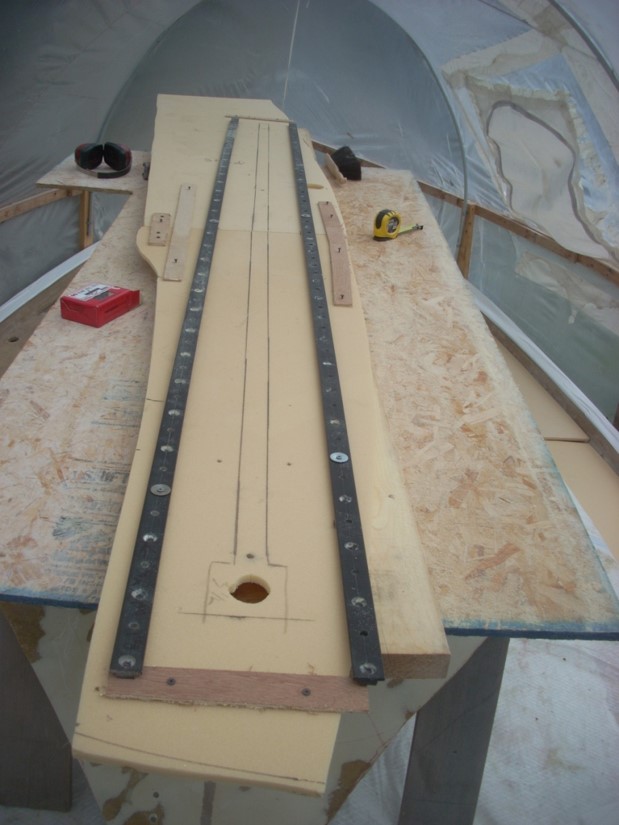
Routing The Core For The Track

Core Section Ready To Install

Track Section Installed

Genoa Track Section and ConnectedDeck Drain Glued Down

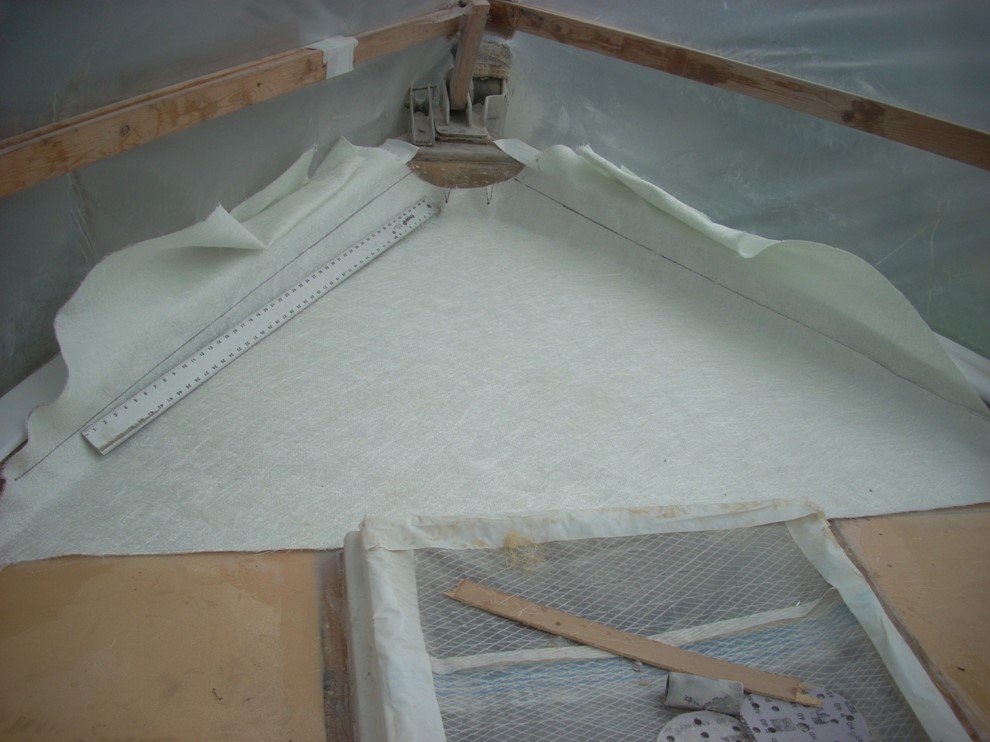
Two Layer of 1708 Biaxial and One Layer of 18 OZ Boat Cloth Lay-up

Glassing The Deck

Vacuum Bagging The Deck

Glass Vacuumed Down Over Core

Glass Being Fit On Cabin Top

Glassing The Cabin Top

Glass, Another Angle

Wetting Out With Epoxy

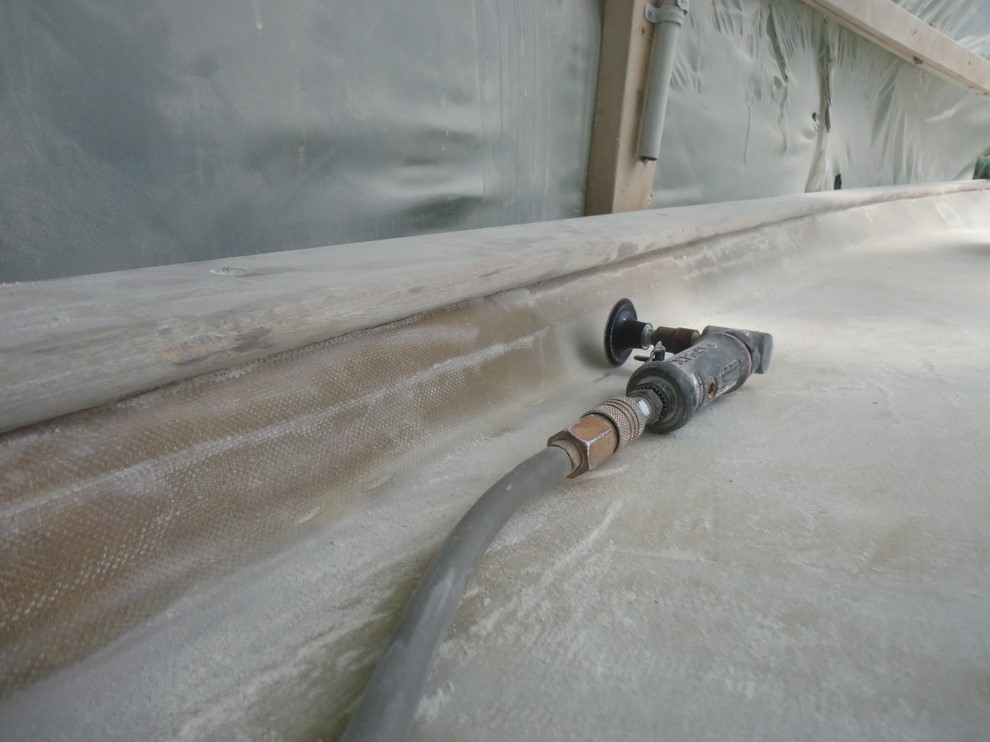
Fairing in After Glassing

Cabin Top Ready For Fairing

Side Decks Ready For Fairing Primer

Next Victim-Cockpit

Bridge Deck of Cockpit Demo

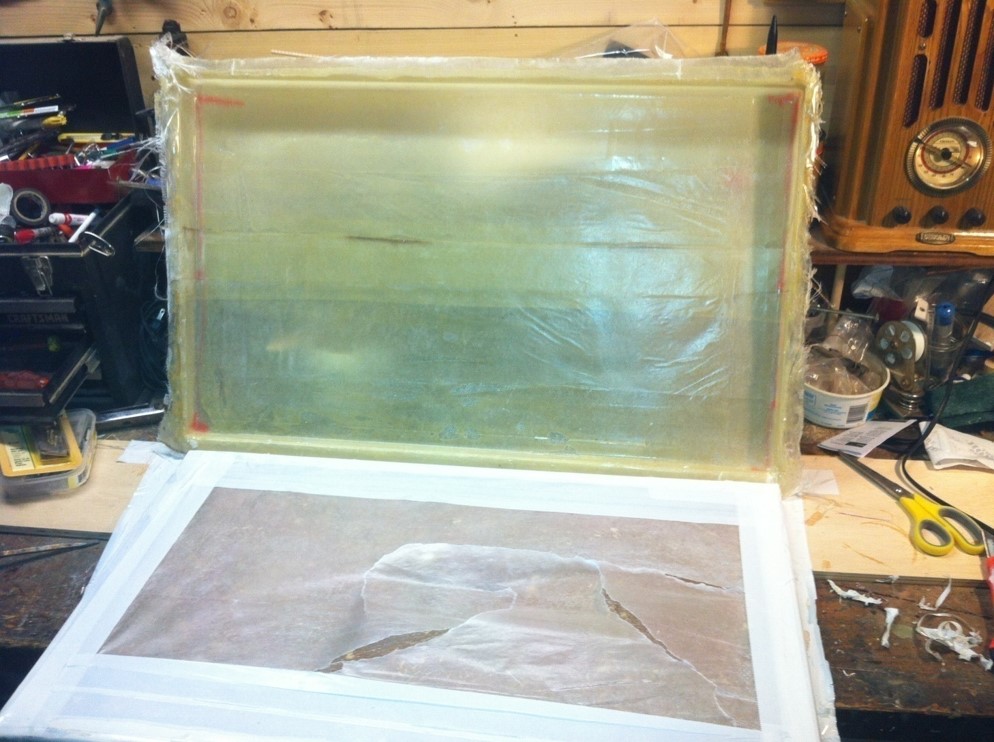
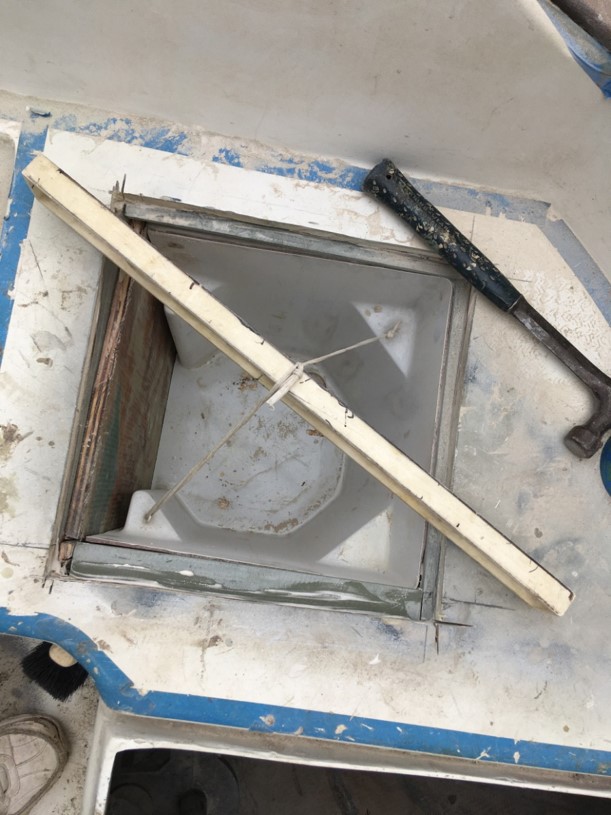
Hatch Readied as Plug For New Aft Hatch

Beginning of New Hatch Frame

Cockpit Sole Core Removed Mold Taken of Cockpit Locker Hatch

Old Cockpit Propane Locker

More Wet Balsa Core Aft In Cockpit

Core Removal

Aft Section Ready For New Core

Beginnings of New Aft Hatch

Hatch Drain Mold Test Fit

Hatch Frame Ready to Install

Sole and Aft Sections Re-cored and Re-glassed

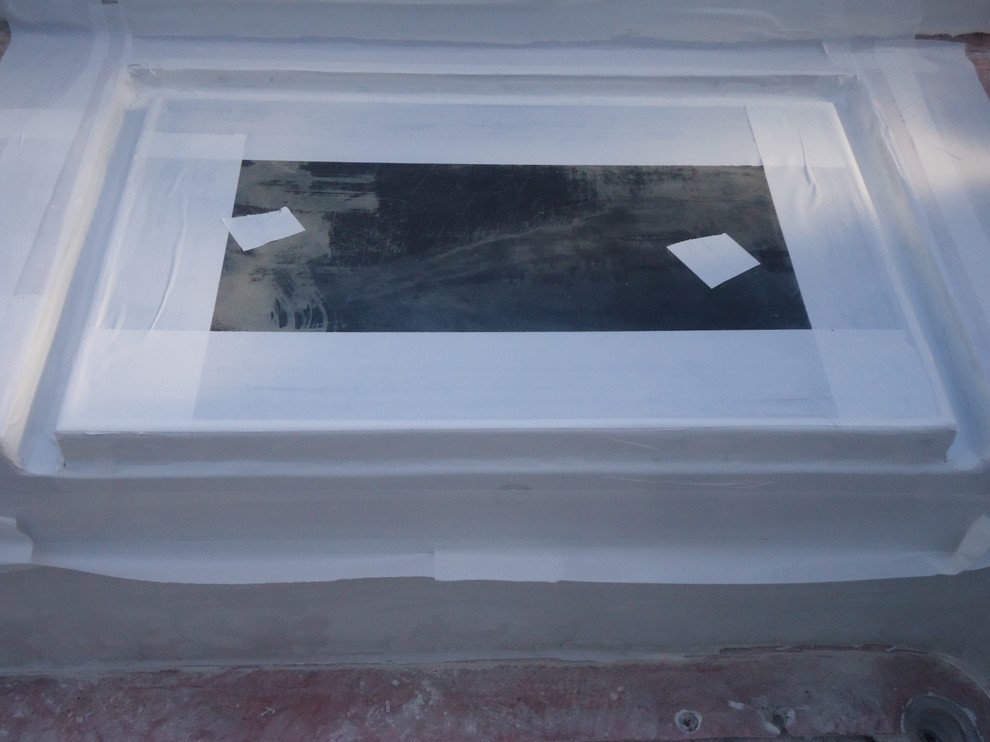
New Hatch Installed Ready For Fairing

Ready For Primer

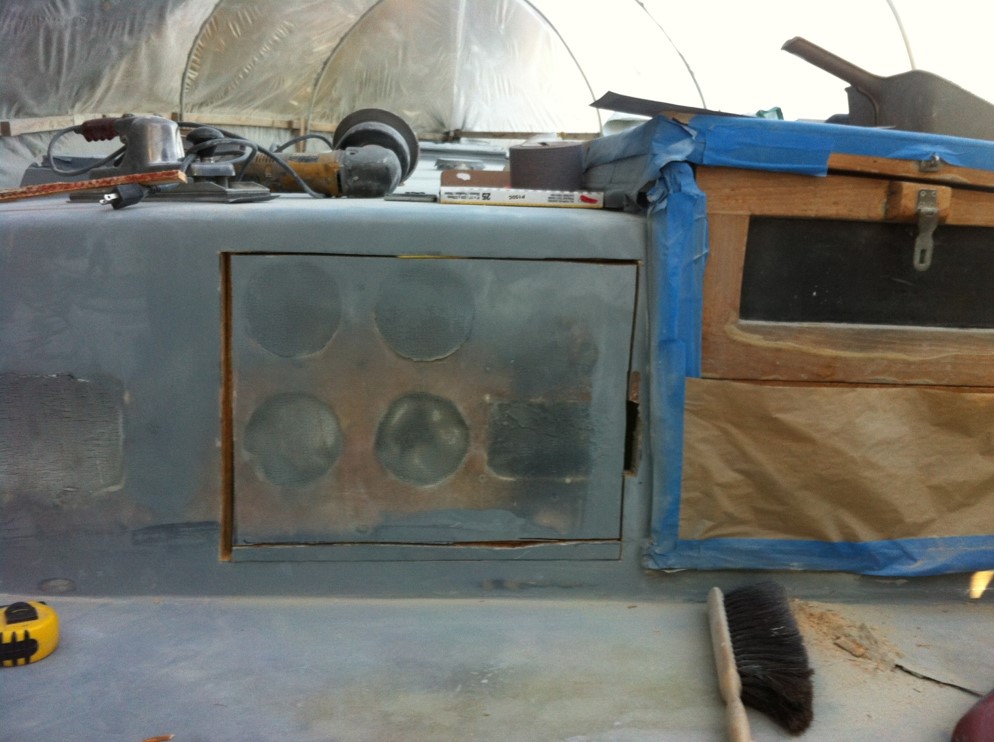
Remove Old Instrument Cluster

Fresh Plywood For New Instruments

DuraTec Fairing Primer Spray Applied

New Stainless Hatches Have Arrived

Gel Coat Spray Applied

Gel Coat Ready For Sanding Progressively to 800 Grit

Gel Coat Applied Ready For Sanding & Polishing

New Non-Skid Spray Applied

How is Began

What Deck Leaks Look Like From The Interior

Woodwork Needed Cleaning

Disassembly Begins/Lots of Water Stains

Disassembly on Port Side

Head Liner Removed

Aft Cabin Stripped to the Framing Old plastic Ports Removed

New Formica on Plywood

9 Plastic Ports Removed From Cabin

13 New Stainless Ports Being Installed

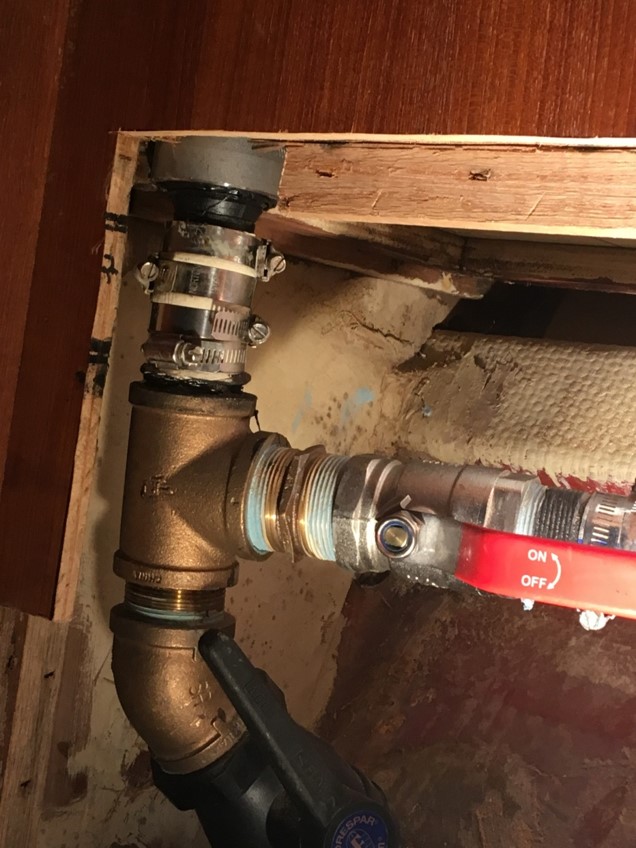
Pump Thru Hulls Moved From Electrical Area

Chain Plates Being Removed

Wood Work Stained From Deck Leaks Chain Plates Not To Be Trusted

Stained Fur Wood Being Removed

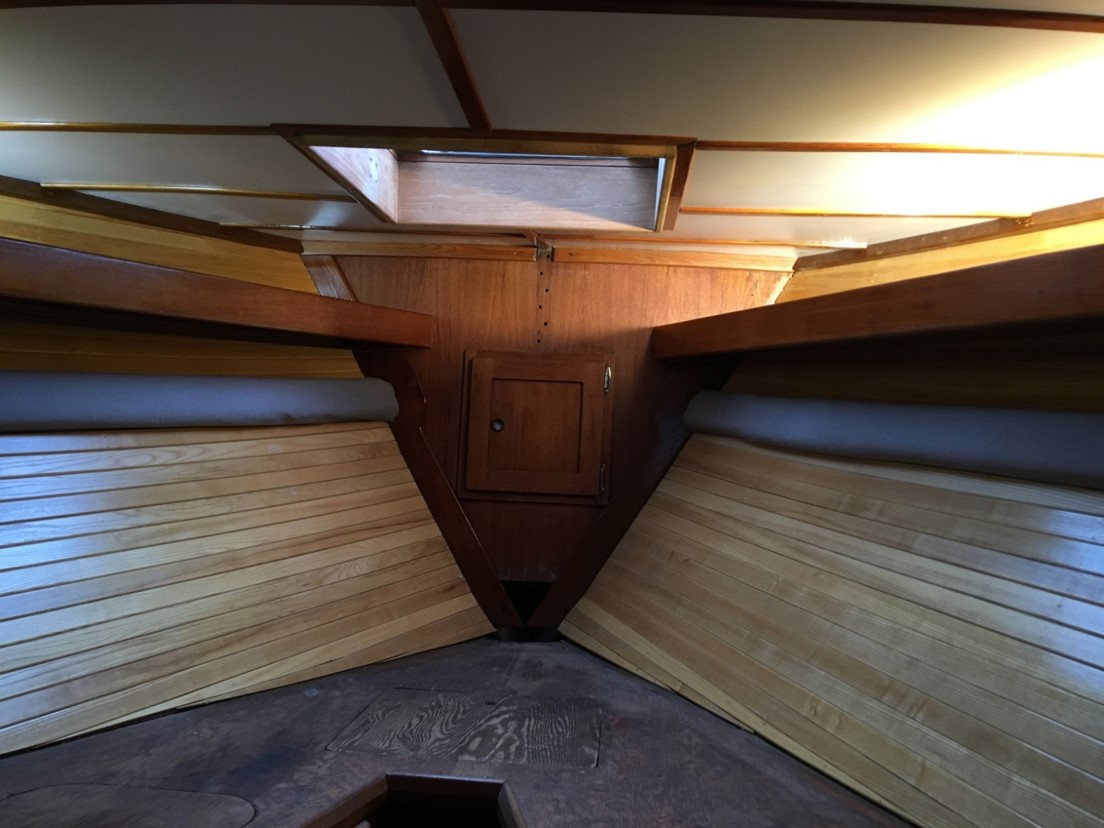
“V” Berth Stripped to Framing

Interior Being Re-Wired

Salon Shelf Removed on Starboard

New Cabinetry Planned For Stbd Side

Cabinetry Removed Port Side

Wood Cleaning with Teak Cleaner

Wood Cleaning Comparison

Teak Cleaner Rinsed

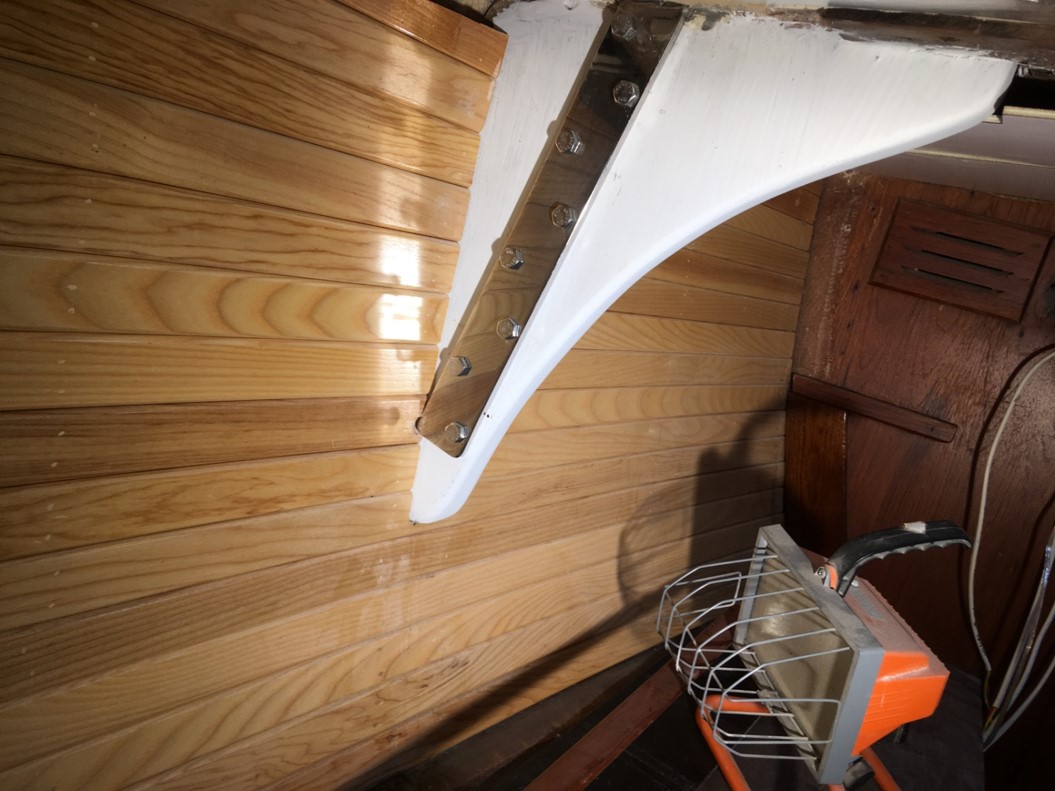
Extending Chain Plate Attachment

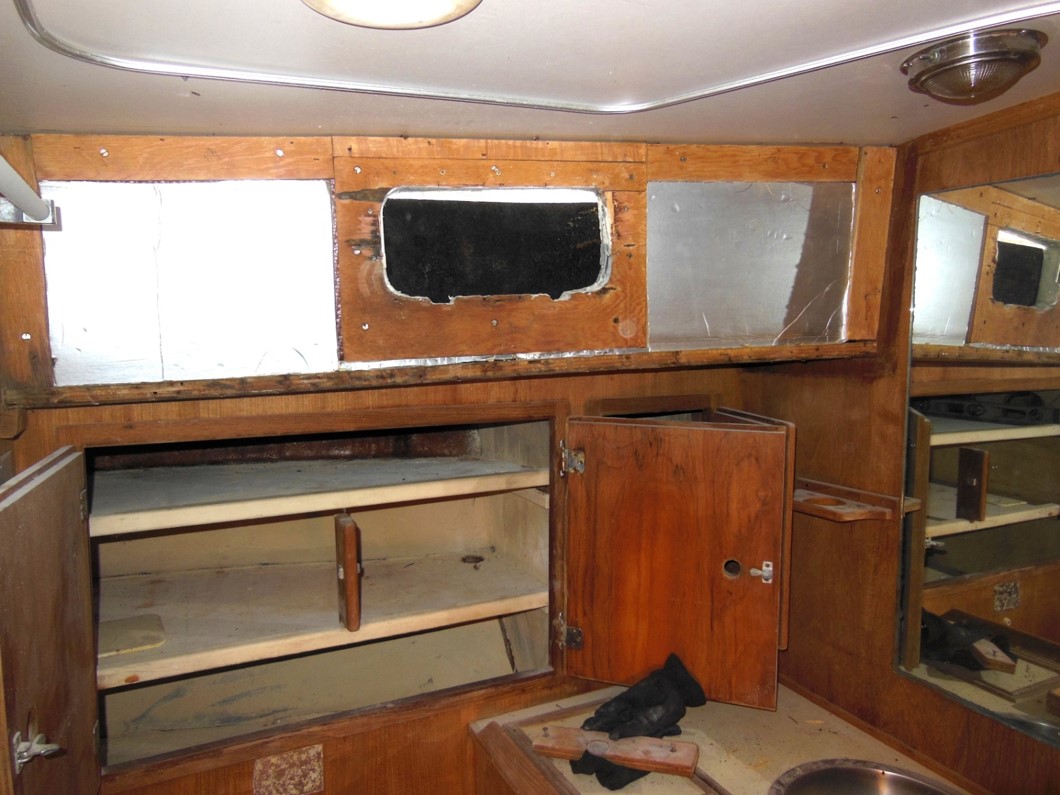
Insulation installed where possible

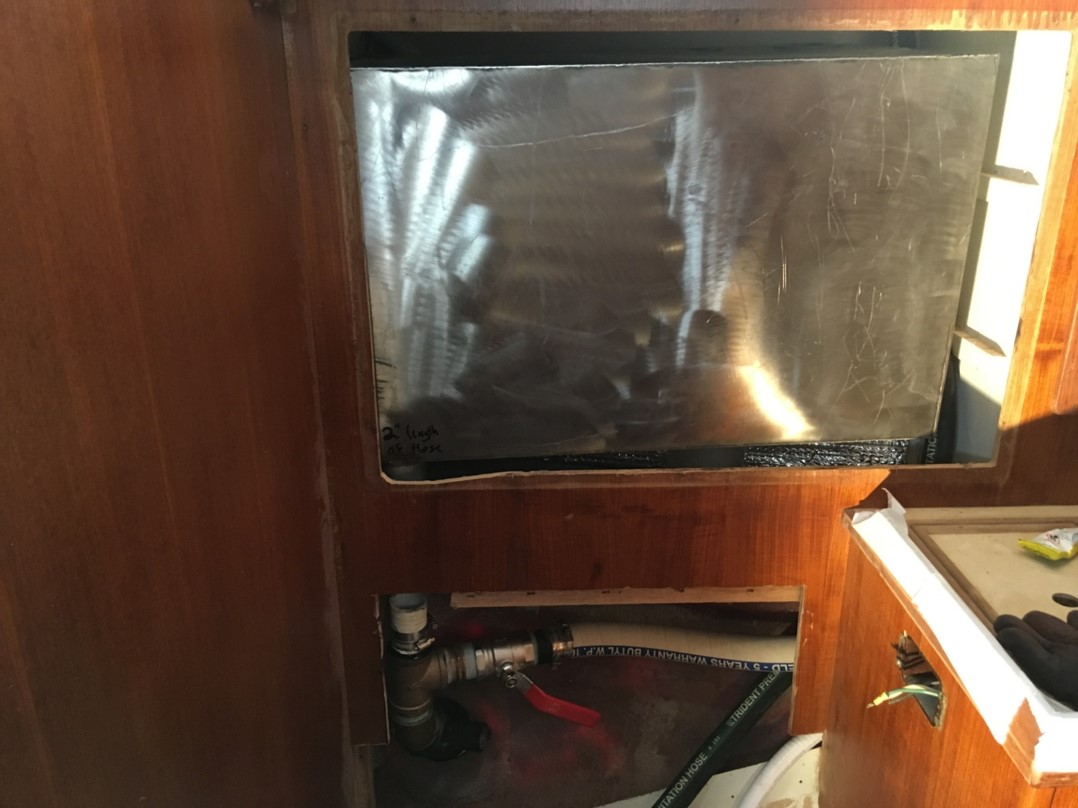
Stainless holding tank fitted

Rigid Plumbing of Holding Tank

New headliner and Ash Strips

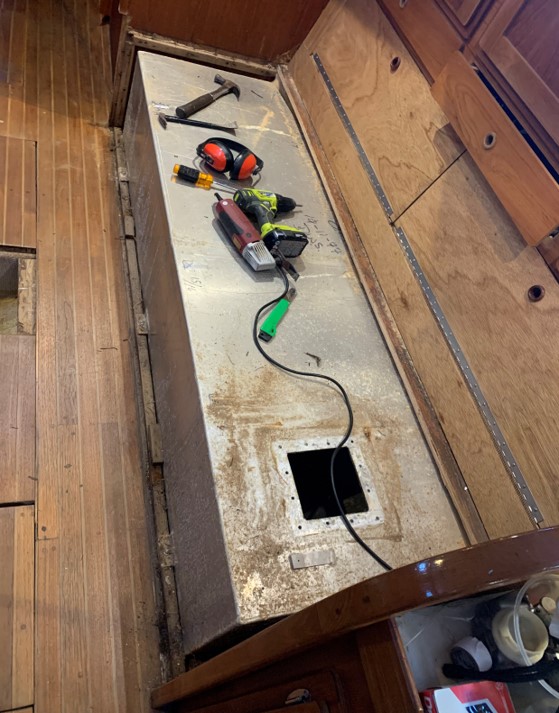
Both Water Tanks Leaked

Coosa Board Form for New TanksFDA Approved Epoxy and Fiberglass

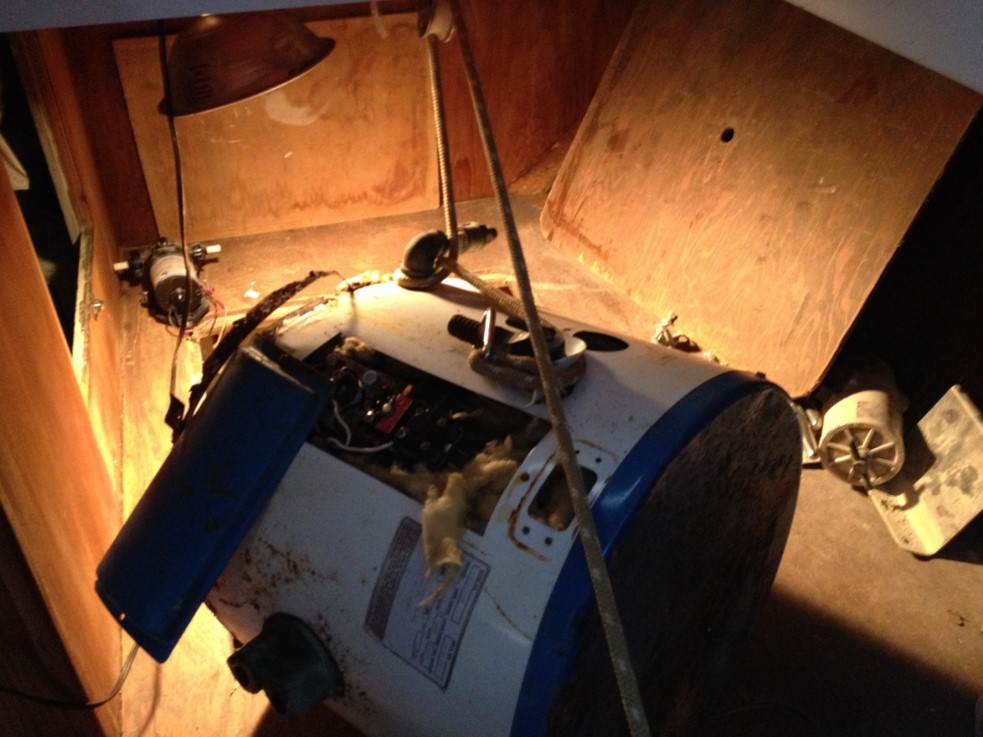
6 Gallon Water Heater Removed

New Water Jet Cut Chain Plates

New Chain plates installed

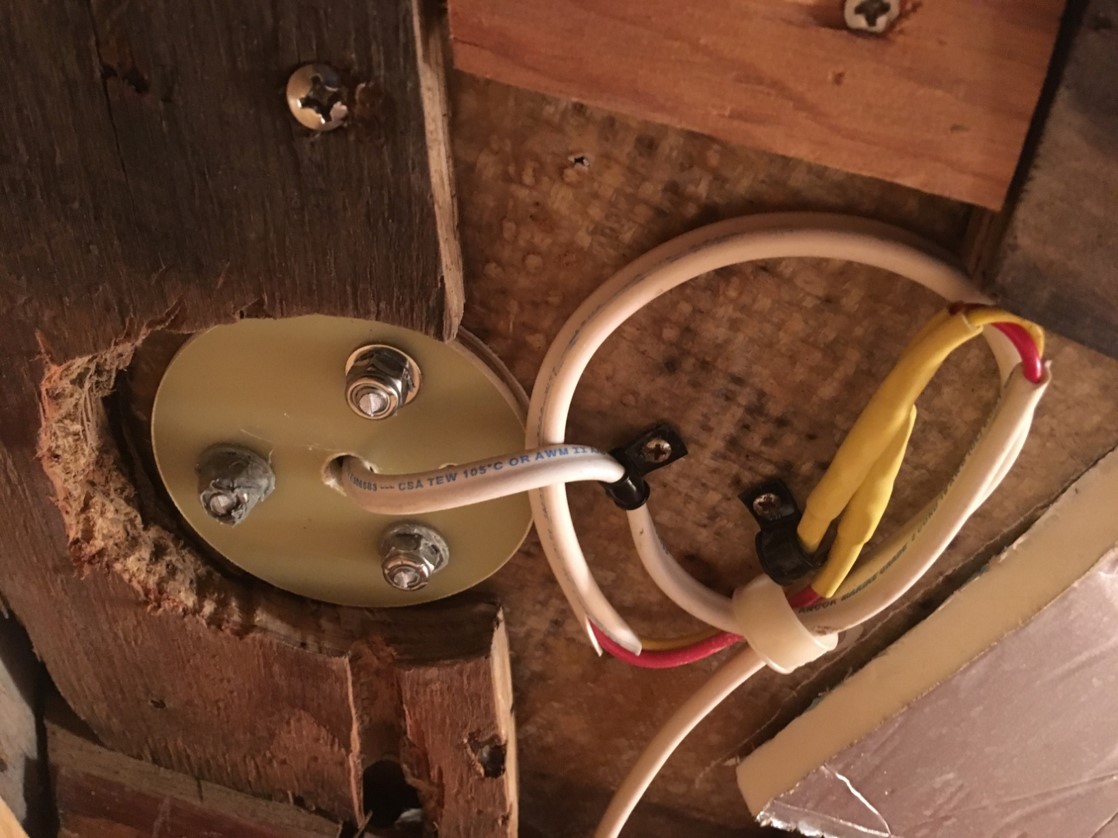
Bow Light Wiring and G10 Backer

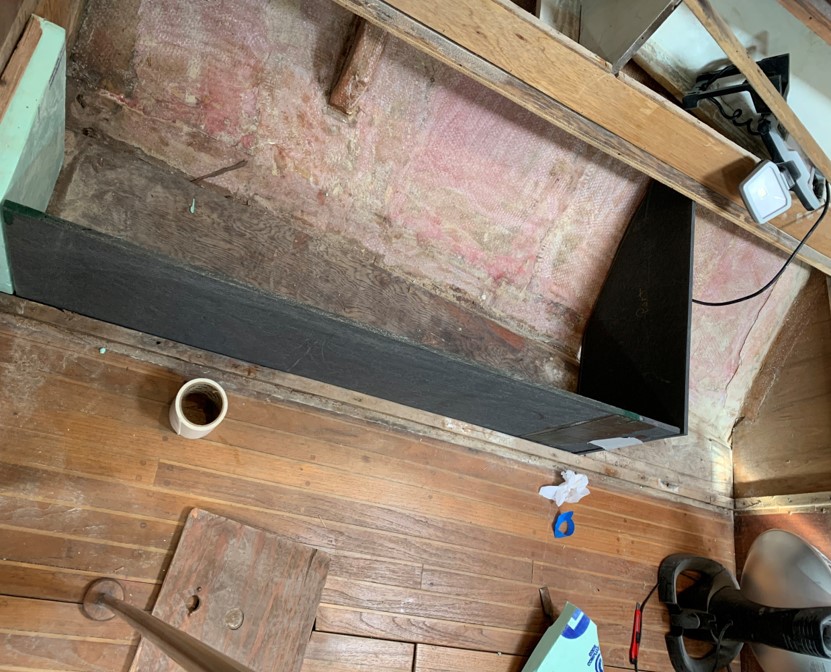
Old Single Fuel Tank Cut Out

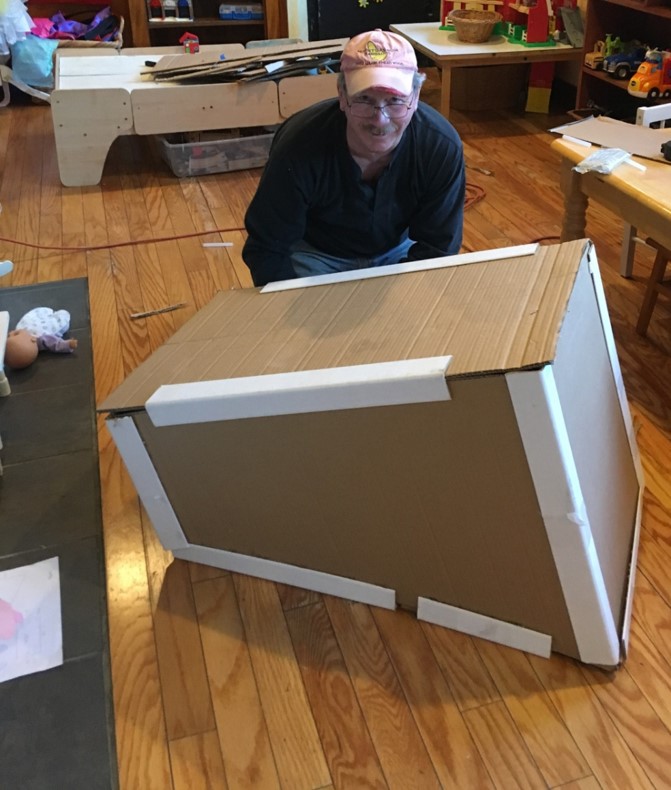
Mock-Up of Fuel Tanks

Cockpit Cut to Install New Fuel Tanks

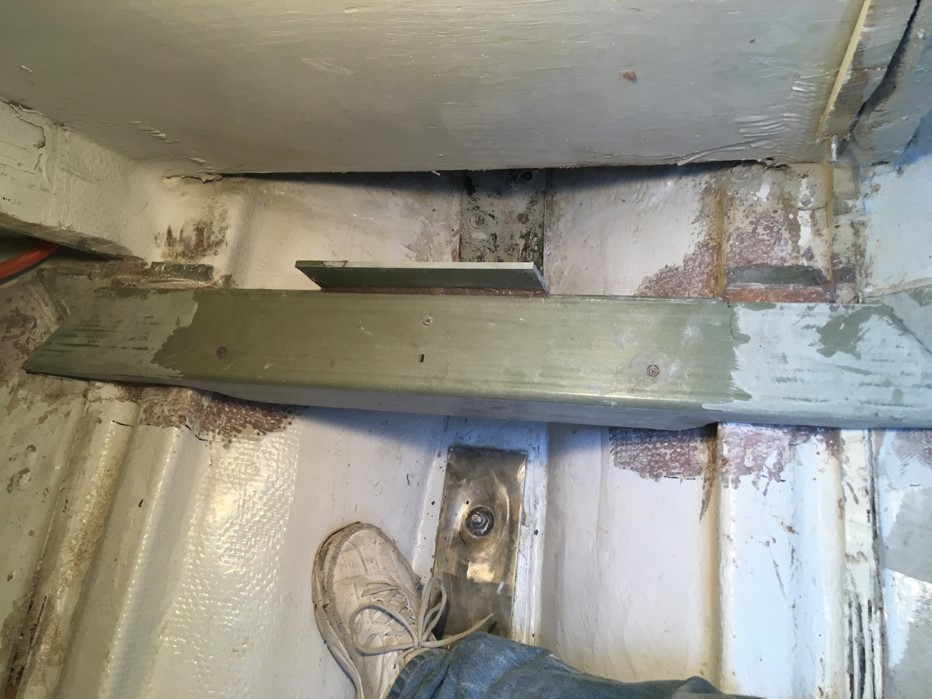
Fitting G10 Stringer With Motion Stop

New G 10 Stringers for Fuel Tanks

New Aluminum Tanks Test Fit

Glassing the cockpit after tanks installed

Double Propane Locker Removed

½ Installed on Each Side With New Hatches

Testing Mock-Up to Fit In Opening

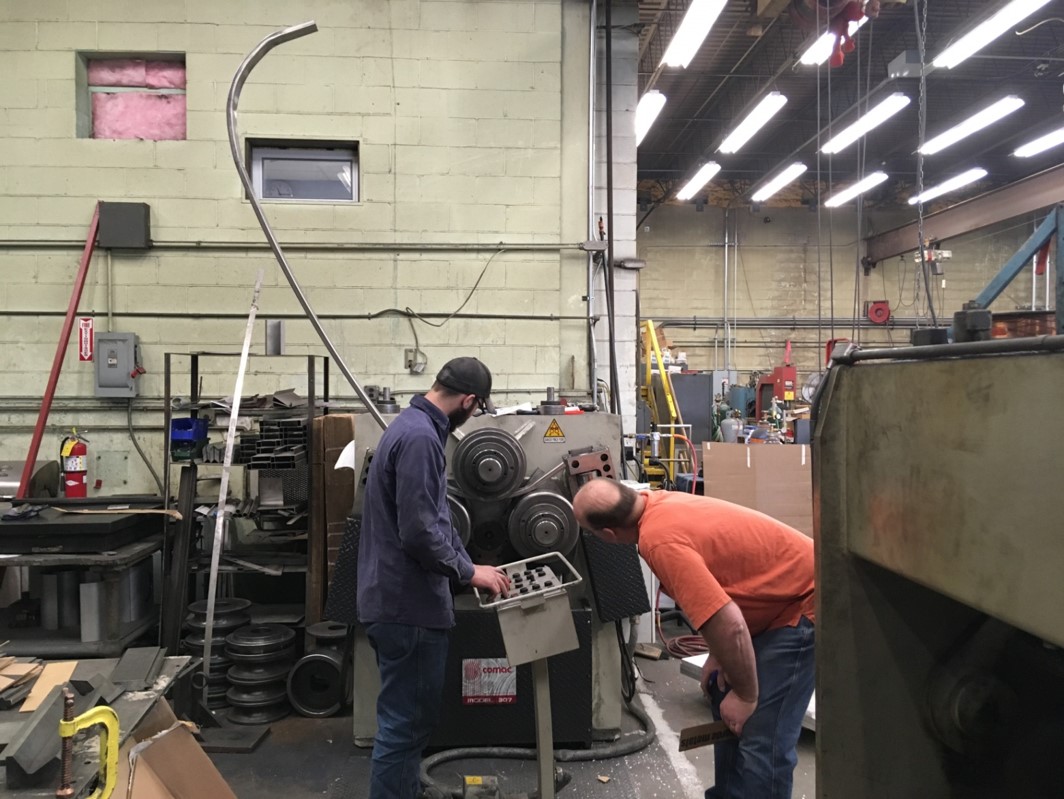
Stainless Steel Arch Main Sheet Arch

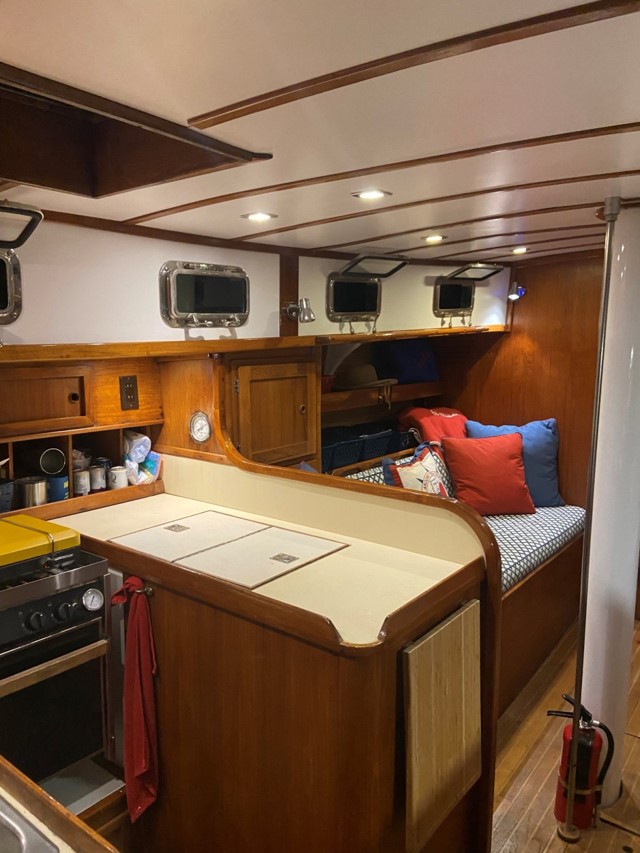
Interior With New Ports

New Sea Frost Refrigeration

Interior Today

Patch and Sand Hull Sides

Bottom After Sand Blasting

Nasty Bottom

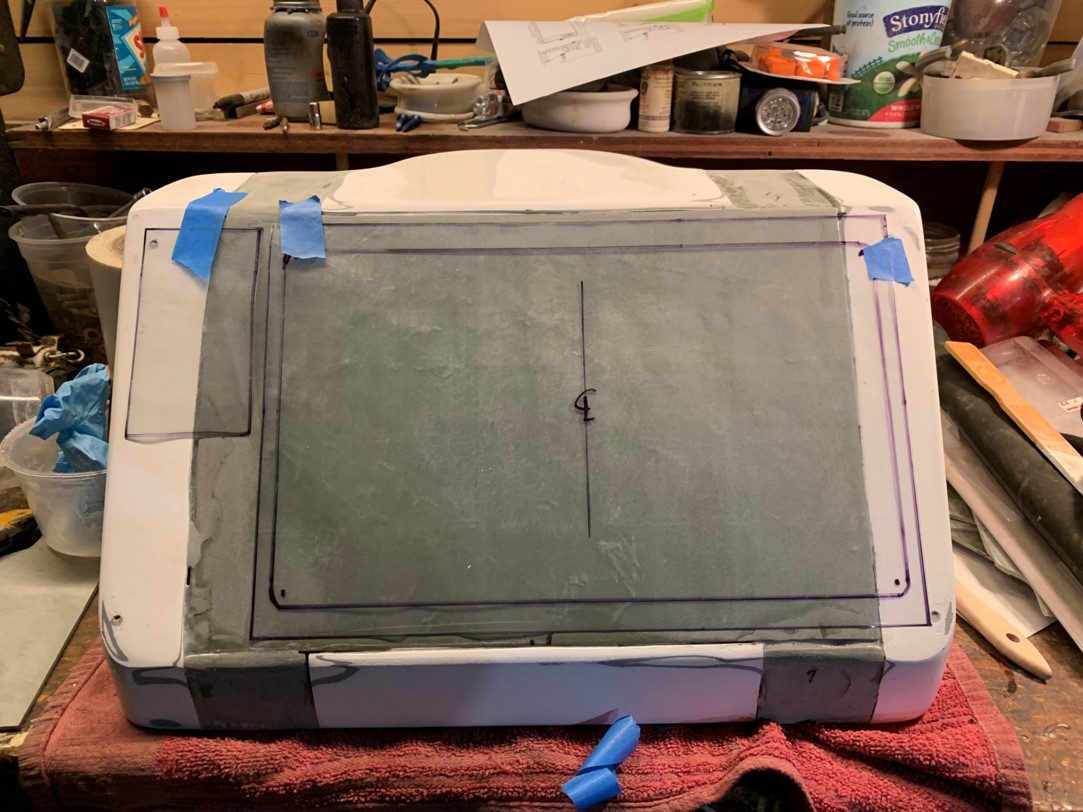
Helm Pod Enlarger for 12 Display

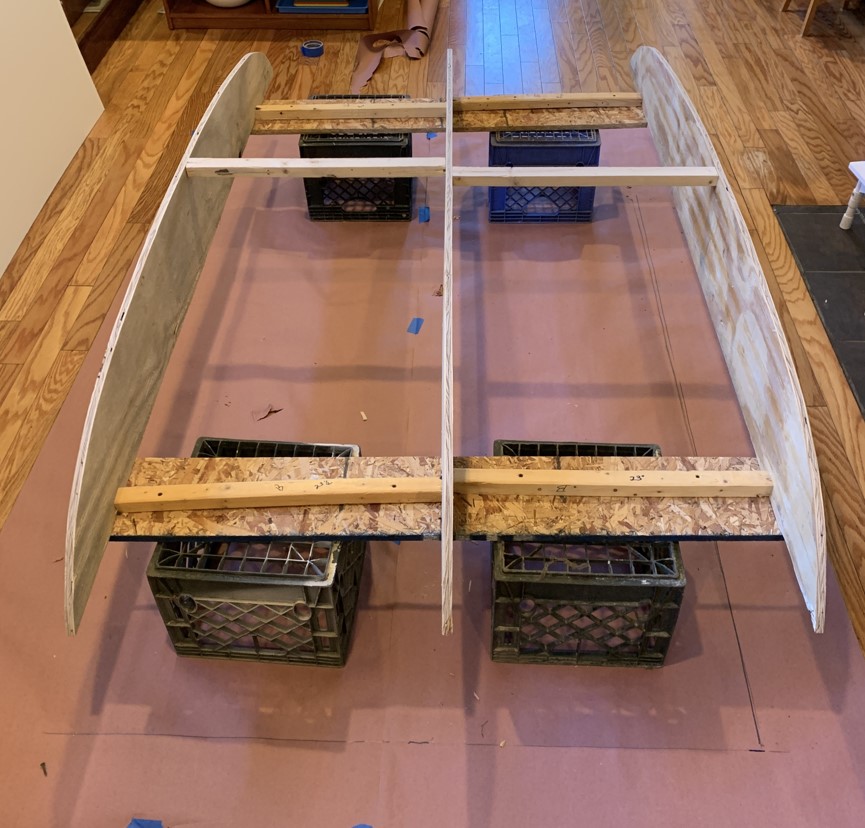
Form For Rigid Dodger

Rigid Dodger and Main Sheet Arch

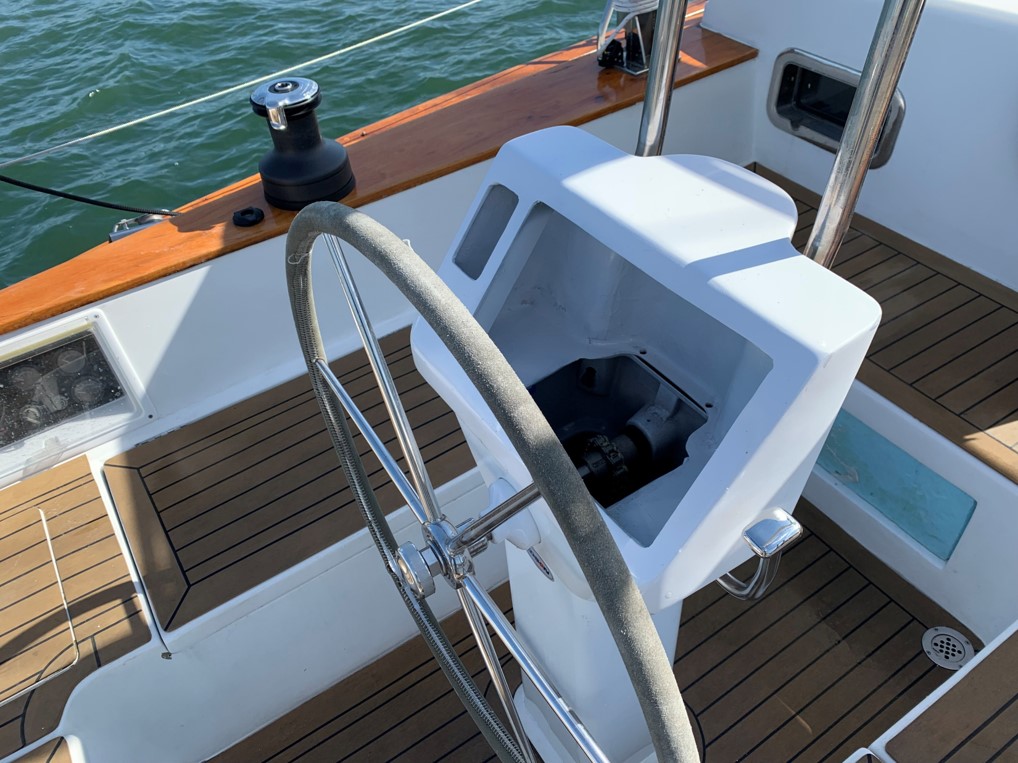
Electric Winch and New Helm

1 of 2 New Fuel Tank on New Stringer

Progress Toward Water

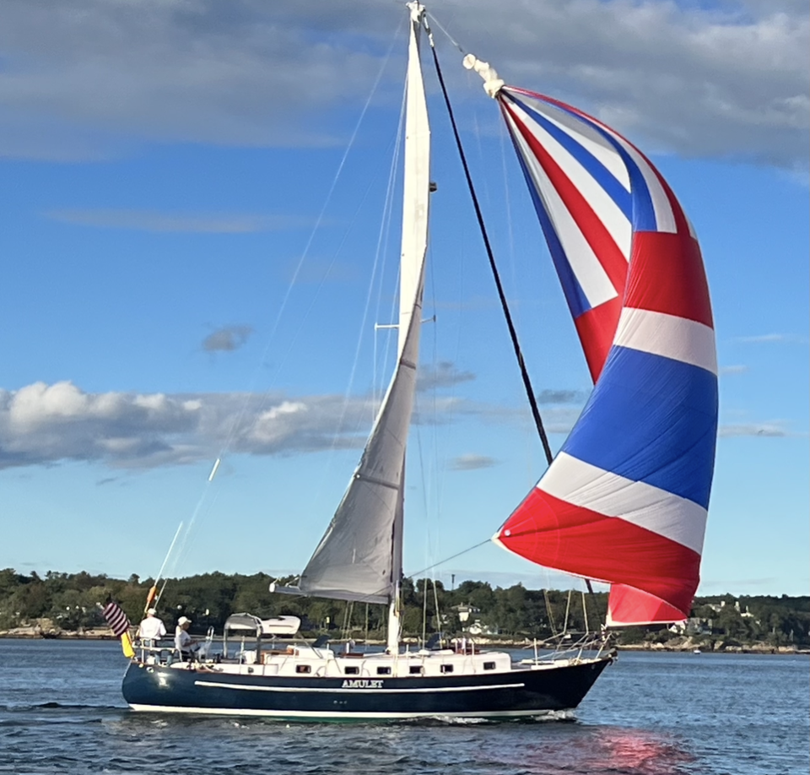
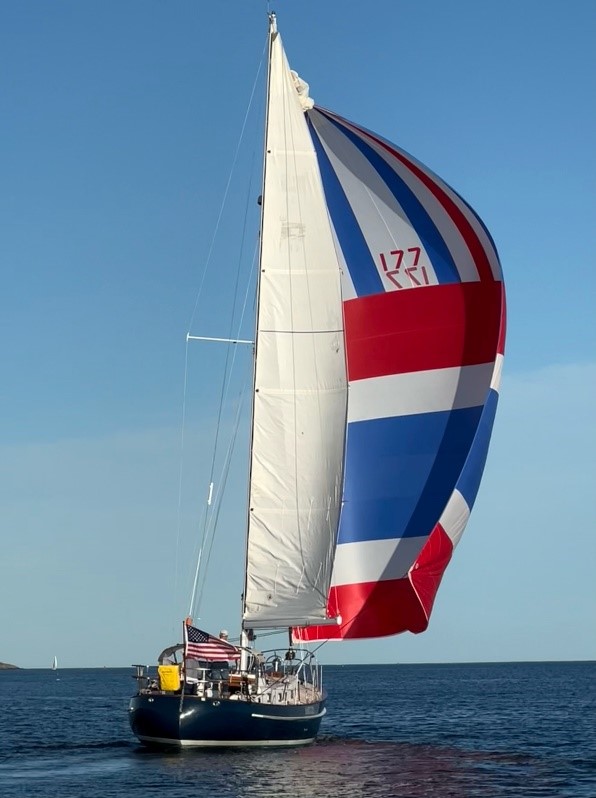
This Was The Goal